After much trial and error I’ve finally landed on a recipe for SCC15 that I’m happy with, and using the rule of TLAR – That Looks About Right. It’s quite a step on from the standard Humbrol number 30 I applied to everything British about 30 years ago!
WHAT IS SCC15?
There is a lot of information on the web and in books on SCC15 so I won’t give a history lesson here. Suffice to say SCC15 was introduced by the British in 1944 and was used as the main vehicle colour into 1945 in North West Europe.
Designed to work alongside US supplied vehicles in US Olive Drab, it had a different hue and weathered to a greenish colour. It’s this ‘used’ SCC15 I’m aiming for.
TRIAL AND ERROR
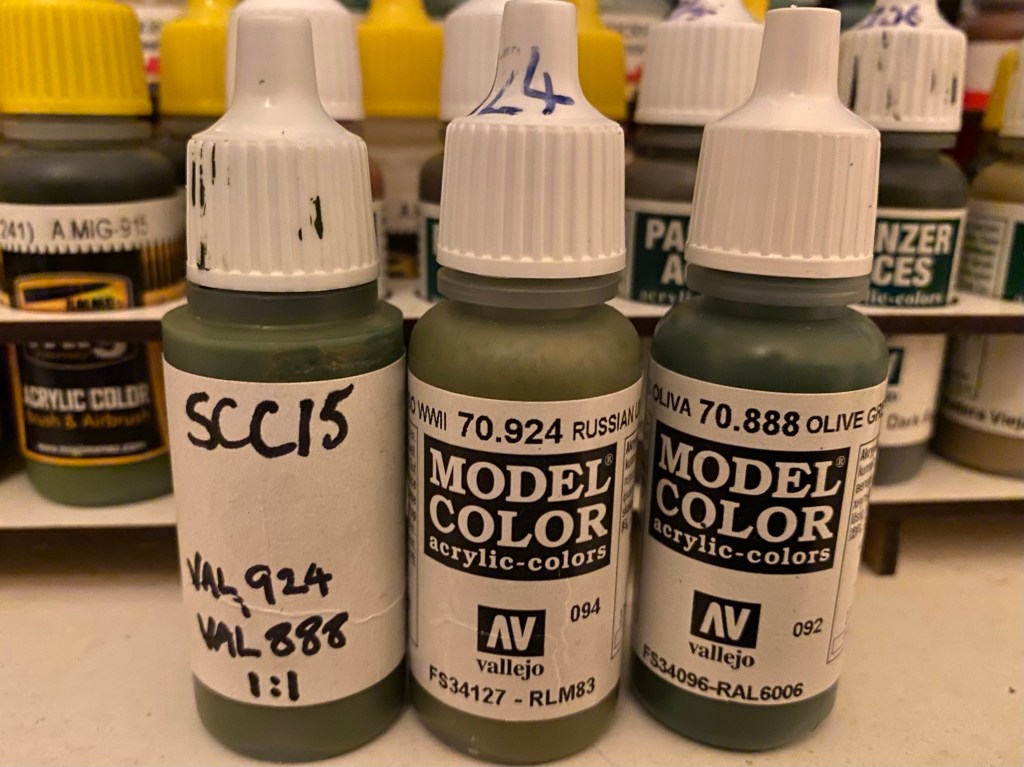
I started with the Mike Starmer mix using Vallejo acrylics of mixing equal parts of 70888 Olive Grey + 70924 Russian Uniform. Once I’d applied washes and weathering it was still coming out quite dark for my taste. Given the scale effect in 20mm I wanted something a little lighter. However I’m still using this ‘Vallejo SCC15 mix’ as my main base colour.
Initially happy, I still wanted a lighter finish. After more trial and error (you can see a couple of the other versions I’ve tried in my post on the D7 Armoured Dozer here) I’ve ended with this recipe.
VALLEJO SCC15 MIX FOR 20mm WARGAMING
Here’s the recipe I’m using for SCC15 for my WW2 British forces in Normandy.
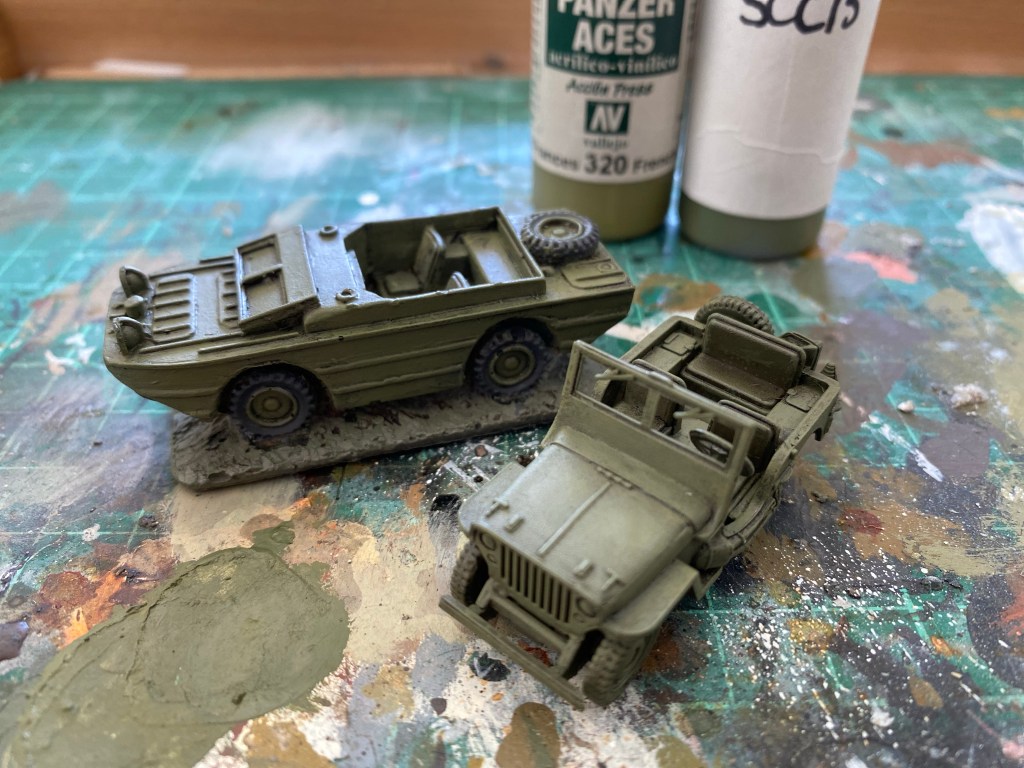
Paint list
- PSC British Tank spray can
- Citadel Agrax Earth Shade
- VMC 888 Olive Grey
- VMC 924 Russian Uniform
- VPA 320 French Tank Crew
- VPA 315 Light Mud
- AK Interactive AK3019 Dark Brown Filter
Step 1: Undercoat with PSC British Tank Green rattle can.
Step 2: Apply Citadel Agrax Earthshade wash, with a large brush all over the model.
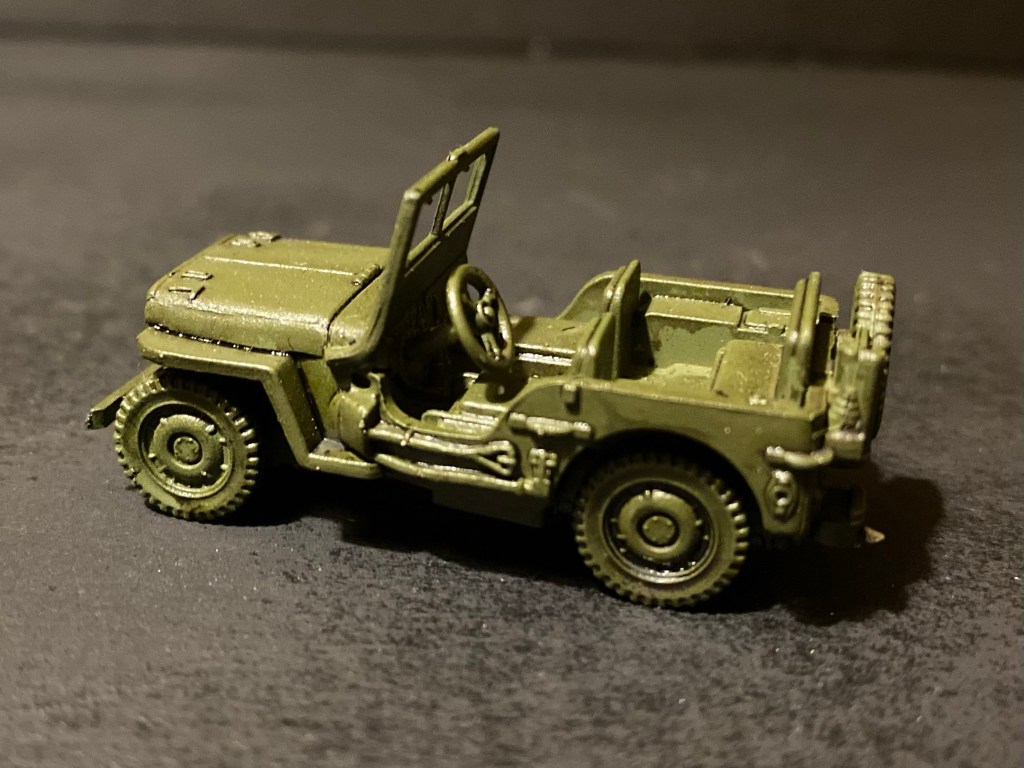
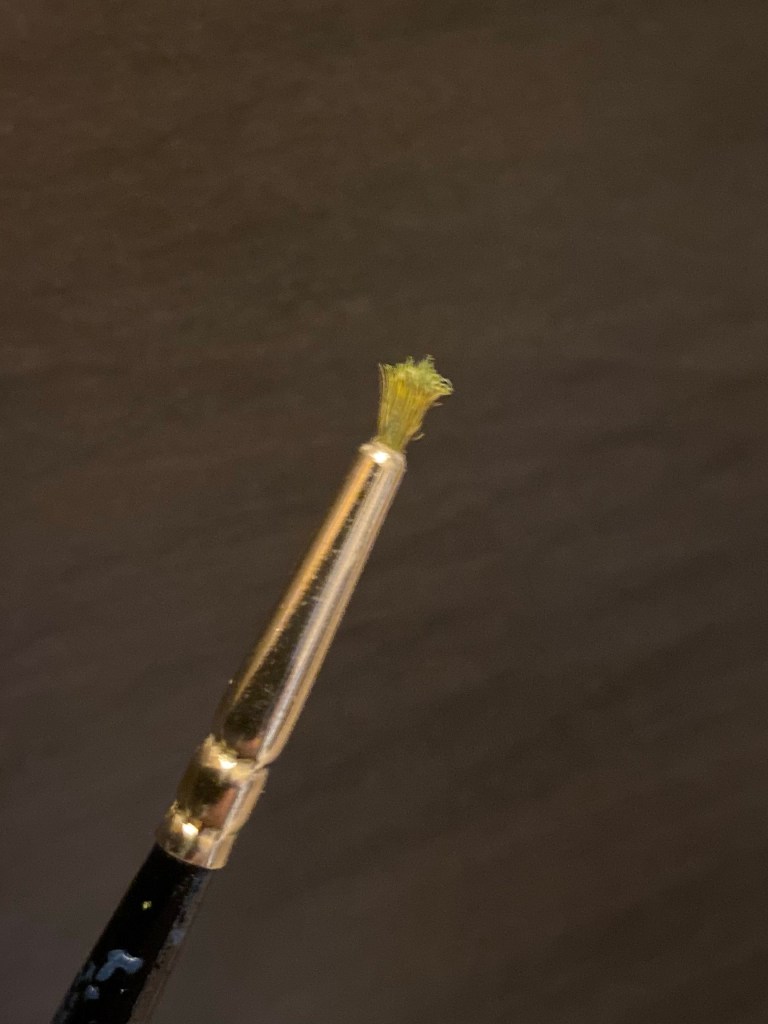
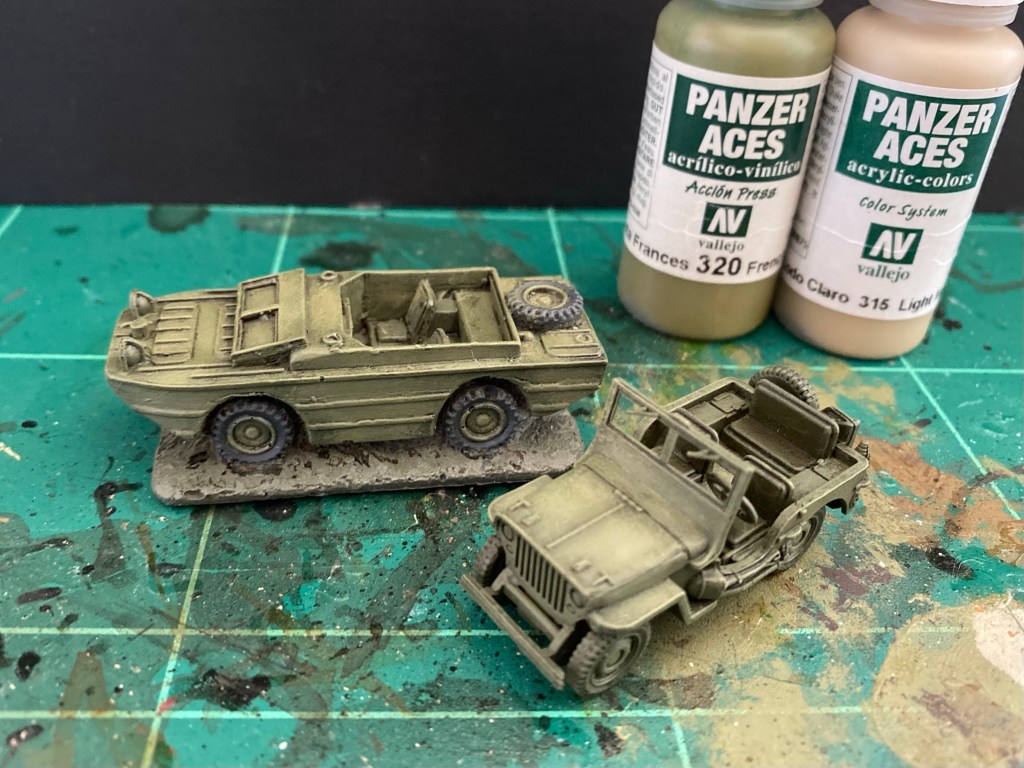
Step 3: Base coat of the SCC15 Vallejo mix. I use an old brush on which I’ve cut down the bristles, which give a fairly hard set of bristles. This one is well used and has feathered, even better!
I then wipe off much of the paint (as you would for drybrushing) and apply using small circular motions. Starting from the middle of the area painting and working towards the edge, taking care to leave some of the previous coat along the edges.
Step 4: Apply 50/50 mix of the SCC15 and French Tank Crew. Start in the middle of the SCC15 areas painted in Step 3 and again work outwards. Take care to leave an edging of SCC15. The difference will be quite subtle.
Step 5: Apply 50/50 mix of French Tank Crew and Light Mud. Again, layering the colour from the middle of the last colour and leaving a graduated edge of previous colours. This mix is quite a lot lighter than the last step, so go heavy on this step if you want a light end result.
Step 6: Once the last coat has fully dried, apply AK Dark Brown Uniform filter. The trick here is to ‘flood’ the model rather than accurately brushing it on if that makes sense. You’ll be able to move the filter around for a while so check for pools of dark brown where you don’t want it. This filter pulls together the previous coats and dulls the last coat.
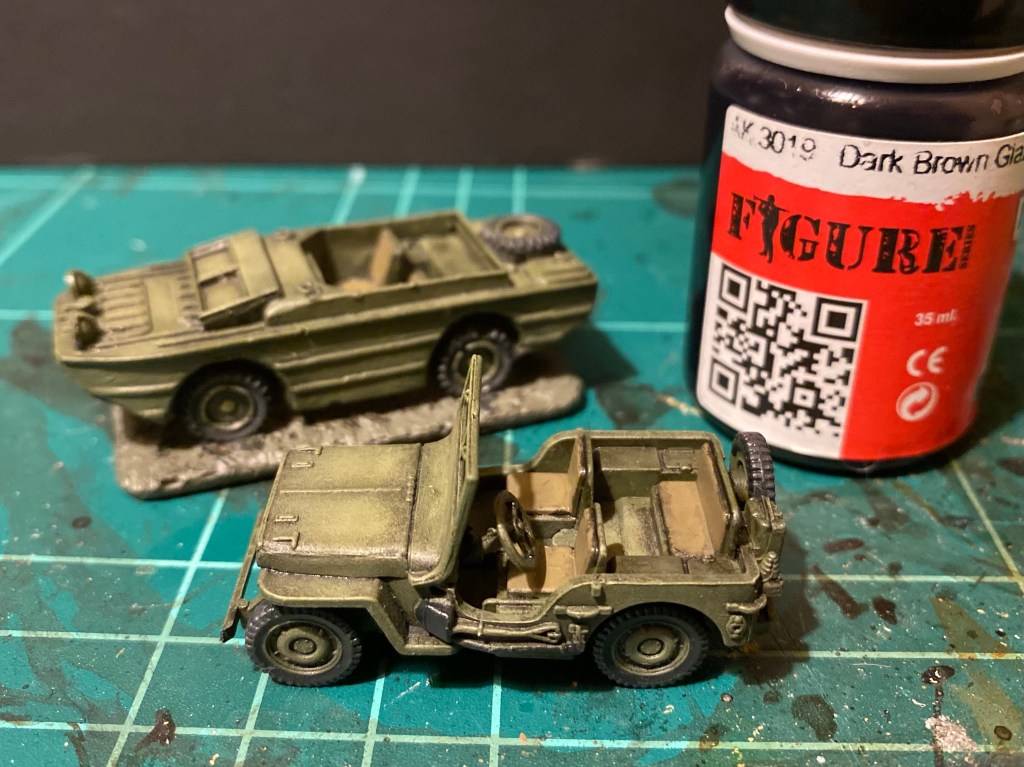
On my earlier models I used an AK Green Uniform Filter, but going back over some of Piers Brand’s excellent work he recommends a brown filter. Having used both I think brown definitely works better.
So that’s a brief run through of the SCC15 recipe I’ve started to use. Next time I’ll share some finished models!

6 thoughts on “PAINTING GUIDE: WW2 British SCC15 Mix”