Quite far down my list of ‘things I need to do’ for the Sword beach game was a bullet point for Dragons Teeth.
I hadn’t planned on doing anything with it for quite a while. Until I noticed some rather handsome dozer-fodder Piers Brand had posted on the Facebook group for Battlegroup, relating to the upcoming Westwall book.
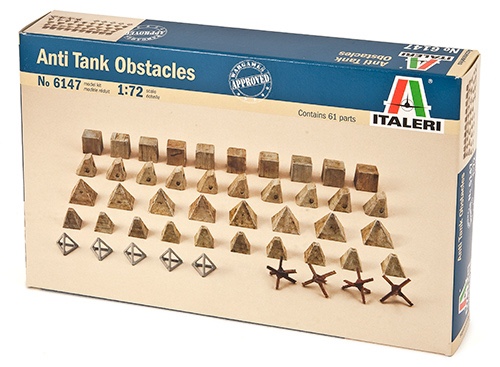
Almost as quickly as ordering the latest WW2 Brits by AB Miniatures, I snapped up a box of Italeri’s 1/72 Anti-Tank Obstacles set. For the uninitiated, and this set had somehow completely escaped me, it’s a set released over a decade ago.
Perfect – really useful for multiple settings. Normandy? Tick. Walcheren? Tick. Westwall? Tick. Before I got much further I’d ordered a second box!
Box 1 arrived very quickly, delivered in a brown box with a smiley face. For your £11.50 or thereabouts you get:
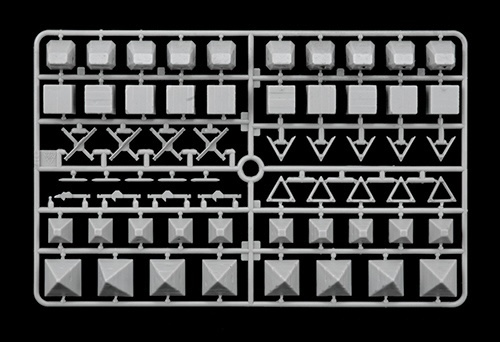
So you have quite a good range of dragons teeth plus tetrahedrons and Czech hedgehogs, though it’s the dragons teeth I’ll concentrate on here. Depending on your table size and scenario one box might work, but you’re likely to need two or more boxes for the ‘as far as the eye can see’ Westwall-style aesthetic.
After some obligatory procrastination and several dry-runs on how to place them, I super-glued the dragons teeth to mdf bases. I’ve not yet built the tetrahedrons or Czech hedgehogs.
S T E P 1 : Preparation is really straightforward as there aren’t any injection lines to clean up – simply cut out with side-cutters, tidy up any bits left with a sharp hobby knife and you’re good to go. The dragons teeth and concrete blocks are single pieces so no construction needed.
S T E P 2 : Arrange in chosen pattern and super glue to bases. Here I’ve used 2mm thick 50mm square pdf bases. Apply PVA to base and a sprinkling of fine modelling sand. Leave to dry.
S T E P 3 : Apply preferred undercoat. I tend to use Halfords grey or black rattle can primer, depending on what I’m priming. In a well ventilated area. Leave to dry.
S T E P 4 : I’ve used my go-to concrete palette of a Vallejo Stone Grey basecoat followed by a Citadel Agrax Earthshade wash. Bring up the detail with a drybrush of Vallejo Stone Grey.
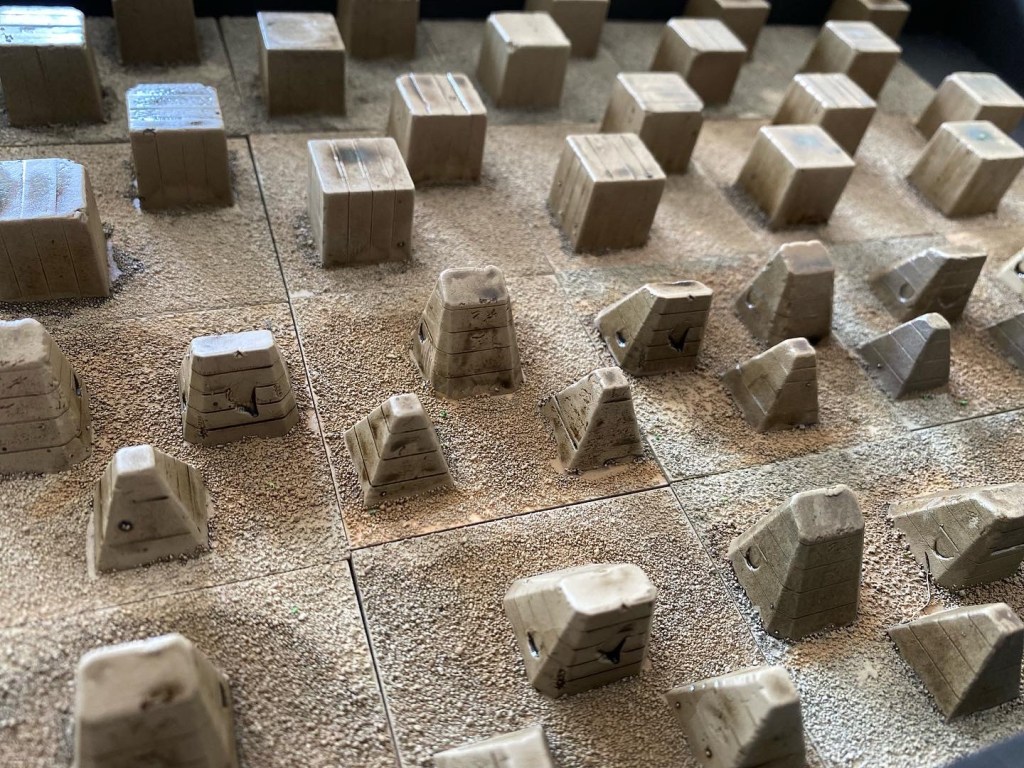
S T E P 5 : Basecoat the earth with dark brown, I used a cheap artists acrylic. Drybrush with US Field Drab, followed by a drybrush of Light Mud and then a very light touch of ivory. Add battlefield detritus, flock, scatter, static grass etc depending on your preference. I’ve used Geek Gaming Scenics scatter, a new favourite!
Here’s the effect of two boxes worth;
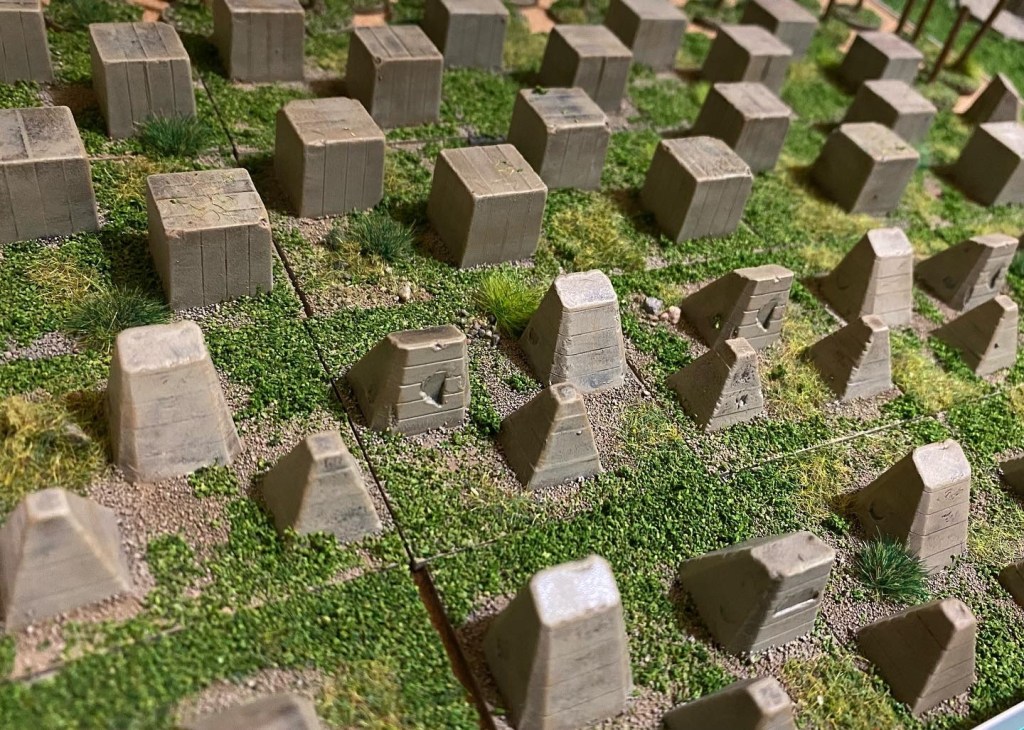
So there we have it, a recommended set if you’re in the market for anti-tank obstacles. 3D print and resin options are on the market too, but for value and ease of getting these on the table quickly, this set from Italeri is a great option. Useful for Normandy, Westwall etc. plus the concrete blocks could work for British defences too.
Next up from me will be a few dozen scratch built Czech hedgehogs I’m working through.
Thanks for reading, do get in touch if you have a hint or two to share – I’m still learning!
