If you haven’t painted German vehicles for North West Europe in the best part of 20 years, or if the thought of painting German camouflage leads you to fielding grey Panzers in 1944 Normandy, fear not. I was the same until a couple of weeks ago – this guide might just be able to help you!
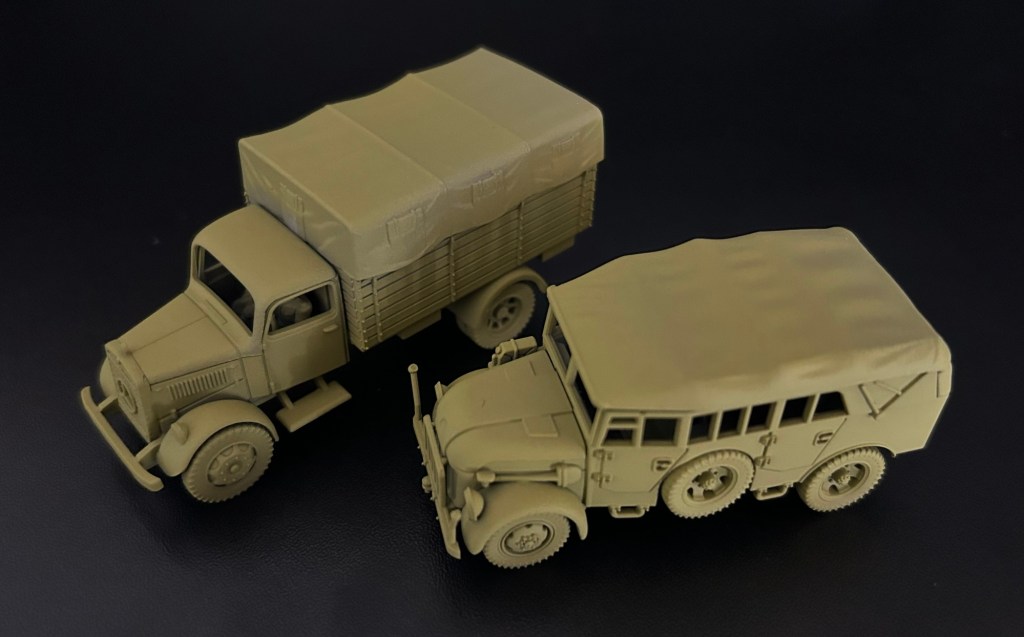
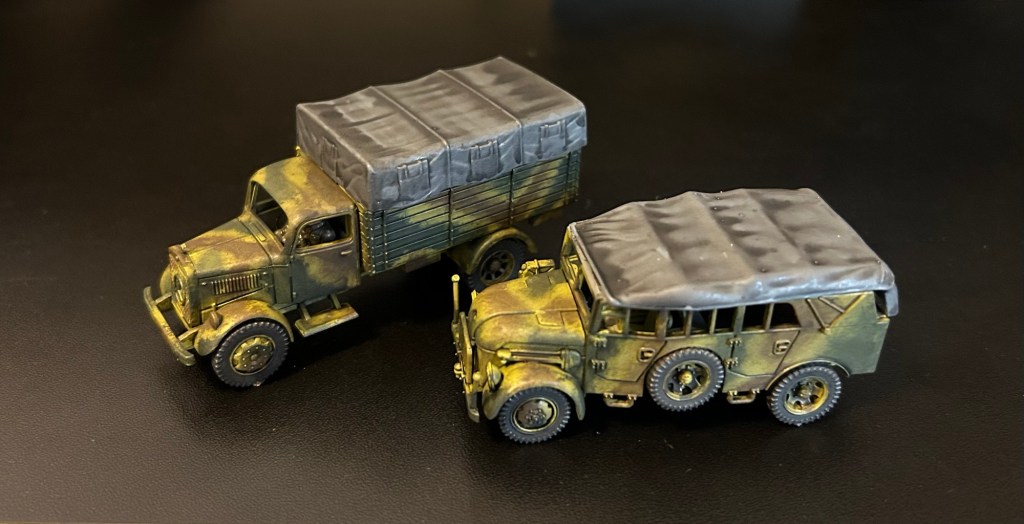
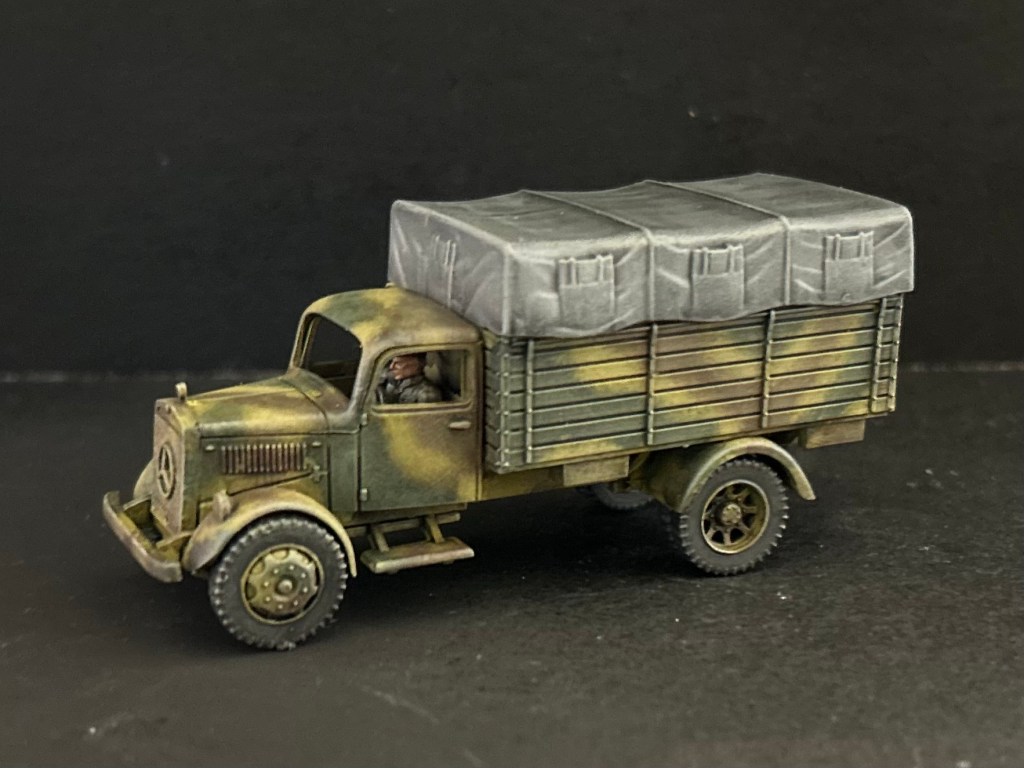
Since posting up a photo of my completed Mercedes German army truck a few days ago a few people have asked for a paint guide. I tend to take photos as I build and paint, mainly to remind myself of what I’ve done and keep a track of the paints I’ve used. Using a notebook just didn’t work for me, but with a smart phone it’s easy. Pretty useful for writing a blog article now and again too!
I don’t pretend that my guide is 100% historically accurate as I’ve gone for The Rule of TLAR (That Looks About Right). However, during the war German tank crews would mix their paint with whatever medium was to hand and apply it by spray gun, brush, rags or anything else they could think of. As a result there could be quite a variety of tones and variation in patterns. So I’ve not been too concerned if my pattern isn’t quite neat enough or if the green is marginally darker or lighter than “it should be”.
Let’s crack on with the guide. Apart from the primer and basecoat, all of my painting is by brush.
Step 1: Once your model is prepared and cleaned, prime with Halfords Grey Primer in a rattlecan. Leave to dry for 24 hours.
Step 2: Basecoat of dunkelgelb, I used the Plastic Soldier Company’s “Tank Warspray Mid-Late War German Dunkelgelb”. Leave to dry for 24 hours.
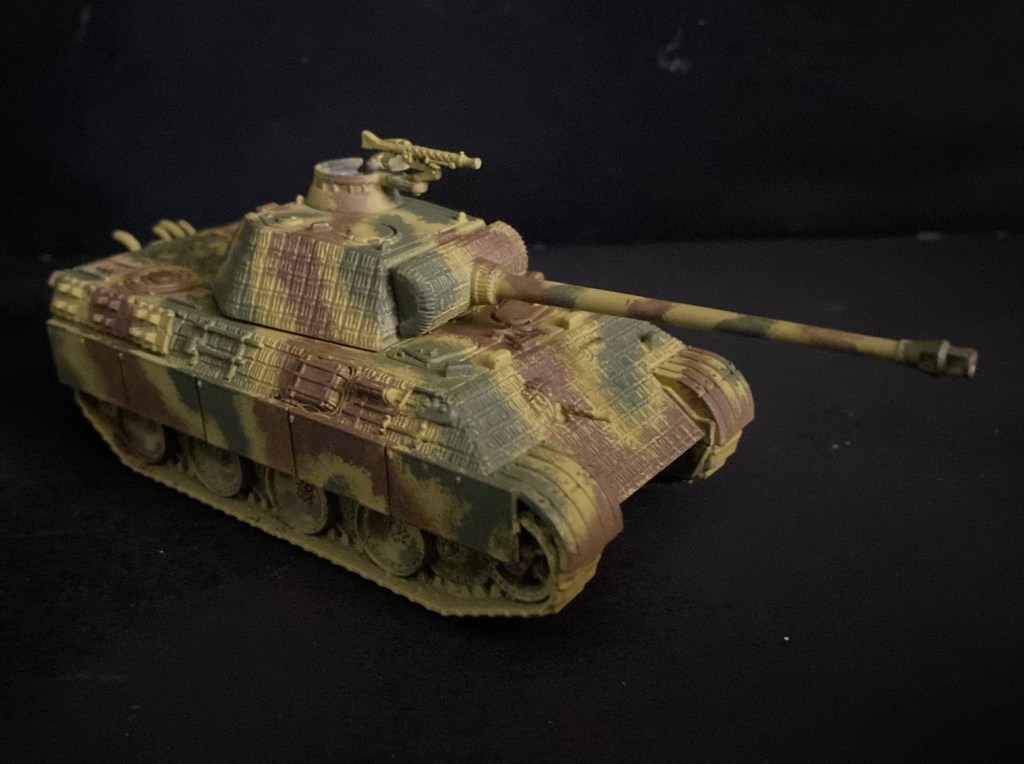
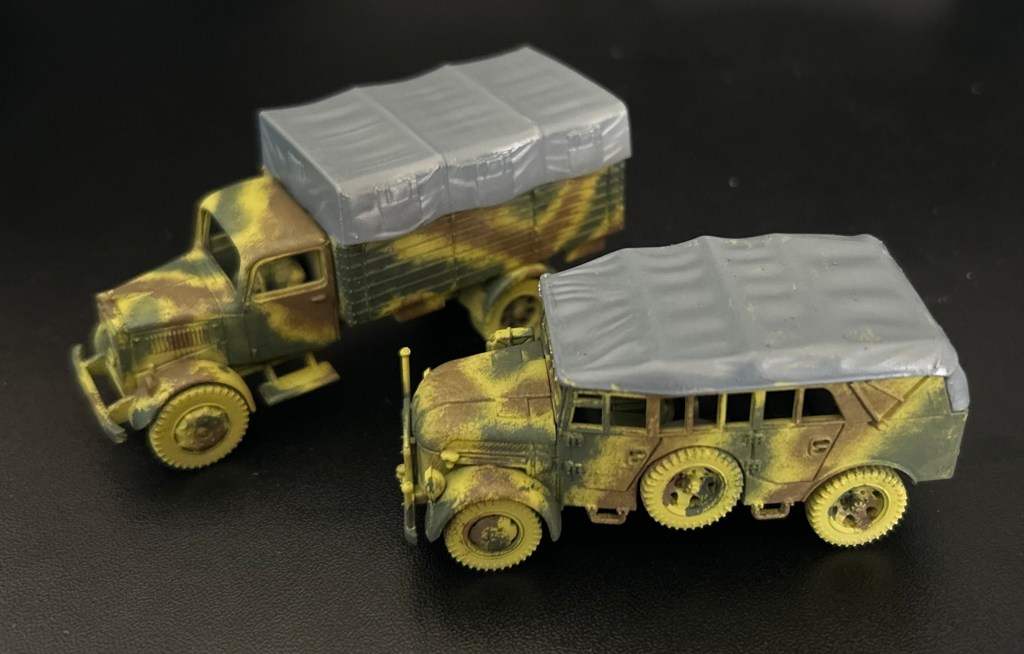
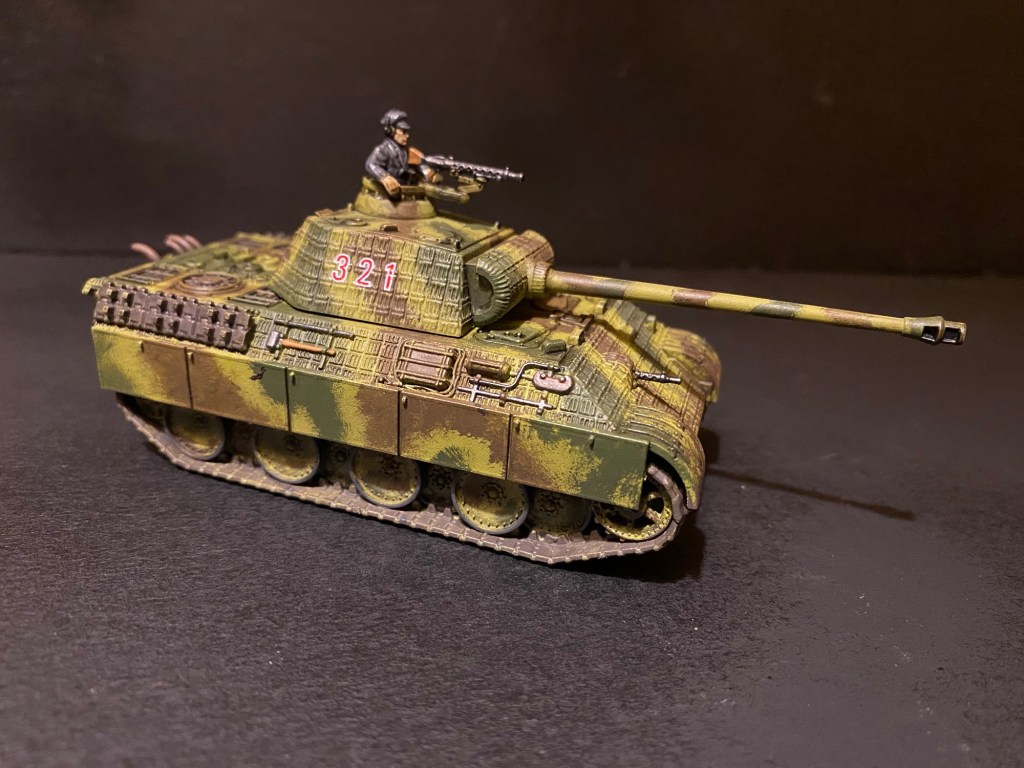
Step 3: First camo colour brushed on using VAL 70.979 German Camouflage Dark Green, into irregular shapes which leave plenty of room for the next colour. Next I used an old cut down brush and dabbed most of the paint onto a kitchen towel, similar to if I was going to drybrush. Now I use a dabbing/stippling effect to create a softer edge. The Panther was the first model I painted using this technique, which I’d improved on the Steyr car and then the Mercedes truck.
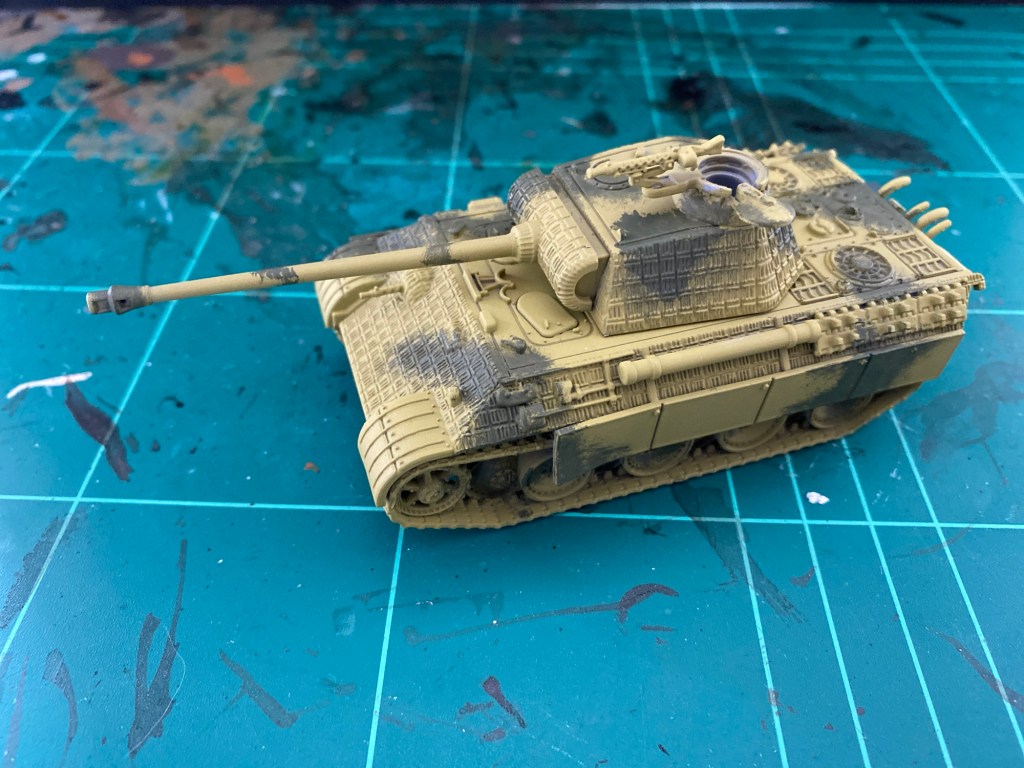
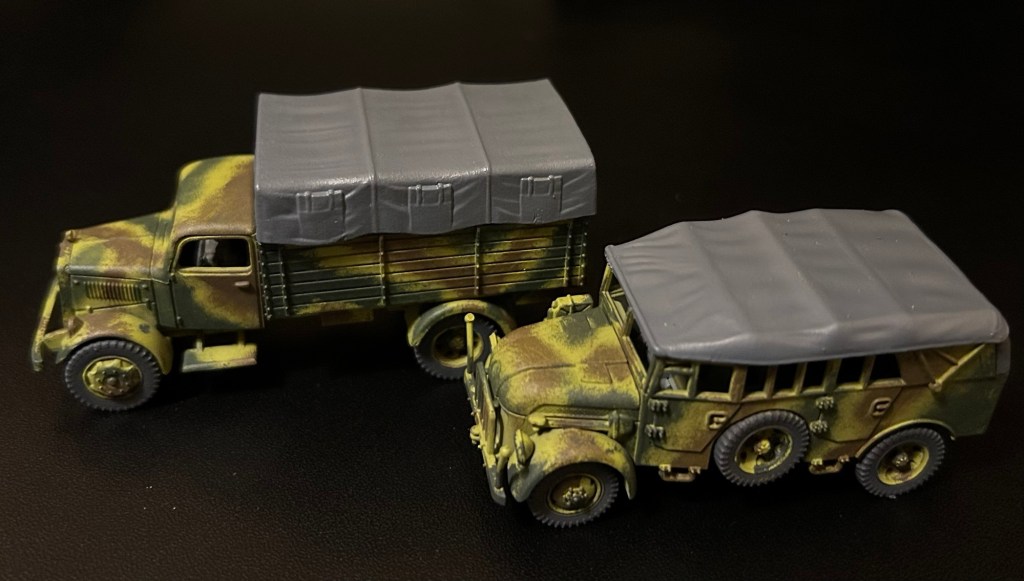
Step 4: VAL 70.826 German Camouflage Medium Brown applied using the same technique as the German Camouflage Dark Green. You’re aiming to follow the form of the green shapes, but leaving enough dunkelgelb separating the two colours. As you can see from the two photos below, my technique developed across the three models.
Step 5: I’ve painted the soft-skin roofs with VAL 70.992 Neutral Grey.
Step 6: Tracks painted with VAL Panzer Aces 70.304 Track Primer, tyres with VAL Panzer Aces 70.306 Dark Rubber, and exhausts with VAL Panzer Aces 70.302 Dark Rust.
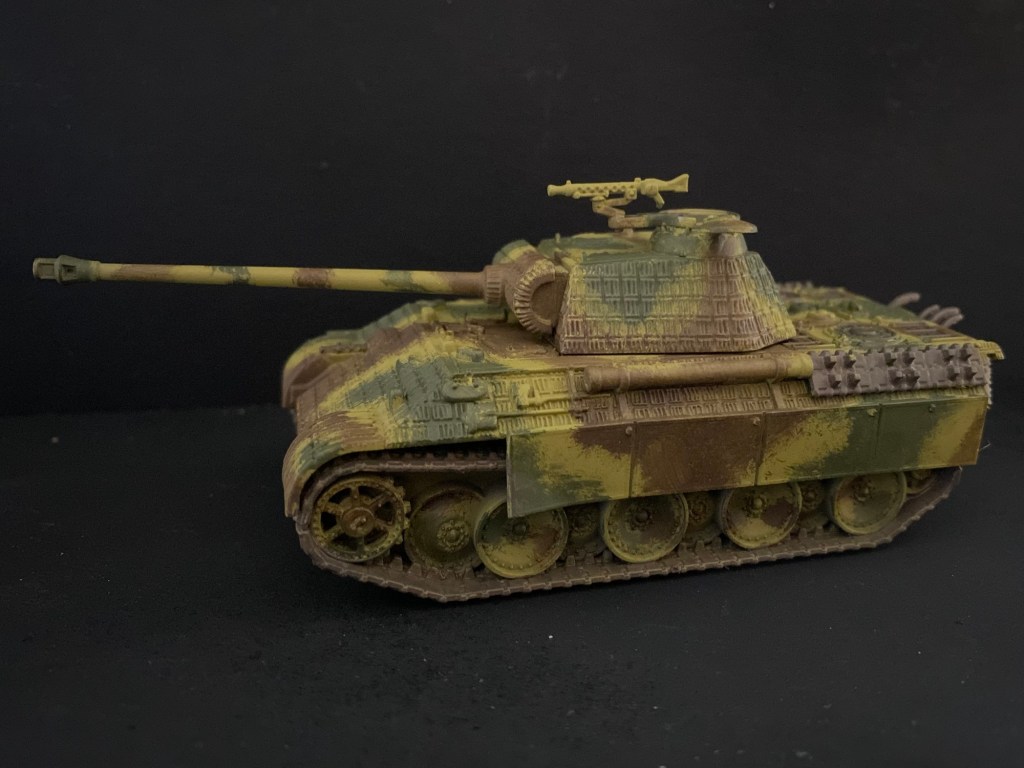
Step 7: Machine gun painted with VAL 70.863 Gunmetal. Here the technique diverges a bit. On the Panther I’ve applied Citadel Nuln Oil as a pin wash around key details, whereas on the soft-skins it’s brushed on over the whole vehicle. Left to dry for 24 hours.
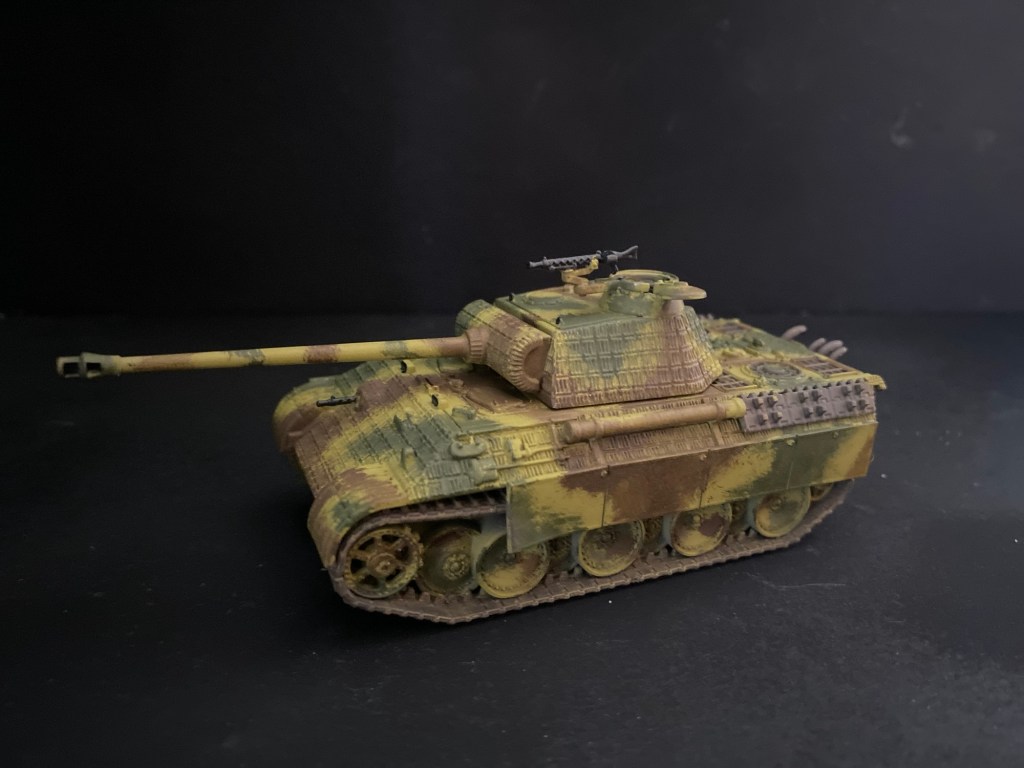
Step 8: Details such as tools painted, crew added, and decals to the Panther. For the soft-skins I’ve now inserted the painted crew and glued the cab roof on the the truck.
Step 9: I wanted to trial a ‘softer’ more weathered pattern, so on the truck I’ve mixed VAL 70.882 Middlestone with the Green at around 50/50. Then using the cut down brush again I’ve drybrushed this around the middle area of each section of Green camo. Taking care to leave an edging of the earlier green.
Step 10: Repeat the above step, but using the Brown on brown camo areas.
Step 11: Repeat the above step, but using Middelstone on all the Dunkelgelb areas.
Step 12: A very light drybrush of the whole vehicle and tyres, avoiding the roof, using VAL Panzer Aces 70.315 Light Mud.
Step 13: Highlight the roof using a 50/50 mix of VAL 70.992 Neutral Grey and VAL 70.991 Dark Sea Grey.
Step 14: A very light drybrush across the roof using VAL 70.991 Dark Sea Grey.
Step 15: VAL Panzer Aces 70.302 Dark Rust drybrushed onto grille and engine vents.
I’ll finish the Steyr in the same style as the Mercedes truck. Then I’m planning to try out a Dunkelgelb and Green pattern on my next German vehicles for 21st Panzer Division in Normandy.
I hope you’ve found this post useful, do share any tips you’ve got!

Very nice guide! The end result is excellent, especially as you haven’t used an airbrush. Top notch.
LikeLiked by 2 people
Thanks Ben, I use a rattle cam for primer and often a basecoat but always brushes for the main paint work. Iron Dice Gaming looks like some good reads, will have to subscribe to yours!
LikeLiked by 2 people
Rattle can base colors are life savers! Much more efficient and I love that Vallejo matches theirs to the model color paints so people with all thumbs like me can touch the base color up.
And thank you. I’ve been very inspired by your posts as well! Can’t wait to see some 21st panzer love. That’s definitely a “must do” project for me. Add it to the list I suppose…
LikeLiked by 1 person
Some very nice vehicles there, Dave! 🙂 The softskins look as impressive as the Panther!
LikeLiked by 1 person
Thanks John! More practicing and more to come.
LikeLiked by 1 person
Nice tutorial. I have not put a model together in over 30 years but after finding my old sets in storage I have been bitten by the bug to do some again. My 60 year old fingers aren’t as steady as they used to be for figures so I want to try some vehicles first. The process has made tremendous progress in 30+ years.
Thanks again
LikeLiked by 1 person
Thanks Kelly. Like you I hadn’t touched a model for a long time (almost 20 years), but found myself getting back on the horse during the various COVID lockdowns. Welcome back to the hobby – the kits have certainly improved!
LikeLike