Realising I have about 200 British figures still to paint for the big Sword 80 game in June, I needed to find a quicker way of painting and getting them ready for the table. Enter the expansion range of Vallejo Xpress Colors.
If you’ve been following my blog for a while you might recall I attempted to paint some Second World War figures using the first batch of Vallejo Xpress Colors, as shown in this earlier post. While I wasn’t satisfied with the results, the Hundred Years War figures came out much better as you can see in the same earlier post.
When it was announced in 2023 that Vallejo were going to release an expansion range suitable for the Second World War, I was intrigued and keen to try them out. Fast forward to February 2024 and I’ve finally got around to trying them out.
The goal here is to field a relatively large number of figures more quickly, not to win any awards but to an acceptable standard for the wargame table.
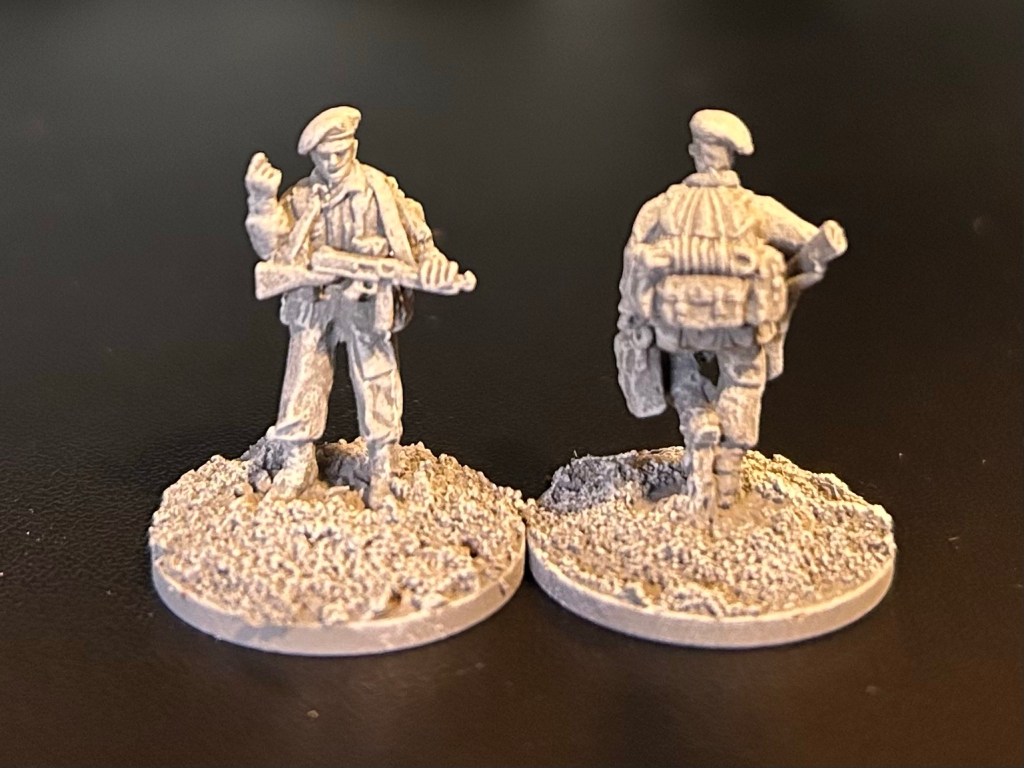
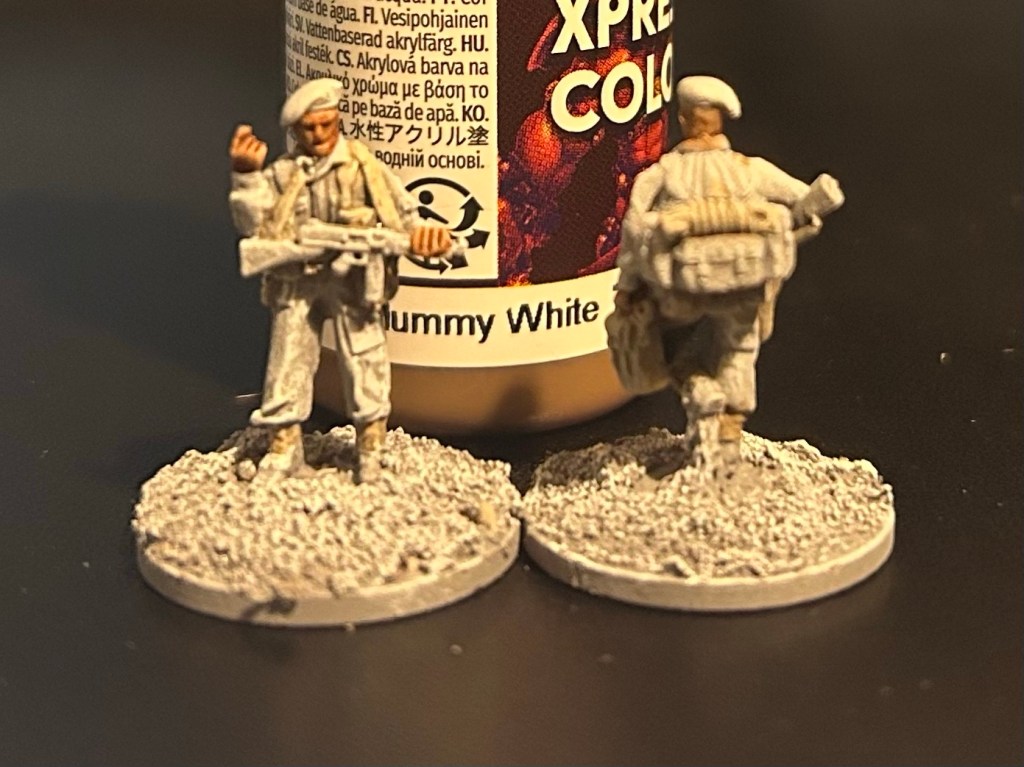
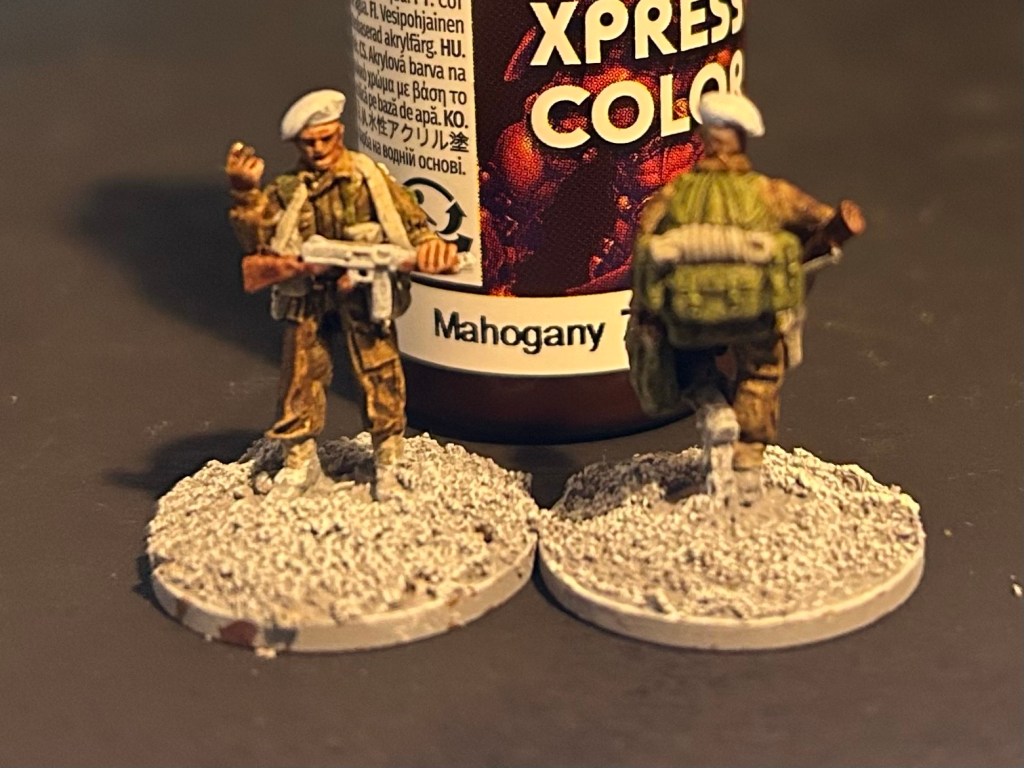
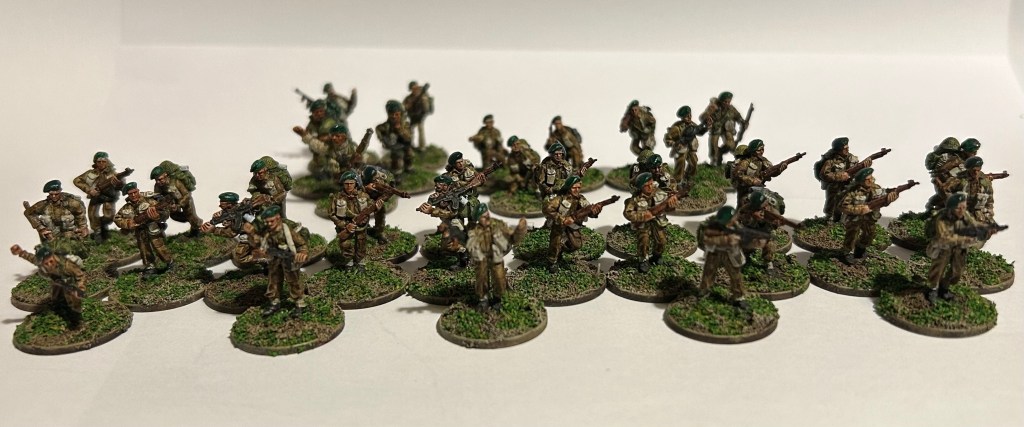
Figures are 20mm SHQ British Commandos.
PAINTING GUIDE
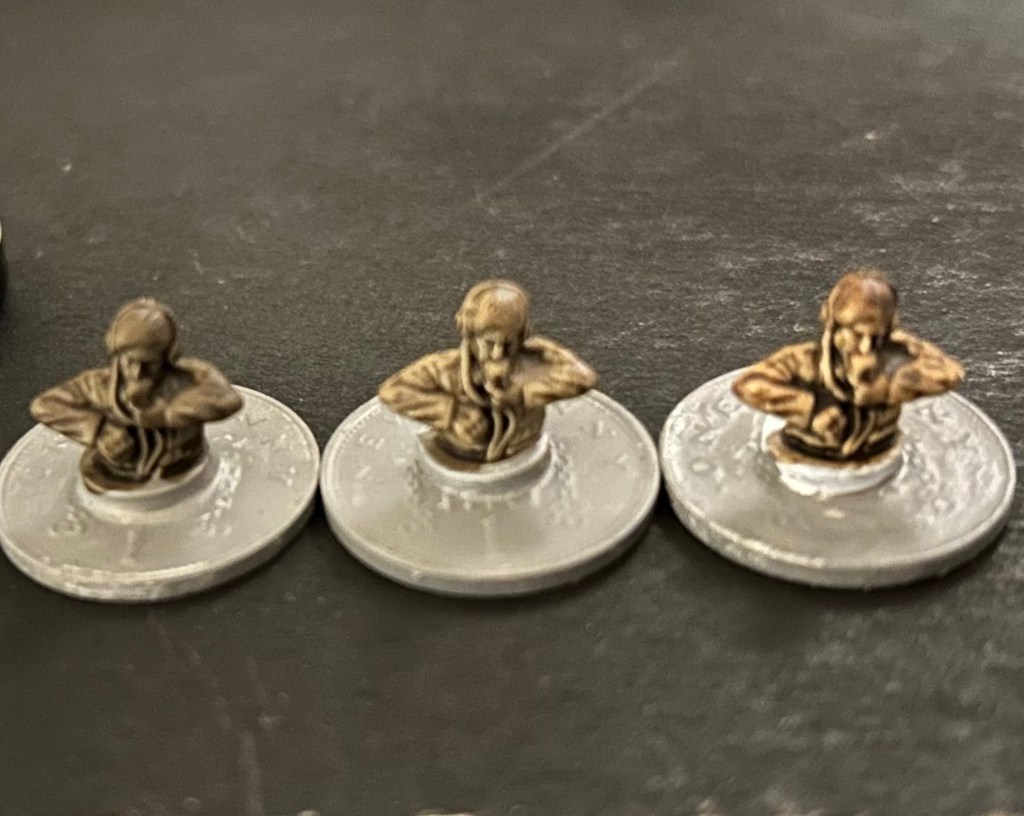
Before going anywhere near these figures with contrast paint, I’ve cleaned up the figures and based them on pennies. Bases have then been textured using the excellent Vallejo grey pumice. There are lots of other ways you could do it, but I find this texture works well for me.
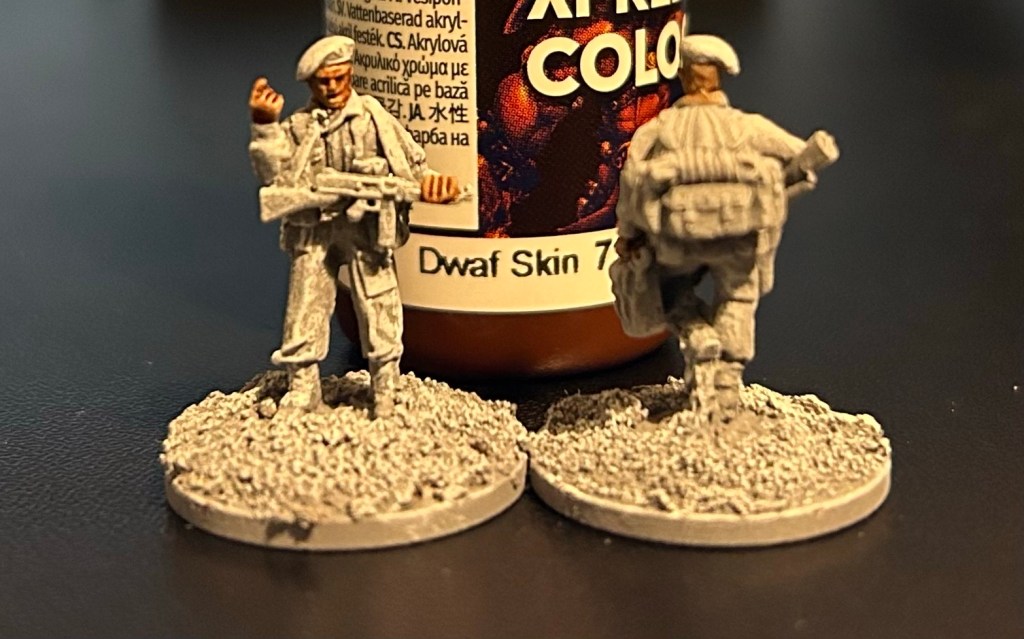
All the figures are then dusted in two light coats of grey primer. If you’re in the UK you’ll be familiar with Halfords Grey Primer in a rattle-can, it gives good coverage and is good value. Having tested out some of the colours with white primer I found the end result too bright for what I was seeking. Painting onto the grey primer was too dark. The TLAR colour came through by using grey primer and then a good white dry brushing.
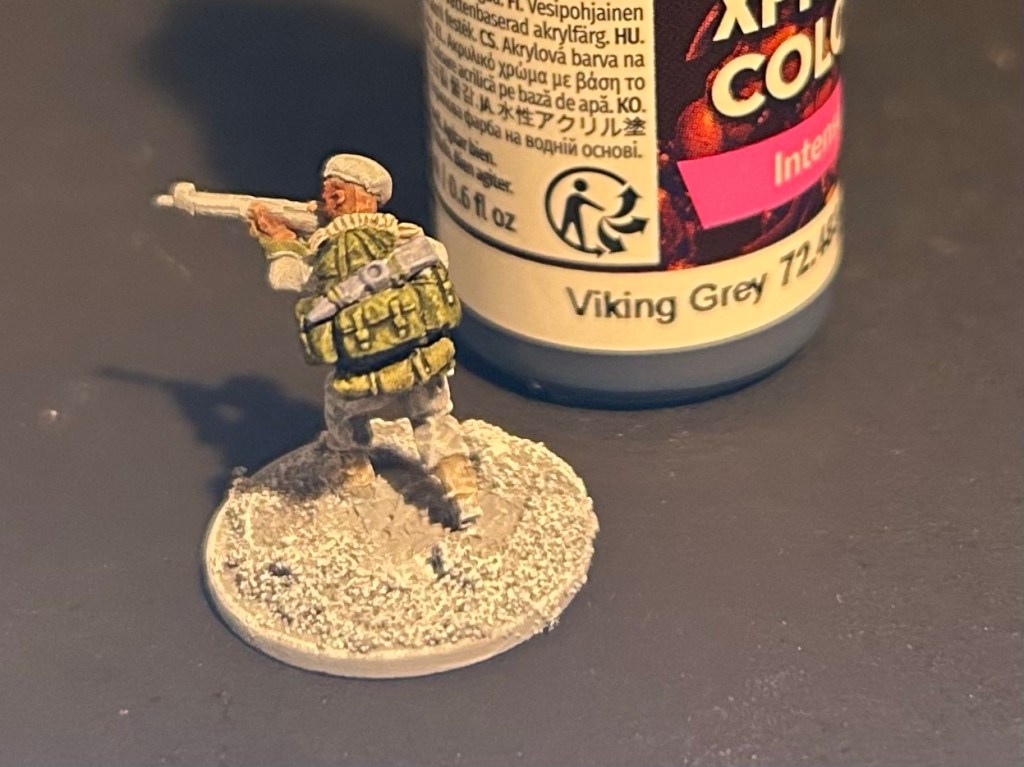
The example on the right above (3, Battledress Brown over white primer) could be perfect for tank crews.
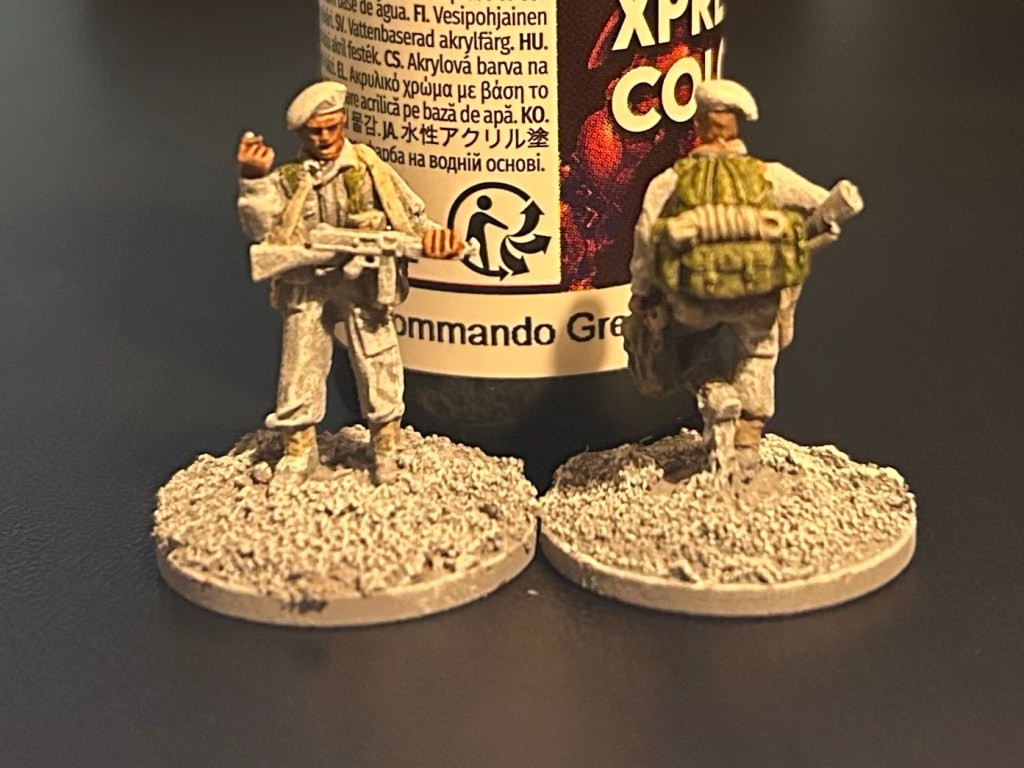

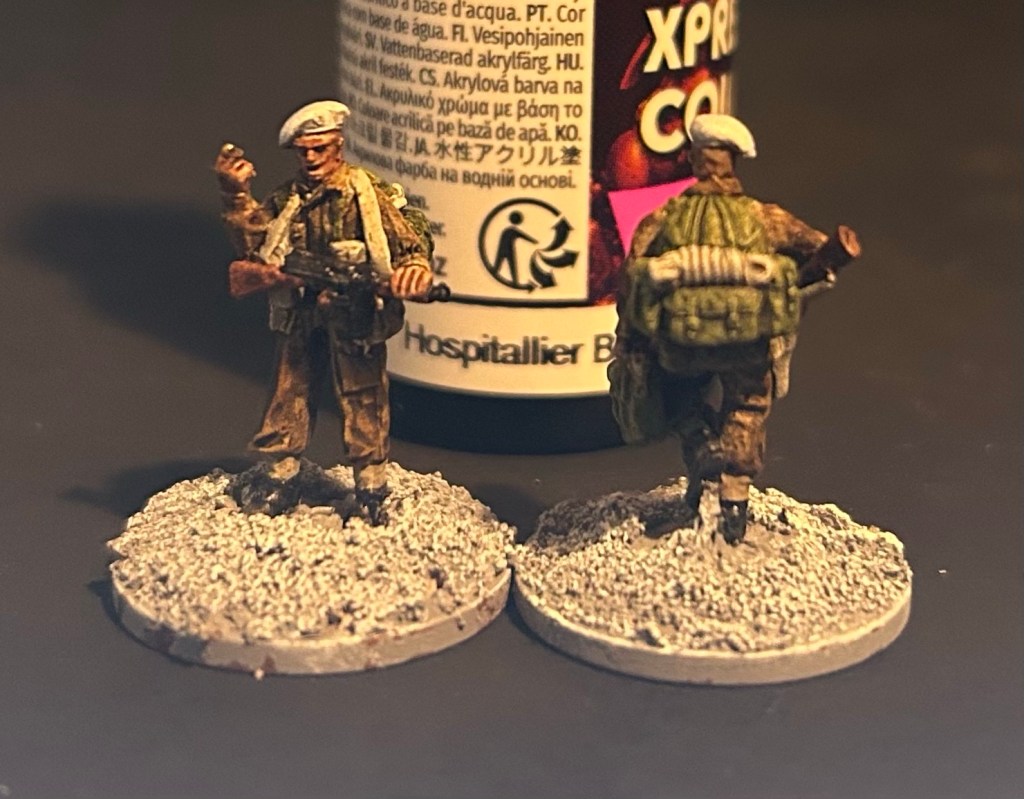
Now the figures are ready for flock and tufts on the bases.
Happy with the test figures, I’ve then painted the rest of the Commando force. If I have time before the big game I’ll attempt to paint on the Commando shoulder flashes in black and red.
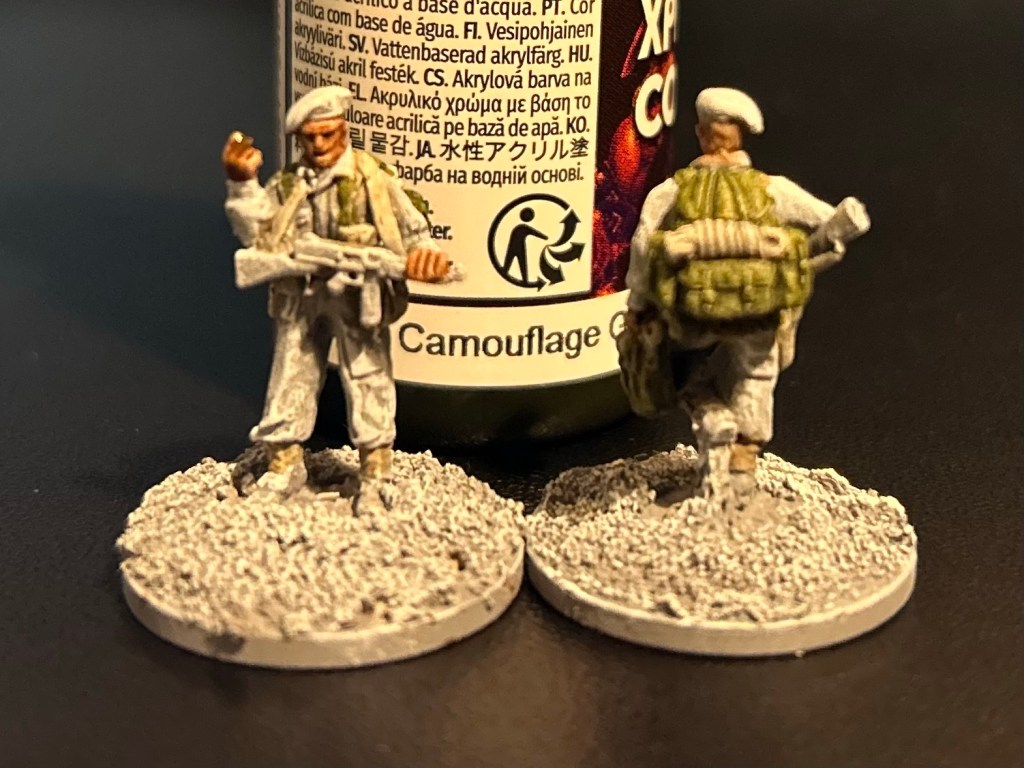
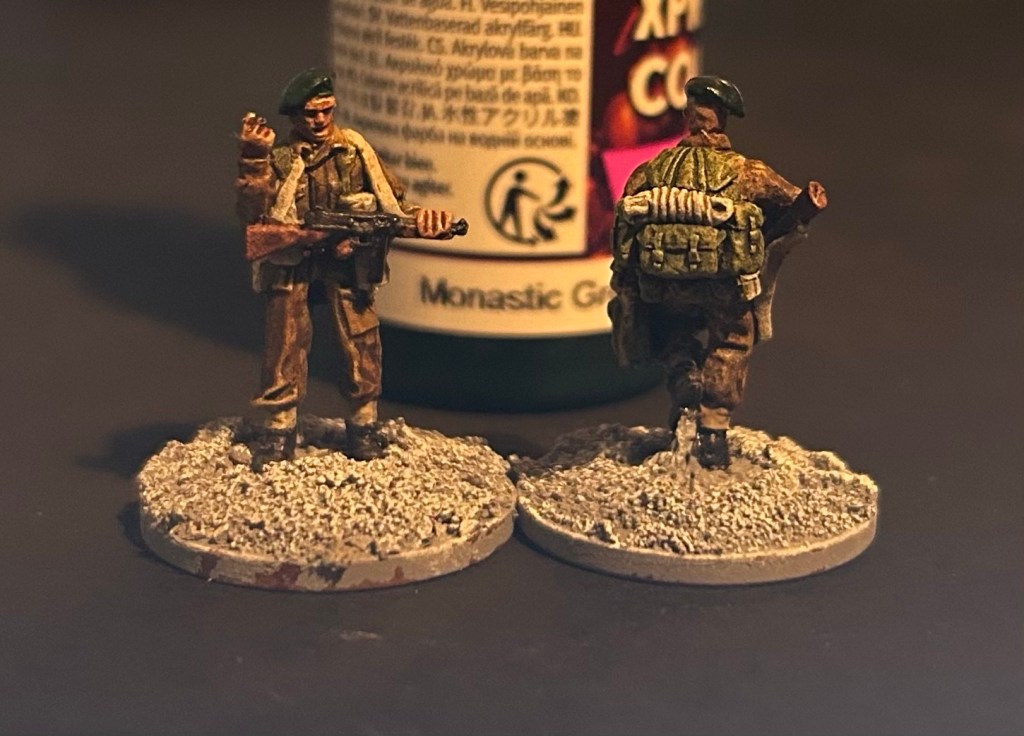
Don’t forget to seal and protect the whole figure with a coat or two of varnish, as the Xpress paints are less durable than regular acrylics.
If you wanted to lift the figures further you could also add a brown filter and some highlights such as around the skin areas, weapons and the like, prior to varnishing. Likewise you could add some highlights to the figures using regular acrylic paints.
WHAT HAVE I LEARNED?
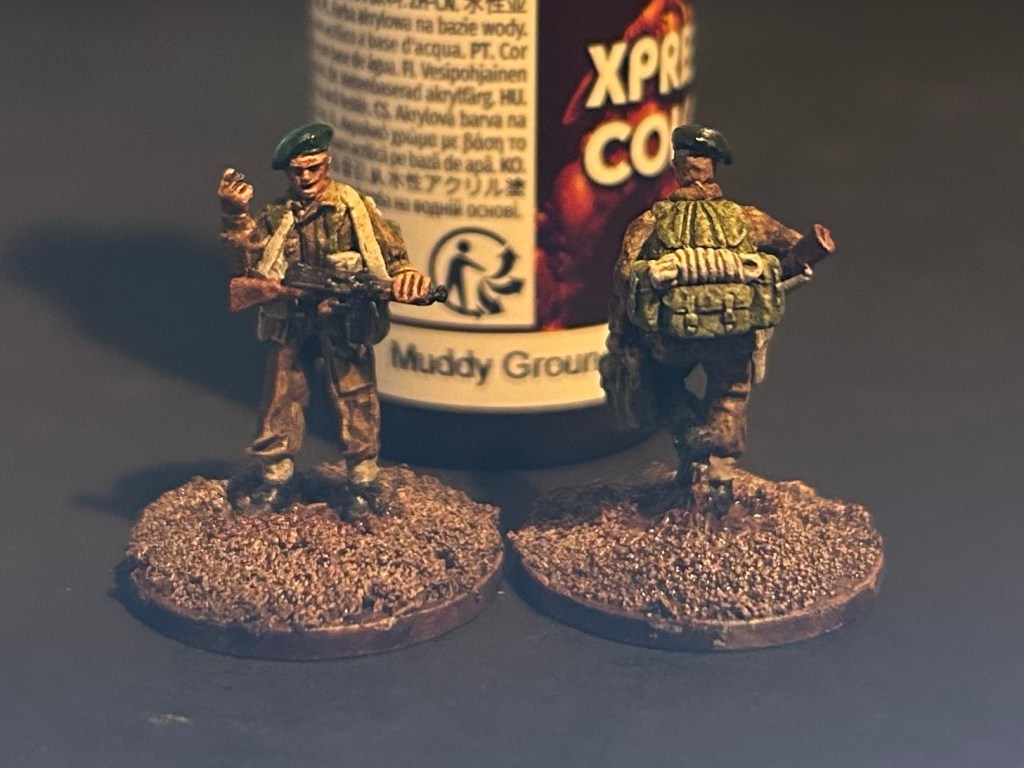
Painting using contrast paints is quite a different method to usual acrylics, and I’ve found that broadly speaking it’s better to paint from the outside in rather than the reverse. So essentially once the skin tones are done you’re painting webbing etc while Battledress (uniform) is one of the last areas painted. Took some getting used to, but it made painting the figures much easier!
WHAT’S NEXT?
For now I’m happy with these and this approach will allow me to much more quickly field the troops I’ll need for Sword 80, so goal achieved I think. I’ll probably mix it up a bit with the infantry and include one or two of the battalions with green webbing, and use the camouflage green for helmets, but apart from that will keep the colours the same.

I’ve never used any of the new types of speed paints. They look pretty good I reckon. A few other folk I follow use them to good effect too. Thanks for the guide. Maybe for my next army I’ll give them a go, most of my current paints are drying out from lack of use and age.
LikeLiked by 2 people
Thanks they’re worth a go for sure! You could get away with probably 5 colours.
LikeLiked by 1 person
They look really good, Dave! :-) How long do you reckon it took to paint them? I’m not sure using contrast paints would save me much time, as I’d have to be more careful applying the separate contrast colours. Funnily enough, though, I’ve now switched to painting equipment and straps after faces and leaving the main uniform colours until last and find that easier.
LikeLiked by 2 people
Yes that approach seems to work well, I’ve only recently started doing it that way. Realistically no more than 20-30 mins per figure, I’ll time the next batch 🙂
LikeLiked by 1 person