A challenging defence of Periers Ridge, played with 20mm Rapid Fire Reloaded at Entoyment in Poole.
SCENARIO
This game was played using Scenario 7 contained in the Rapid Fire D-Day ‘Blue Book’. While taking some tweaks from later versions of the scenario (such as including a ridgeline 6-inches from the table edge and the ability to use hull-down positions along the ridge), it will be played using standard Rapid Fire Reloaded Rules.

British forces started at points A and Bieville, with a 6-pounder in the tree line south of Bieville. Reinforcements to enter at point C.
German forces started at point B, reinforcements entered between B and the western edge of Lebisey Wood.
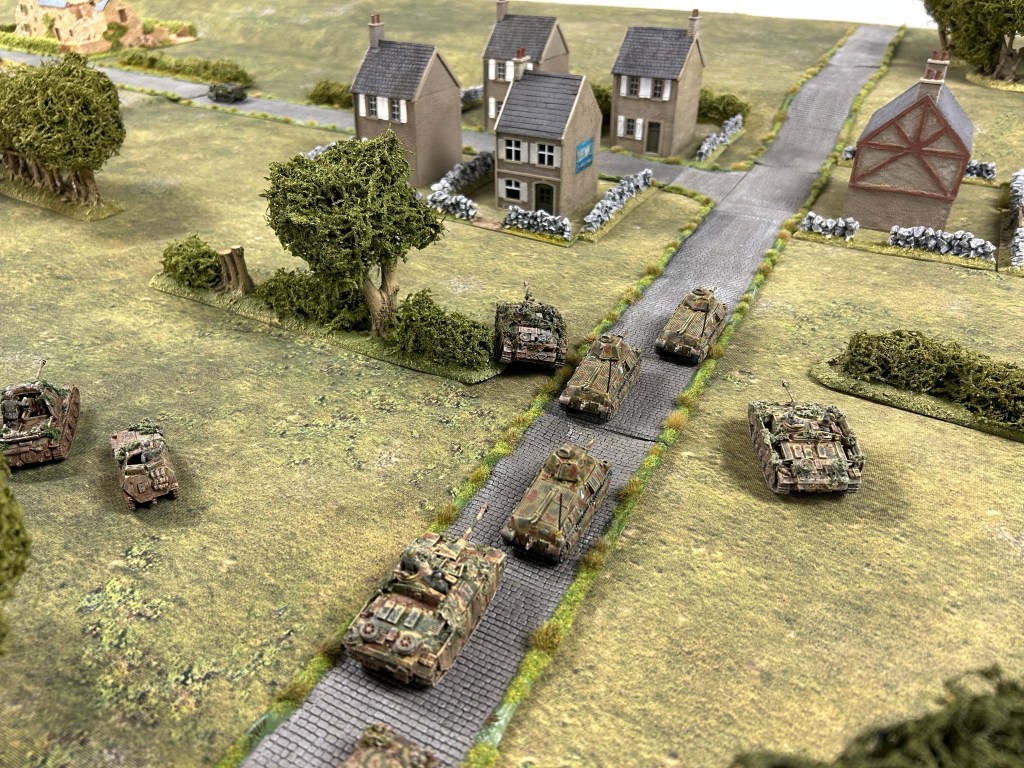
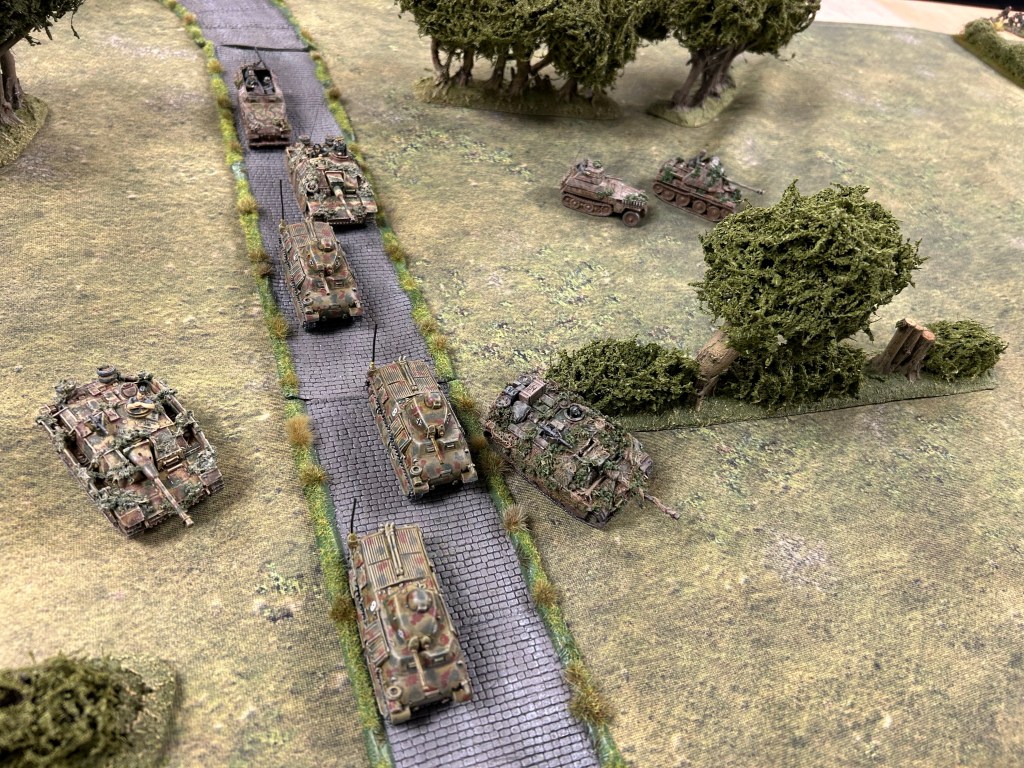
You might notice some StuGs, a pair of Tigers and a few other German vehicles which are proxies in the game for Panzer IVs.
Background
It’s the afternoon of 6th June, 1944. Allied forces have landed in Normandy, and, at the eastern flank of the invasion beaches, British forces have pressed toward the Periers Ridge. Elements of the 21st Panzer Division are moving towards the ridge from the opposite direction, essentially in order to counter-attack the landings.
Objectives
The German objective is to exit at least two tanks off the table edge behind Periers Ridge. The British objective simply is to stop them.
ORDER OF BATTLE
British Forces
Elements of 3rd Infantry Division
- HQ
- 2nd Shropshire Light Infantry (HQ Company, A B C D Companies)
- Recce Troop, A & B Squadrons Staffordshire Yeomanry
- 20th Anti-Tank Regiment, RA
- Limited off-table Naval Gunfire Support
German Forces
Kampfgruppe Oppeln, 21st Panzer Division
- 1st Battalion, Panzer Regiment 22
- 2nd Battalion, Panzer Regiment 22
- 1st Battalion, Panzer Grenadier Regiment 125
- 1st Company, Panzer Pioneer Battalion 220
- 3rd Battalion, Panzer Artillery Regiment 155
THE GAME
The German force has a simple mission: to seize Periers Ridge and further counterattack towards the British landings. My British force, an infantry battalion with supporting tanks dug in along the Periers ridgeline and village of Bieville, has to stop them. For the British, failure means German forces could counterattack towards Sword beach.
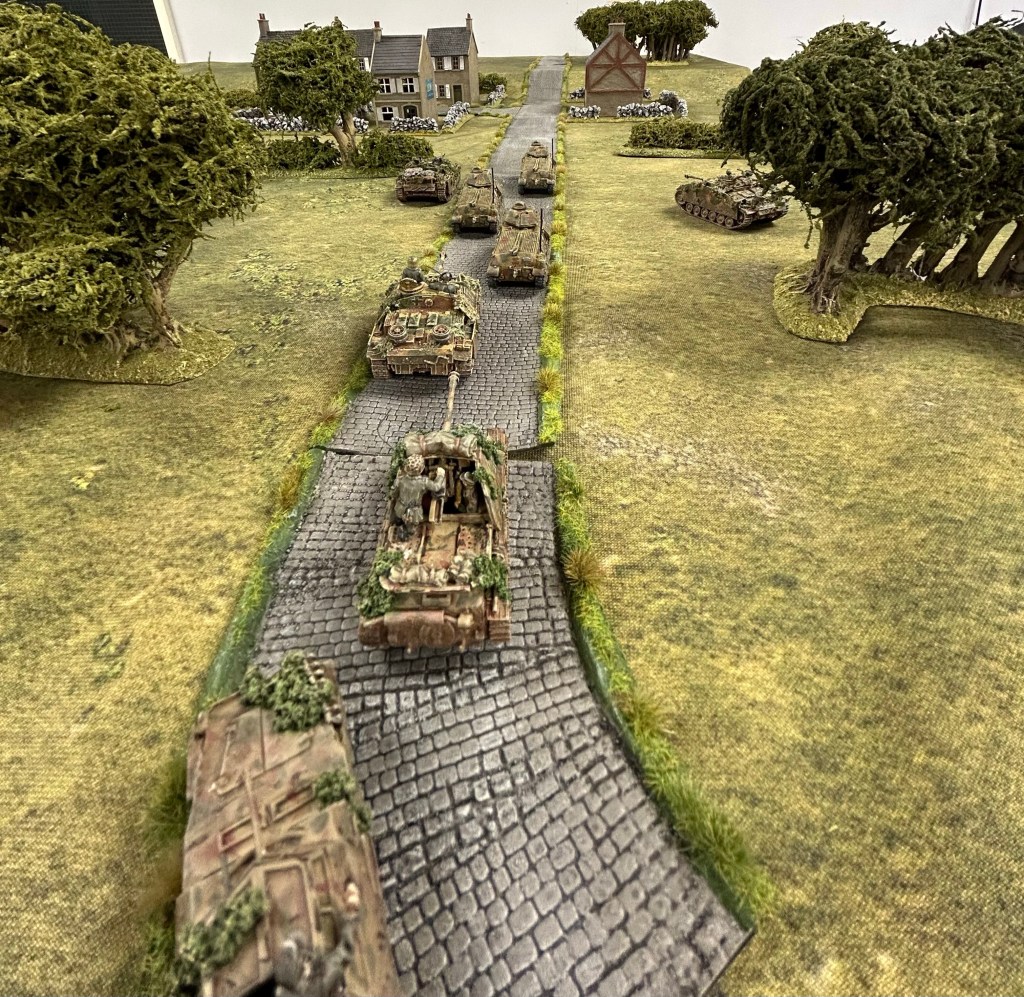
The German assault began with Ian’s initial units moving quickly along the road towards Bieville, which lies just beneath the ridge.
Unseen from their position, British Stuarts move along the ridgeline toward Periers, positioning themselves for an ambush. In Bieville, a 3-inch mortar platoon hustles forward in their carrier towards Periers, ready to drop rounds onto the approaching enemy.
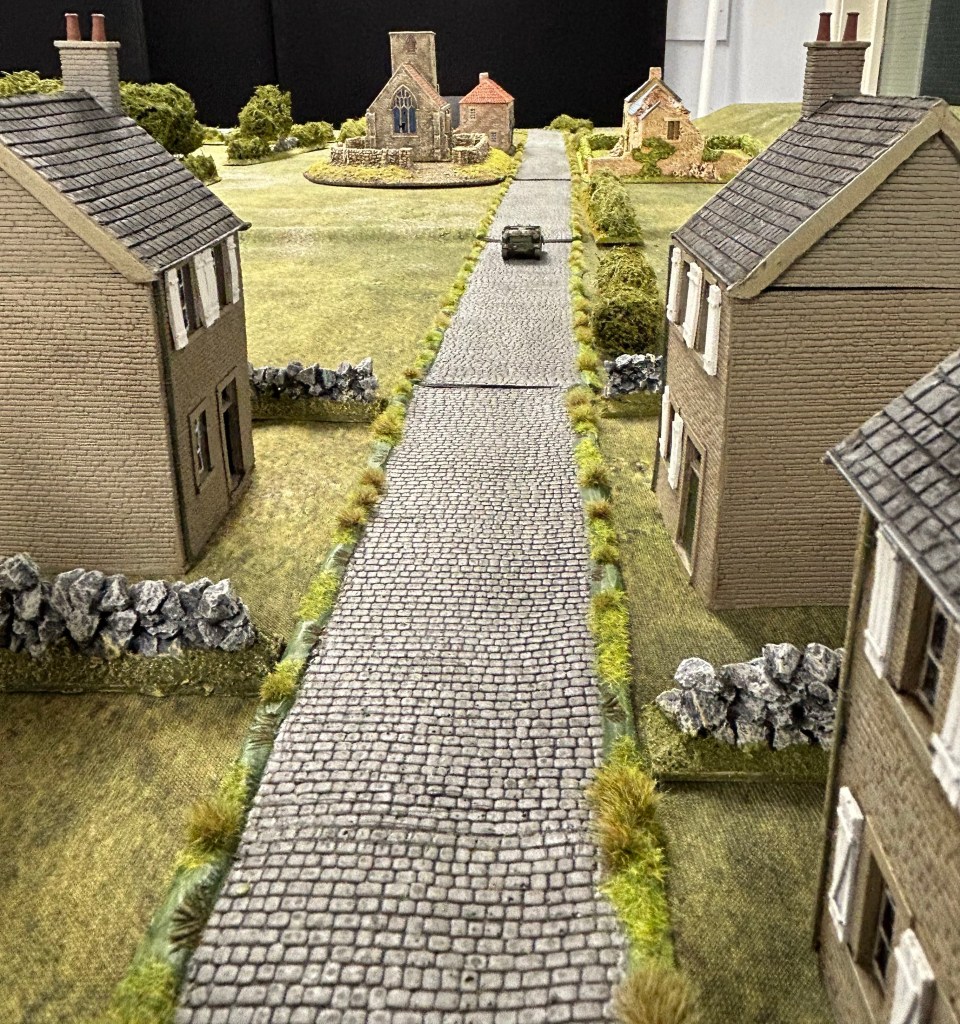
At this stage I anticipated that Ian would strike along the road towards Bieville – this would be the shortest distance to Periers Ridge – while also pushing his later reinforcements to the ridge further along via the village of Periers. Thereby splitting my attention. Let’s see how it actually played out, though there is a subtle hint in the title of this After Action Report!
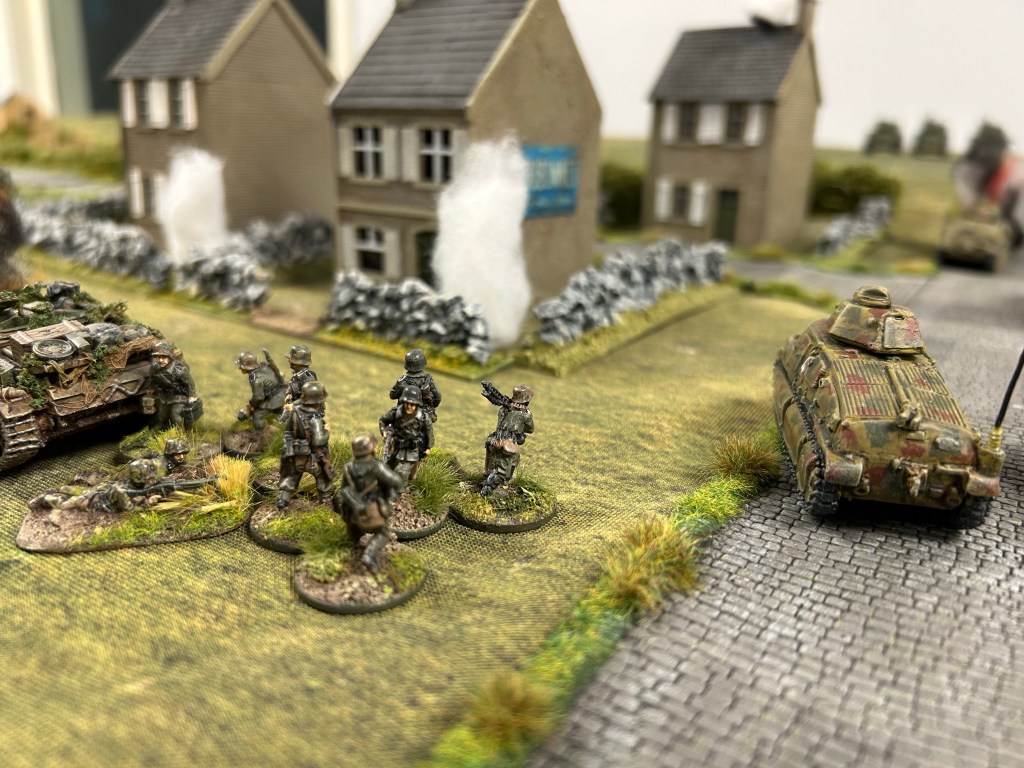
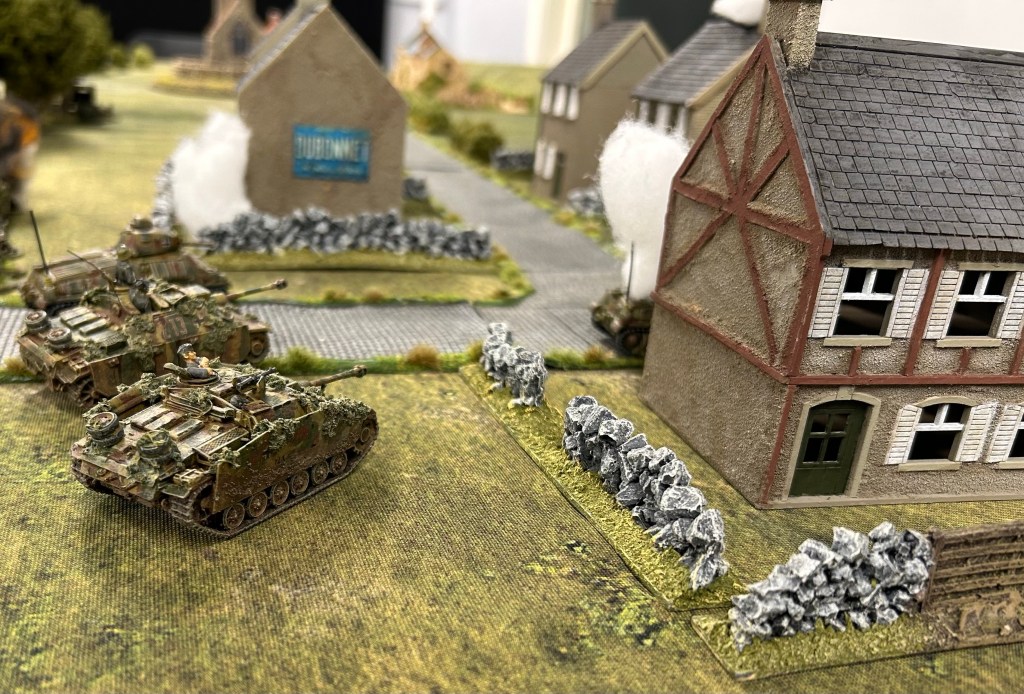
On the approaches to Bieville a company of Panzer Grenadiers disembark from their half-track, accompanied by an Alte, a Marder tank destroyer, and supported to their flank by some German tanks. French-built Somuas pressed into German service and Panzer IVs.
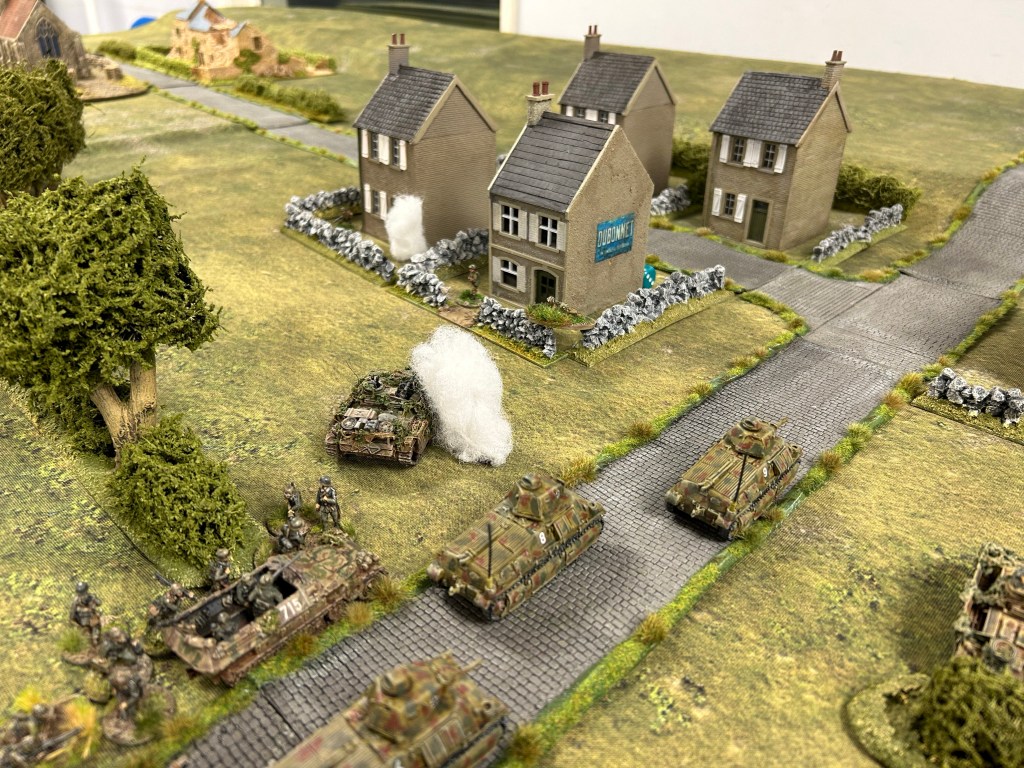
Suddenly, the British pounce. A 6-pounder Anti-Tank gun fires, damaging the lead German Panzer IV. A PIAT shot by the British infantry battalion’s HQ Company proves less effective, glancing off a Somua without leaving a mark. From nearby houses, C Company and HQ Company open an ambush, catching the Germans off guard and causing the first casualty. The Marder and Alte retaliate, shells tearing into British positions within Bieville, reducing most of the houses to rubble over the following couple of turns.
Anticipating that these houses would be pummelled by Ian, I pull C Company and HQ Company back to the next row of houses, A and B companies then falling back to the rear of that next row of houses.
Meanwhile to the west, the British mortar platoon slips into Periers, setting up in the grounds of a large building, as the Stuarts continue their hidden advance behind the ridgeline.
The scenario allows for two salvos of Naval Gunfire Support, each of 4x150mm shells. I target the most dense concentration of Ian’s tanks, just west of Lebisey Wood. Four tanks are fully contained within individual squares on the acetate grid. Approximately a 1:2 chance of hitting something with 4xD10s to roll.
Shells come screaming through the air – and achieve the square root of sweet FA! Needless to say it wasn’t only the British ranks gripped by frustration! Not to worry, I’ve got another salvo on Turn Six, there will be plenty of targets as German reinforcements are due to enter on the same turn.
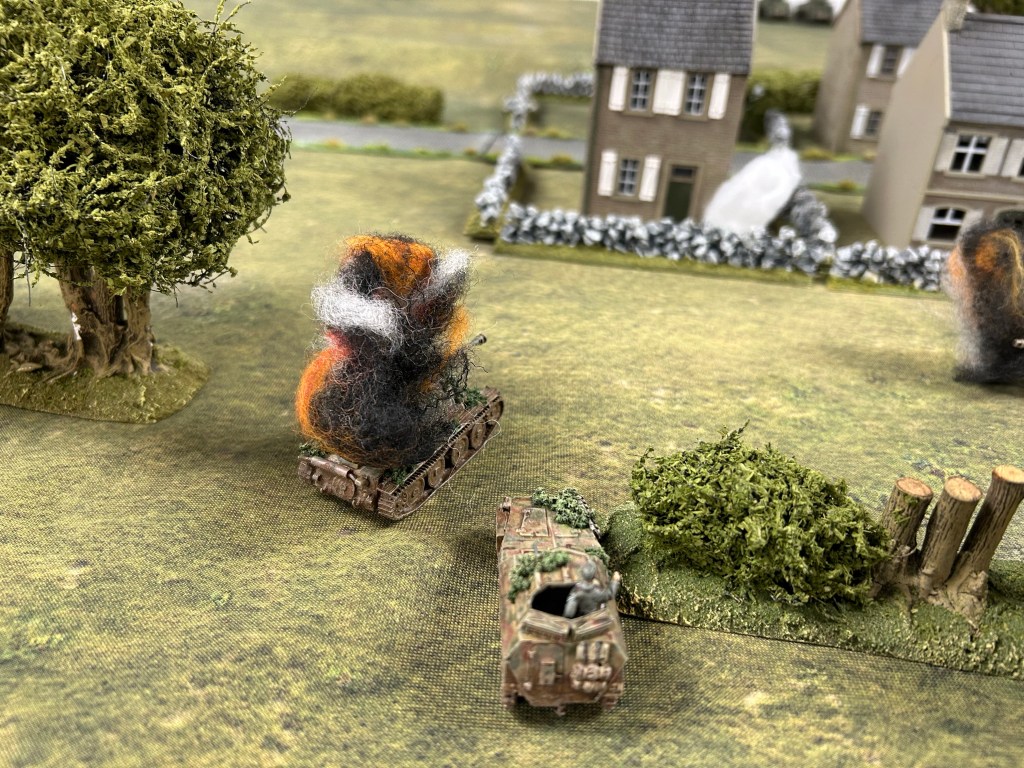
Throughout this spot of excitement the 6-pounder crew, however, kept their focus. Having earlier missed a Panzer IV, they fire again, this time destroying a Panzer IV moving between the villages of Bieville and Periers. A short while later they ambush a Pioneer halftrack heading towards Periers – destroying the vehicle and taking out half the embarked Pioneer company as casualties.
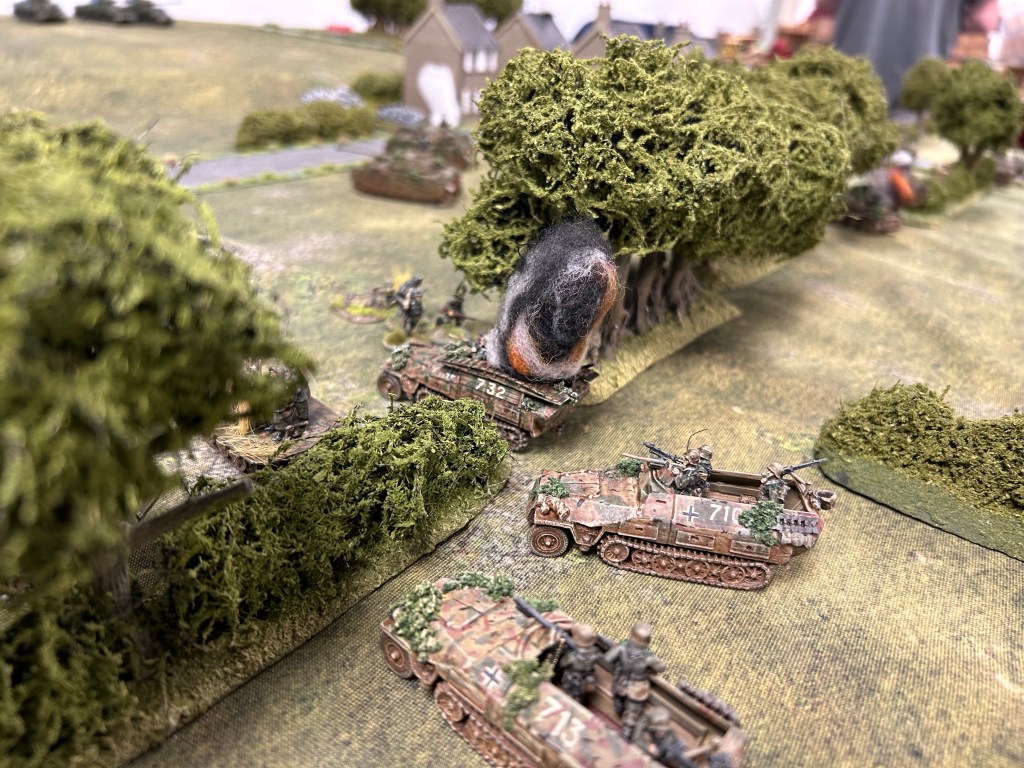
German tanks, supported by Grenadiers, now start to press further into Bieville. In response, the British continue their tactical retreat, falling back to better cover behind houses and hedgerows.
Hidden in hull-down positions on the ridgeline, an Achilles tank destroyer and M10 unleash a deadly barrage, catching the leading German tanks by surprise. A Somua explodes and another Panzer IV is damaged. The Marder, attempting to outflank the British by moving to the west of Bieville, met its end as the Stuarts open fire, again from hull-down positions on the ridgeline.
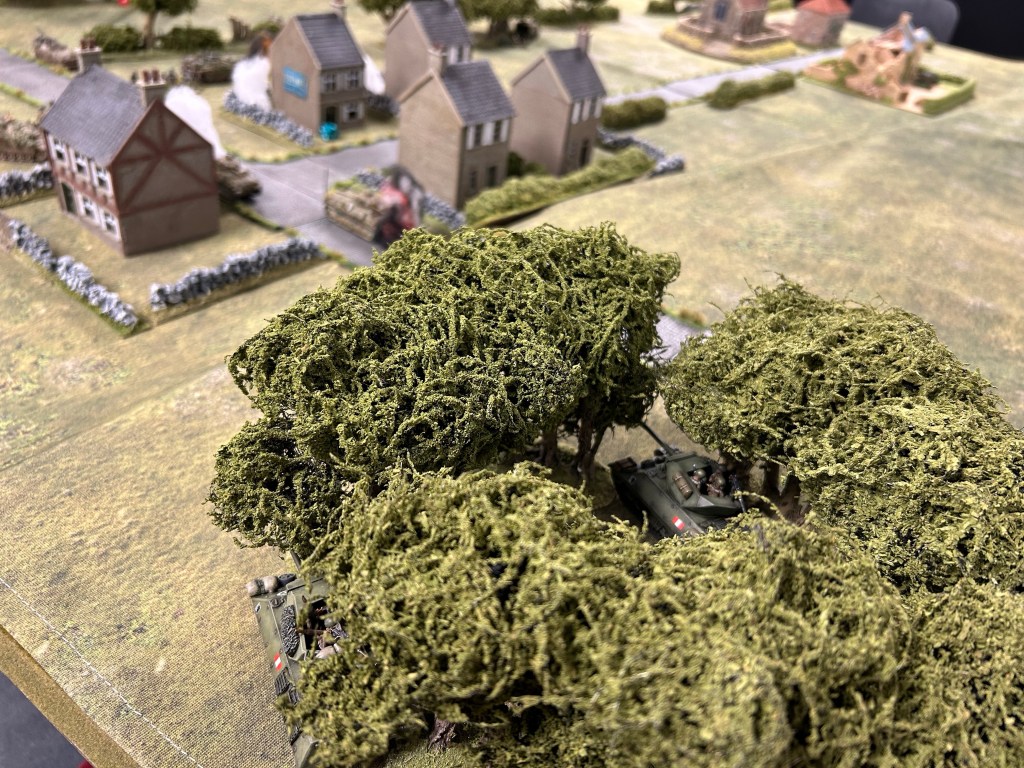
At this stage I was starting to feel cautiously optimistic of my chances: my losses amounted to a handful of infantry, against several tanks on Ian’s side.
German reinforcements arrived on cue at the start of Turn Six. A fresh Grenadier company and more tanks emerge from the woods to the west of Lebisey Wood, ready to press the attack.
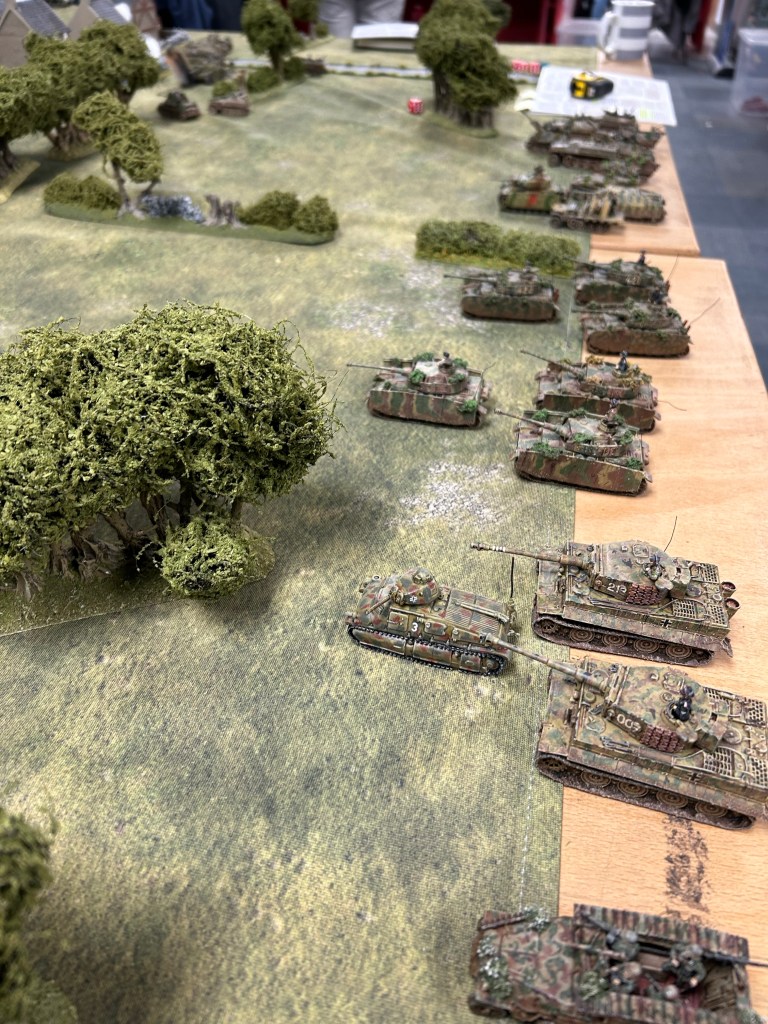
To the east of Bieville combat continues between the British Anti-Tank Regiment and a vanguard of panzers attempting to force their way through to the ridgeline. The solitary Achilles tank destroyer, already damaged, gets hit again. It breaks rank and is routed. How very dare they!
The British call in another round of naval gunfire support. But again, the shells fall harmlessly around the quite densely packed German armoured reinforcements. While my morale and belief in the Dice Gods was beginning to falter, the British forces under my command held their ground.
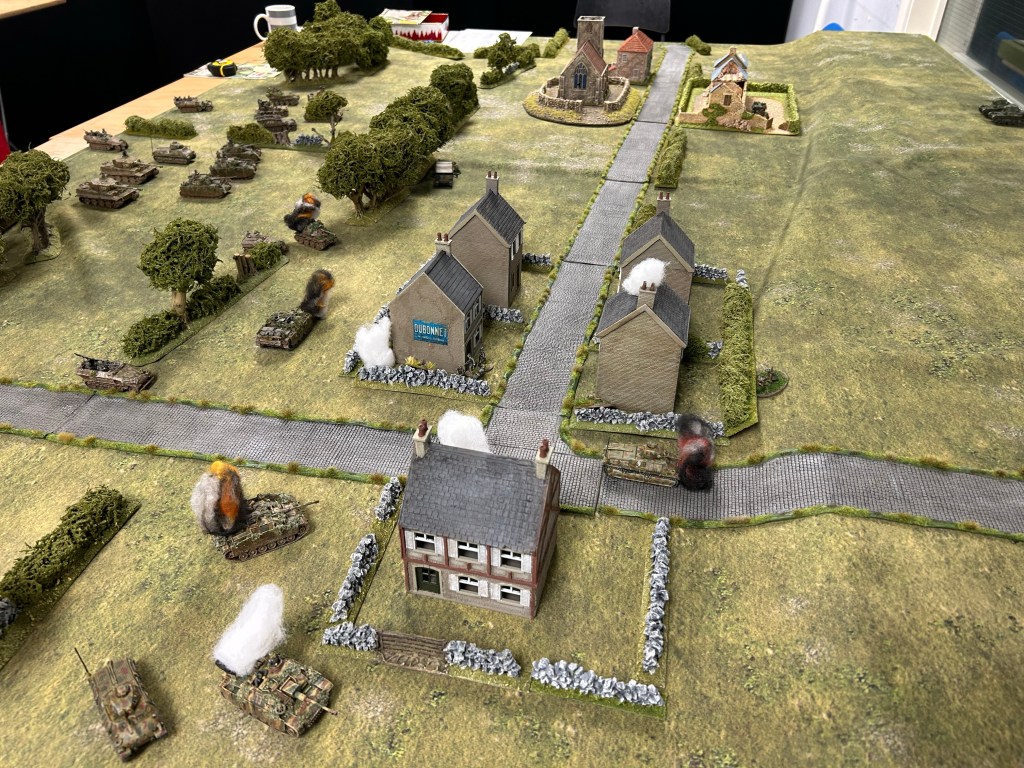
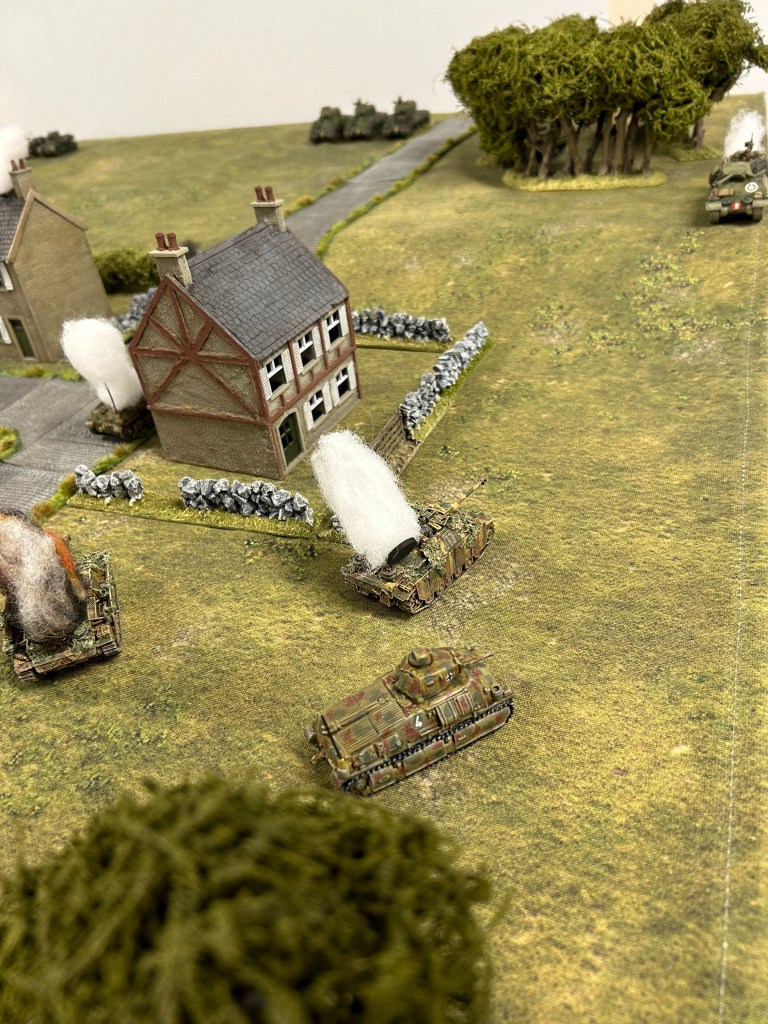
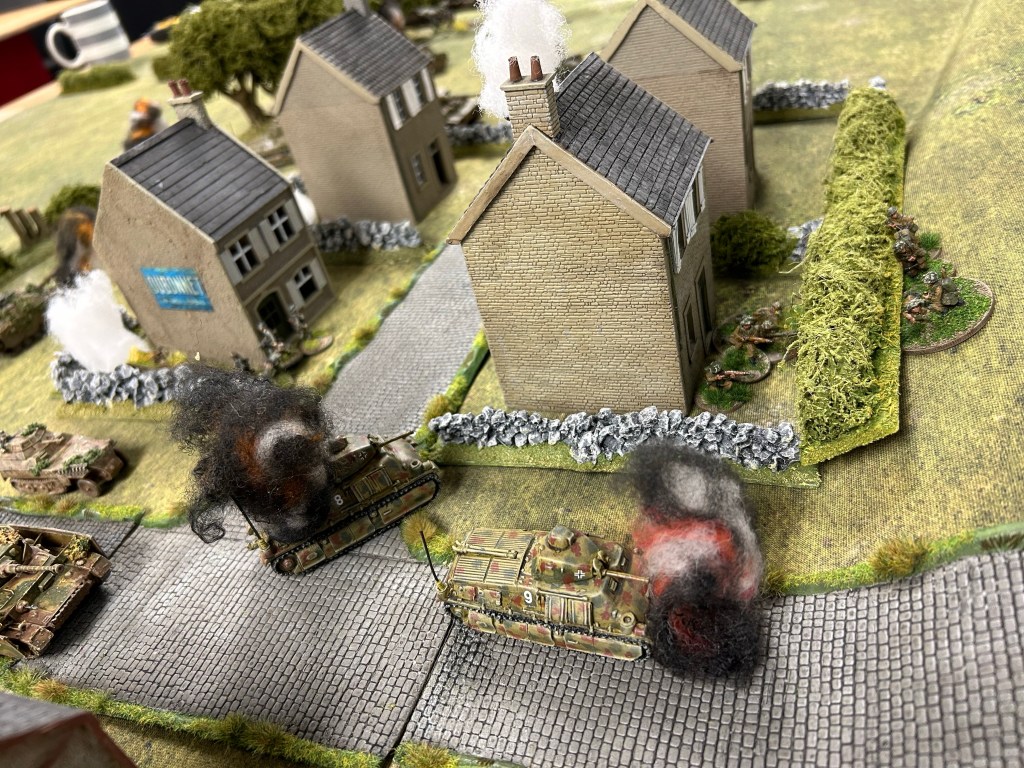
I now saw Ian develop a three-pronged assault on Bieville. Panzer IVs roared through the village, smashing through hedgerows. Again British infantry, waiting patiently in ambush, struck first. The lead Panzer IV was hit, damaged but not destroyed – and this damaged tank passed morale. Clearly the German morale was higher than the Brits on this afternoon!
Inside Bieville, a company of German Grenadiers, with artillery support, opened fire into the house in which A Company was now dug-in. Earlier in the battle houses had taken quite some damage (or just poor dice!) before being reduced, allowing my infantry companies to withdraw to alternative positions relatively unmolested with few casualties. Not this time, it was brutal and quick. In one round of firing the house is reduced to a ruin and the full-strength A Company is wiped out.
The Battle for Bieville develops:
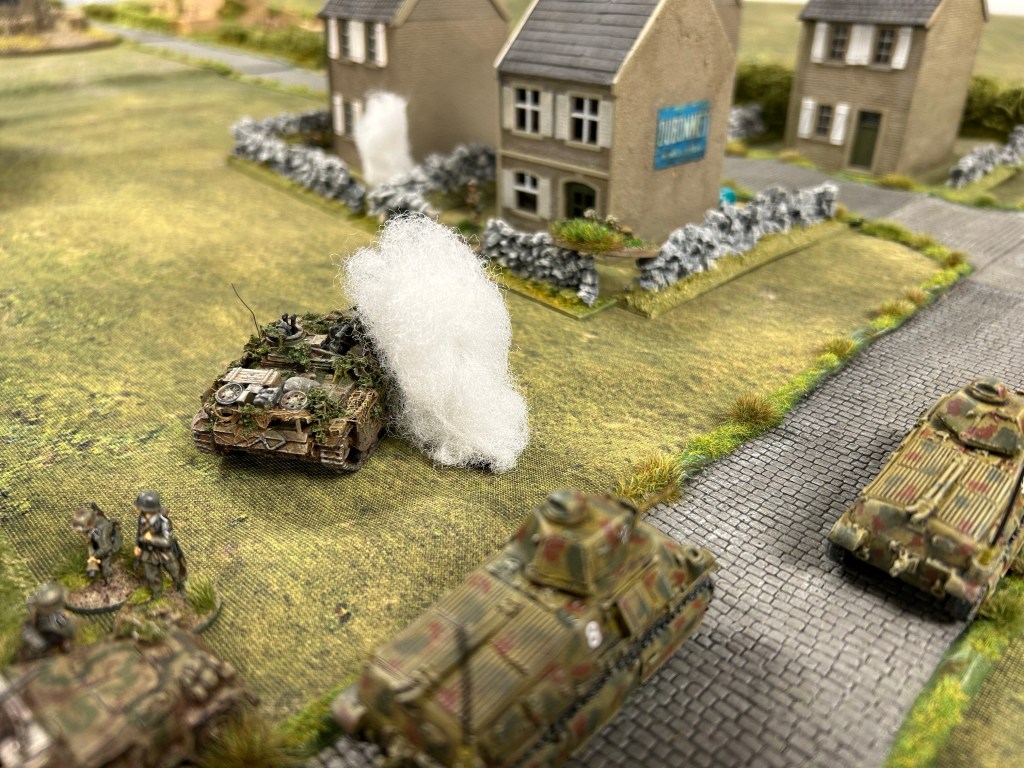



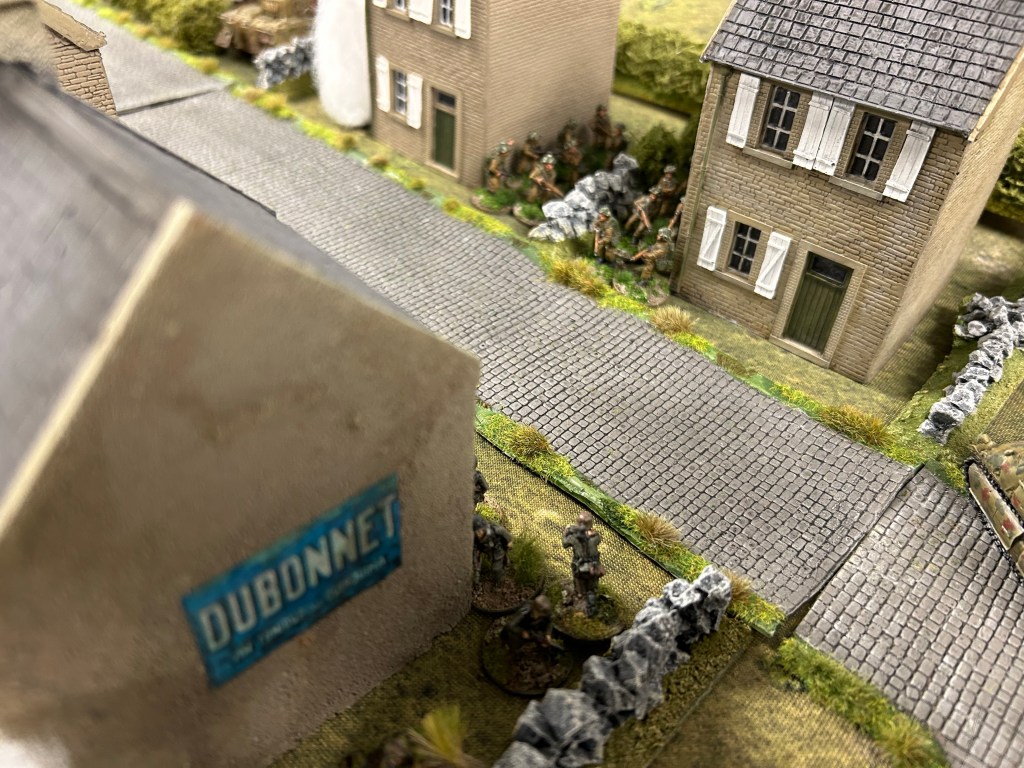
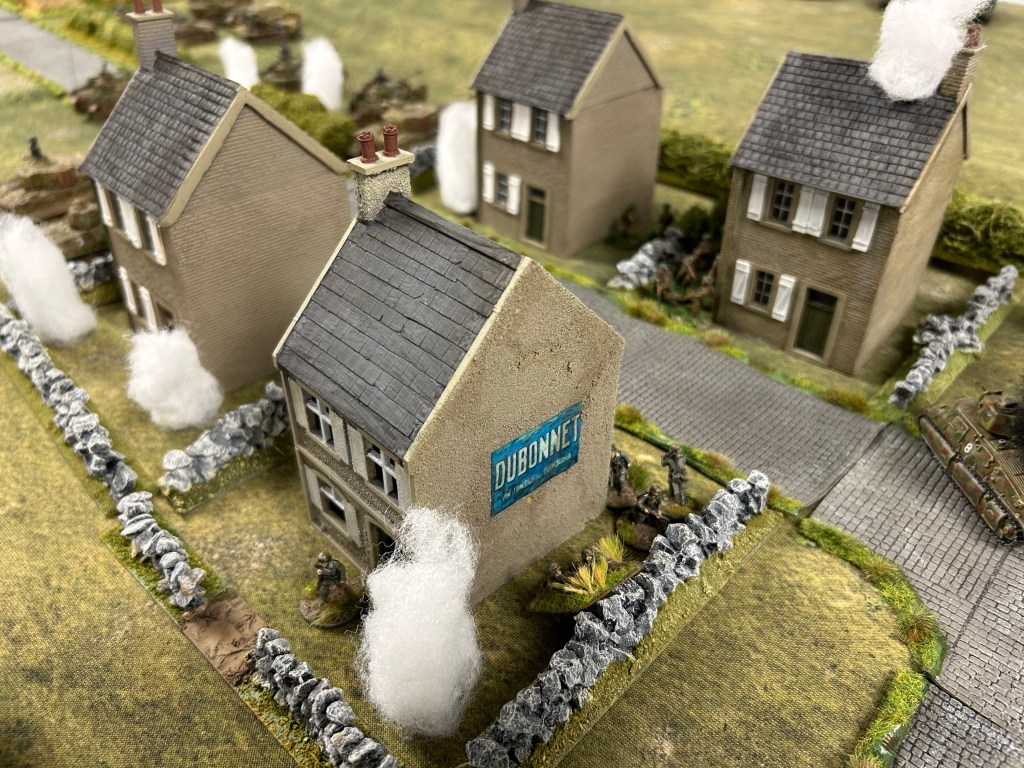
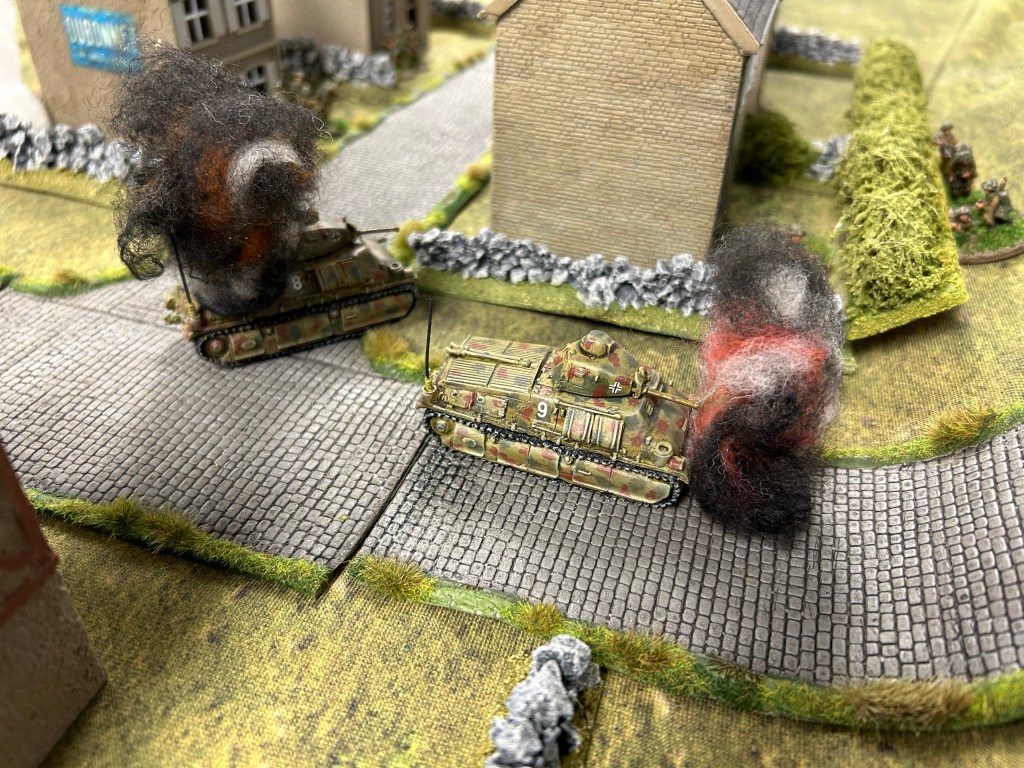
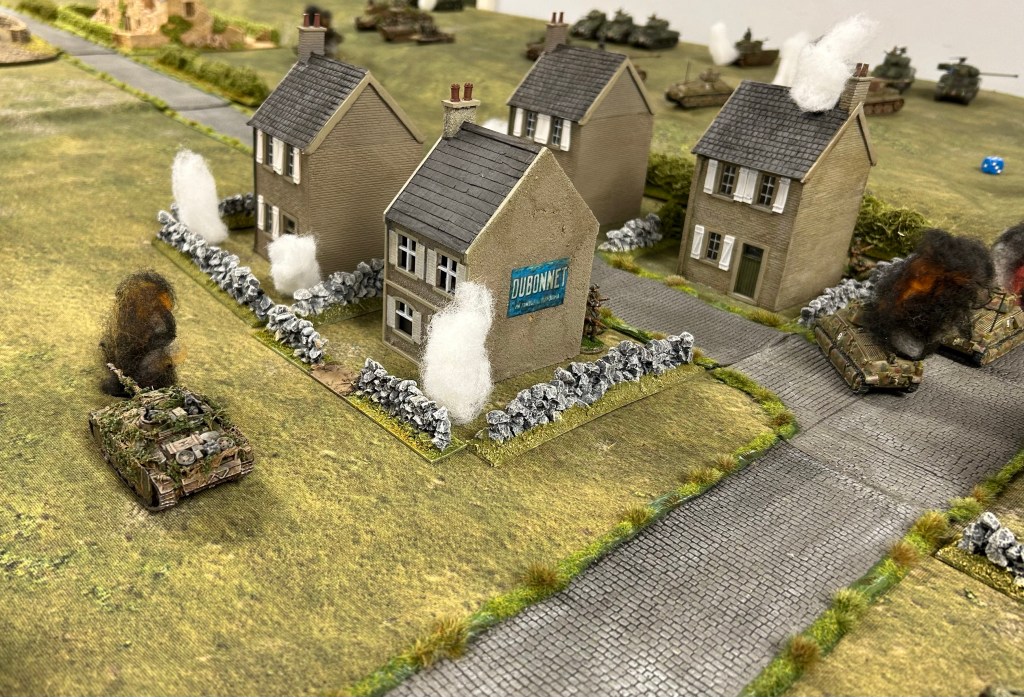
Back to the centre of the table, amongst woods and hedgerows, a Panzer IV destroys my AT Platoon’s Loyd carrier. In follow up, the surviving German Pioneers engage the 6-pounder crew with flamethrower and small arms. The crew didn’t stand a chance. My casualties feel like they’re now starting to mount steadily.
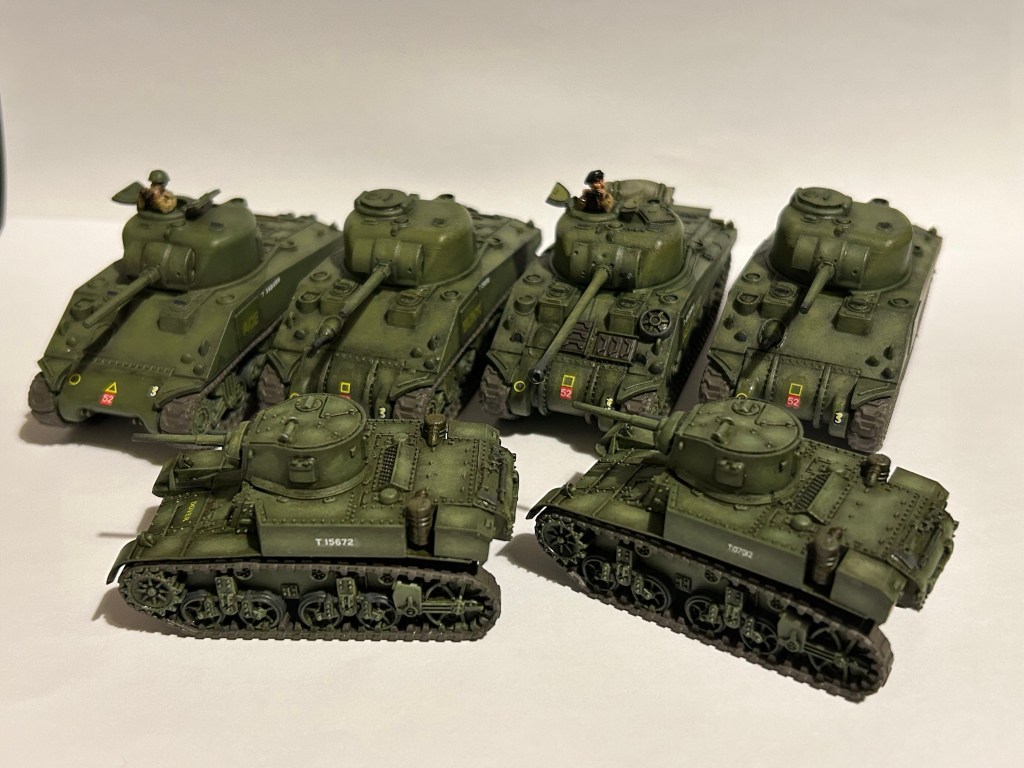
The climax of the battle was now close. British reinforcements enter behind the ridge and take up hull-down positions on the ridge above Bieville; A Squadron containing a couple of Sherman IIIs and a Sherman VC ‘Firefly’.
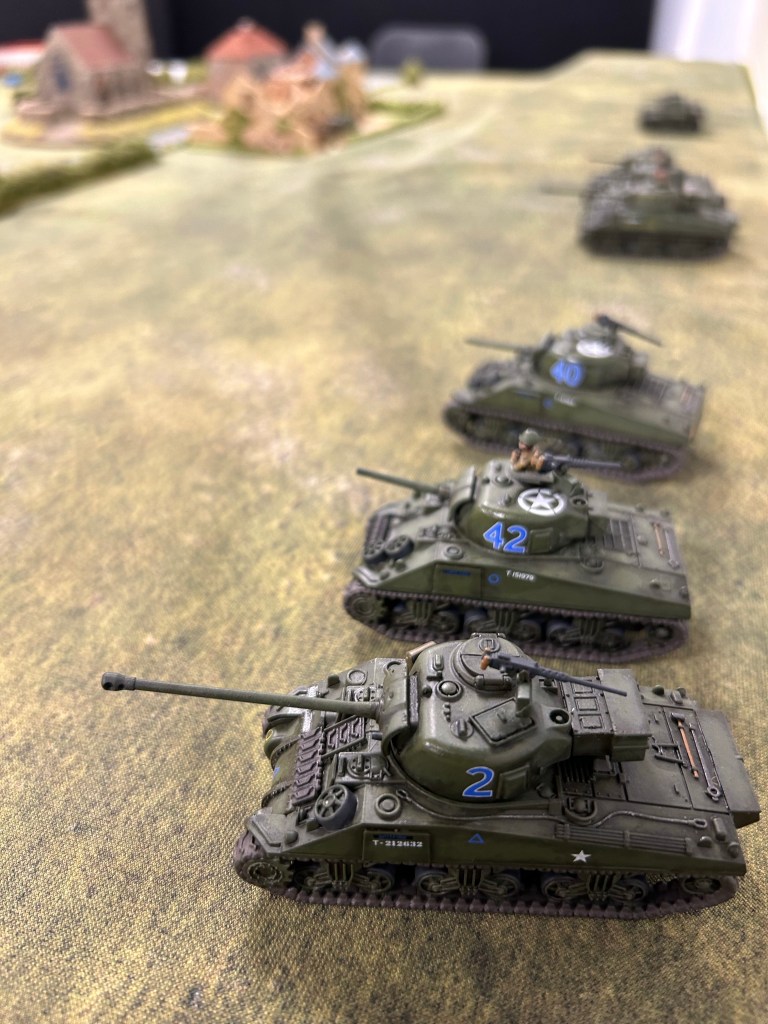
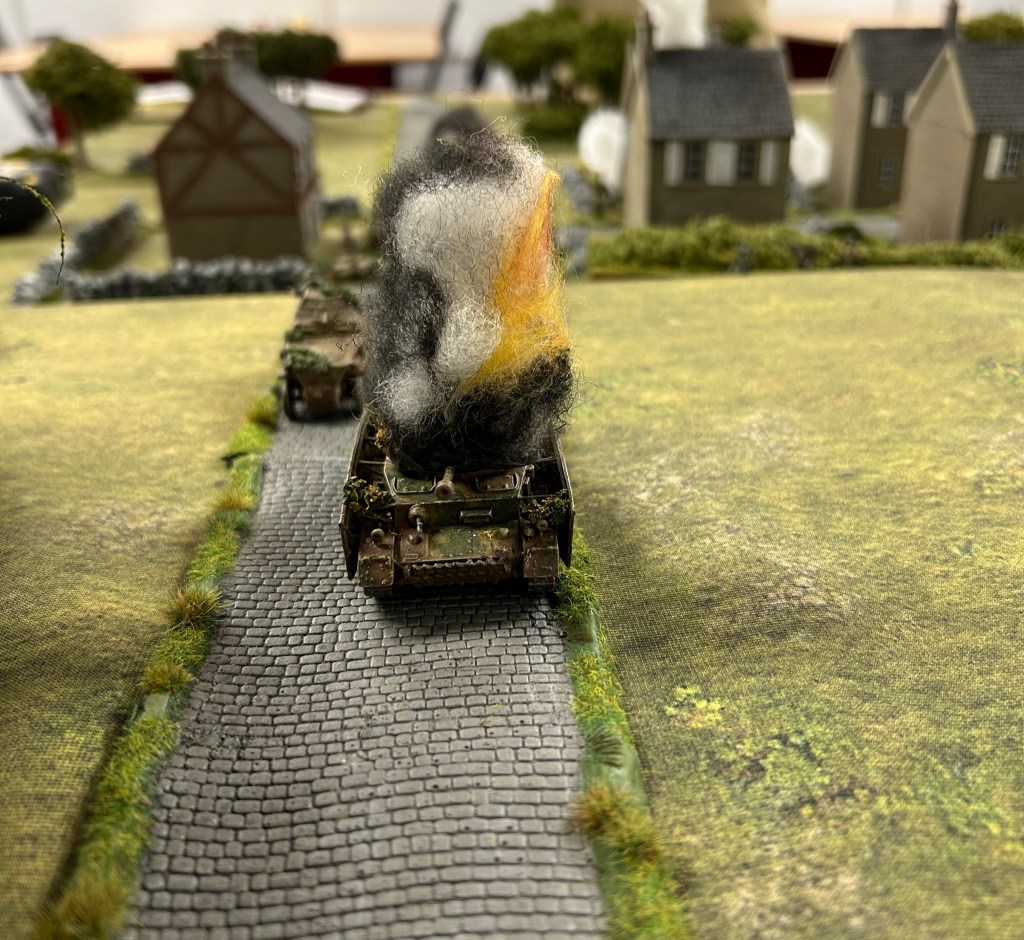
British Sherman VCs, Sherman IIIs, and Stuarts are in position along the ridgeline, engaging German armour in a desperate fight to hold the ridge. Now the Germans swarm through Bieville as their reinforcements start to have a tangible impact on events. British infantry companies fight back with every weapon to hand against light AFVs, including D Company who now engage a half-track attempting to break through. However, the infantry run out of PIAT rounds and have nothing left with which to engage enemy tanks in Bieville.
The action now started to focus on the ground between Bieville and Periers Ridge. Ambushes were sprung, with one Panzer IV after another damaged, but the tide was turning. I was hitting German tanks constantly, but just couldn’t break the run of rolling 1s and 2s for damage! If you’re not familiar with RFR you roll to hit and then roll for damage. A roll of 1 or 2 being no damage, 3 or 4 inflicts damage, a 5 or 6 destroys a vehicle. Time to change the dice?

As Turn Ten begins, the Germans are getting closer, in some places closing to the ridgeline and point-blank with the British line. Shermans of B Squadron are repositioned to try and stem the tide. On the eastern flank my M10 scored a direct hit on a Somua, destroying it, but German tanks just kept coming, keeping the pressure on.
The ridge was on the verge of falling: but it wasn’t yet over. I still had all of my armour, minus the Achilles, so if I could hammer the lead German tanks I might still keep them from exiting the table edge. Then keep repositioning and hitting German tanks at close range.
It was at this stage we remembered Ian had to exit two tanks off the table edge behind the ridge, not two armoured vehicles. I’d been purposely hitting his tanks with my tanks and AT weapons while he’d been pushing fast-moving AFVs up the table – especially to the east of Bieville. I had been harassing these AFVs with mortar fire and small arms fire to little effect.
This was going to be close with an hour of play left. The scenario didn’t have a time limit so in theory I could have strung out the turns, but I play by the rule of DBAD – and I had to start destroying more tanks more quickly.
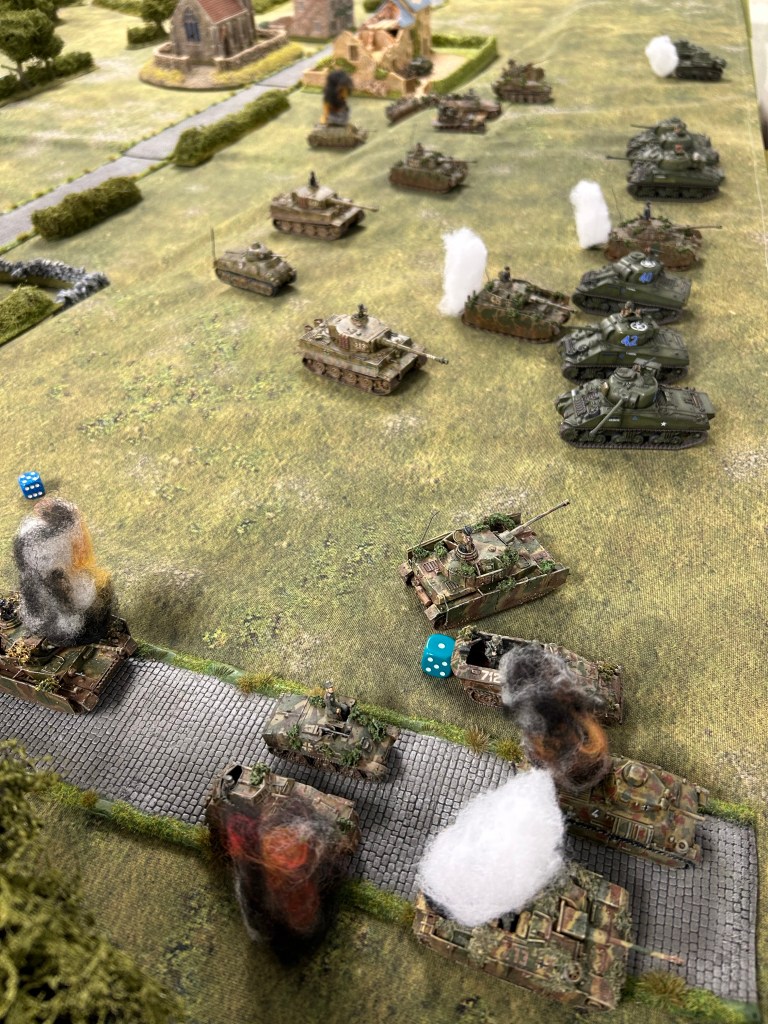
With seven German tanks left in the game, three of which were within moving distance of the table edge, my next turn was crucial. I needed to keep up the hits but break that run of 1s and 2s for damage. I was winning the battle of attrition, but losing the battle for space.
Turn Eleven. Ian’s German tanks all fire on the British tanks along the ridge – only damaging a Stuart. With such a weight of fire, primarily targeted against my pair of Sherman VCs, I expected some heavy losses.
Had the luck of the dice changed?
Two full British armoured squadrons, a recce troop of Stuarts, and an M10, all fire at those three Panzer IVs who were dangerously close to the table edge. Out of nine shots against those Panzer IVs I rolled three hits. Rolling these hits for damage, first a 1 rolled, then a 2, followed by, you guessed it…another 1! Oh feck it I thought!
It was over. The British, exhausted and outnumbered, could no longer hold the line. With nothing left to stop the three leading German tanks from reaching the table edge, the decision was made and I conceded the battle.
THE RESULT
Unlike what actually happened in 1944, the British lost this engagement, German forces pushed through. How much impact would such a difference have made 80 years ago, we can only imagine, though it could make for an interesting ‘what-if’ game. Compared to the German casualties, British losses were relatively light.
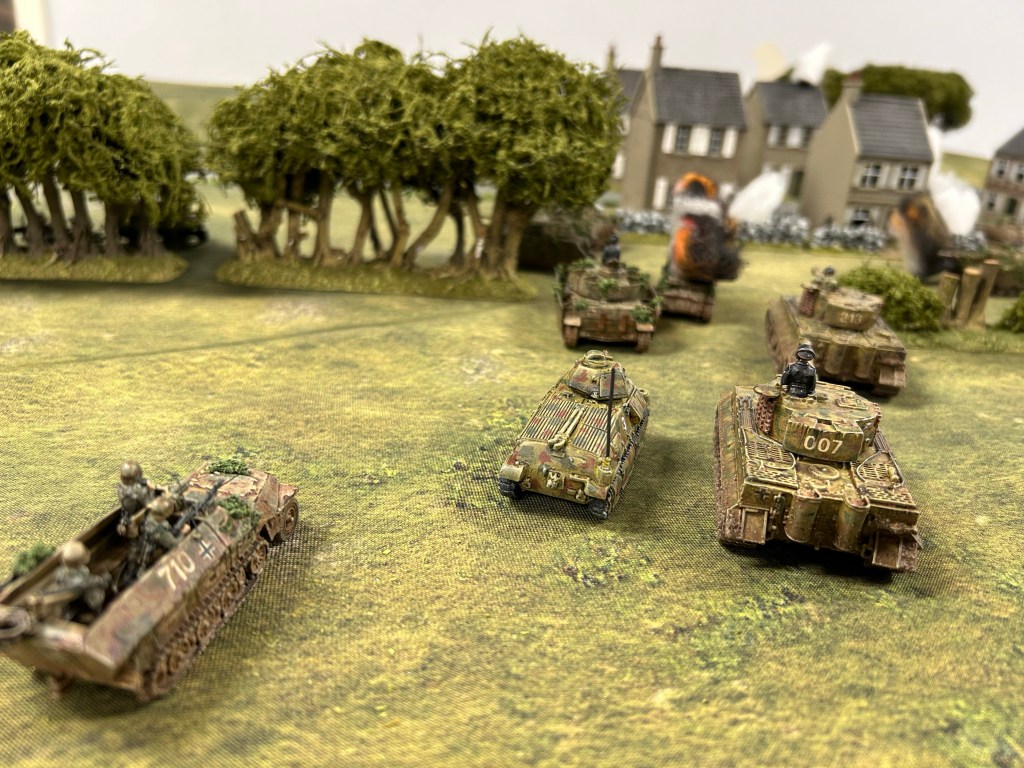
British Losses
- Casualties: 15 infantry, 6-pounder crew of 3.
- Destroyed: 6-pounder and Loyd carrier.
- Routed: Achilles
German Losses
- Casualties: 7 Panzer Grenadiers, 5 Pioneers.
- Destroyed: 5x Panzer IVs, 3x Somuas, Jagdpanzer, Marder, Alte, Engineer half-track.
- Routed: None.
MENTION IN DESPATCHES
B Squadron Staffordshire Yeomanry deserves a mention for causing over 50% of all German losses.
A few more things learned during this game, such as compared to our previous three games, indirect HE and naval gunfire support was completely ineffective. Hull-down positions work, infantry can defend designated built-up areas quite well against smaller-calibre guns and opposing infantry. Ambush firing can be devastatingly effective. You don’t want to be on the receiving end of a flamethrower! Also, a key thing we’ve taken away again is that 3-figure bases and crew served weapons are quite tricky to take out, when compared to singularly based infantry.
WHAT’S NEXT?
The plan is to head back to Poole and play the Push on Carpiquet Airfield scenario from the Canadians in Normandy RFR booklet, during early October.
But, for now, I should really finish the AARs for Hill 112 and Sword 80, and crack on with painting some Napoleonics.
Thanks for reading, and keep on wargaming!
Well that was pretty close.
Sounds like the dice were not with you, otherwise … Who knows
LikeLiked by 2 people
Thanks it was close, the dice weren’t great for me but the better player won on the day too! We’ll replay it sometime, playing opposite forces.
LikeLiked by 2 people
Nice looking tanks, troops and game! 🙂 Good to see some Somuas in action with the Germans!
LikeLiked by 1 person
Thanks John, the Somuas looked great! Having seen these in action I’m very tempted to pick some up myself.
LikeLiked by 1 person