I’ve been gradually collecting bits and pieces to play out a Falklands War campaign. One of the crucial things to get right is the look of British troops in their DPM camouflage.
WHAT IS DPM?
British DPM (Disruptive Pattern Material) is a family of military camouflage patterns formerly used by the British Armed Forces and quite a few other countries. You can still find it in use by militaries across the globe.

Introduced in the 1960s, DPM typically features bold, high-contrast shapes (usually in 4 colors) intended to break up the outline of the wearer. There have been several variants in pattern cut and colour in British use, but the version I’ll be aiming for is woodland DPM – green, brown, black and buff/sand.
Desert DPM (DDPM) is a variant utilising two-tone sandy beige/brown, used in arid regions like the Gulf War and during early operations in Afghanistan.
While DPM was standard issue for the British Army until being replaced by the Multi-Terrain Pattern (MTP) in 2010, many countries adopted DPM or local variants and still use it.
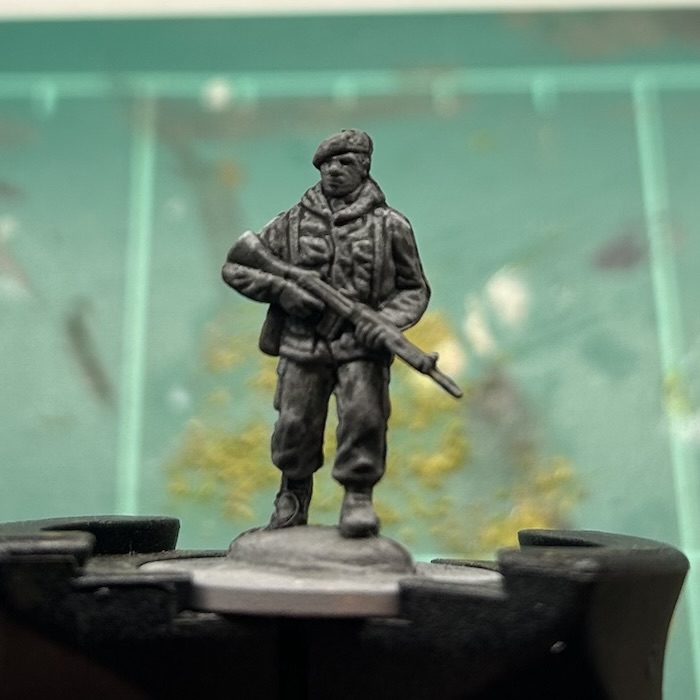
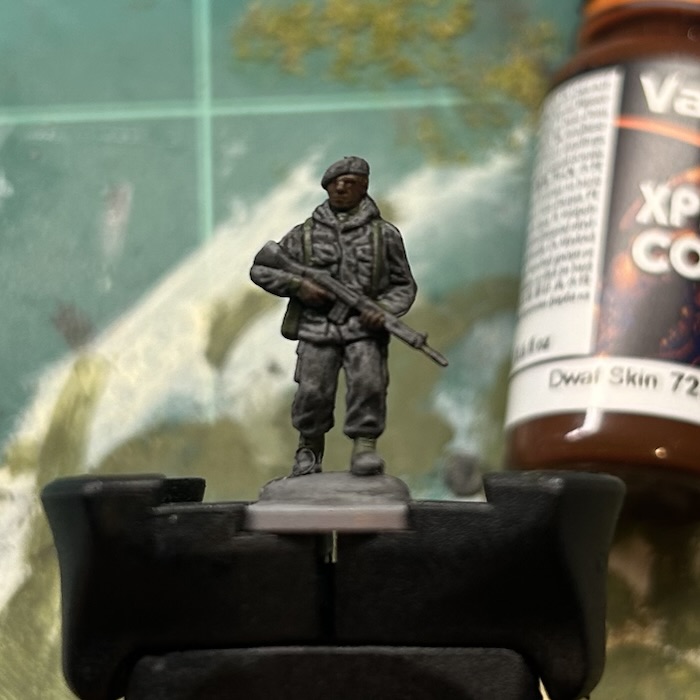
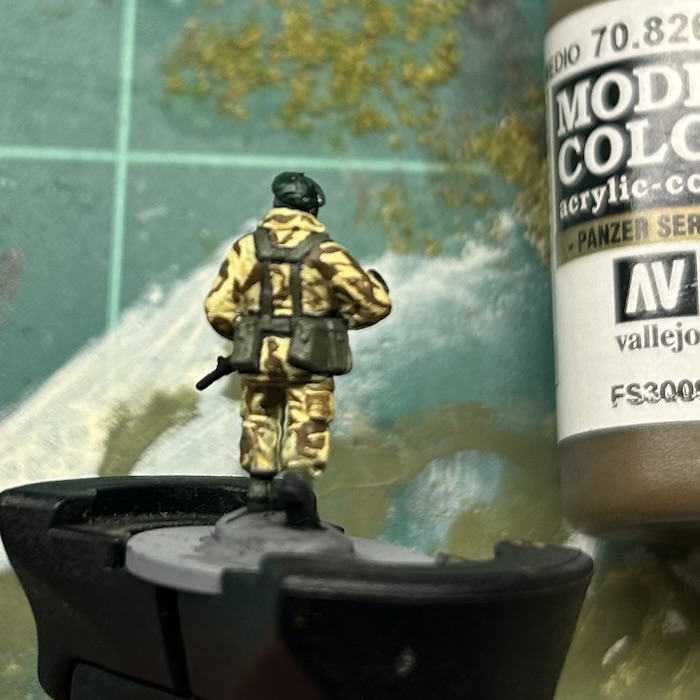
In time I’ll be painting a range of 20mm figures specifically for the Falklands, but have started with a test figure. This is one of the 1/76 NATO Paratrooper (quite clearly British) figures by Matchbox, in an iconic pose for British troops of the 1980s. Since I was around 10 years old this has been a favourite figure!
PAINTING GUIDE
As usual, I’ve cleaned up the figure and based it on a penny. For this test figure I didn’t plan to do highlights or do the basing – but will do on future figures.
Once cleaned up I blasted the figure with two light coats of grey primer – again as always, using Halfords Grey Primer.
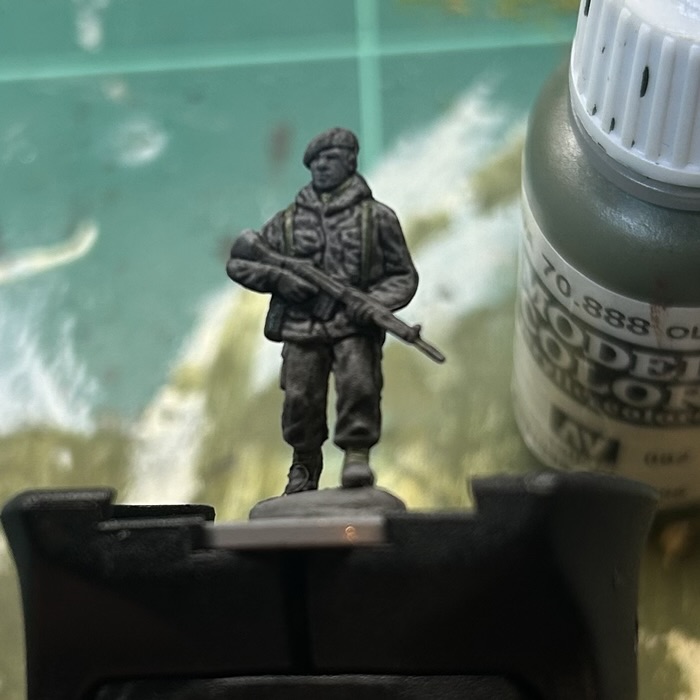
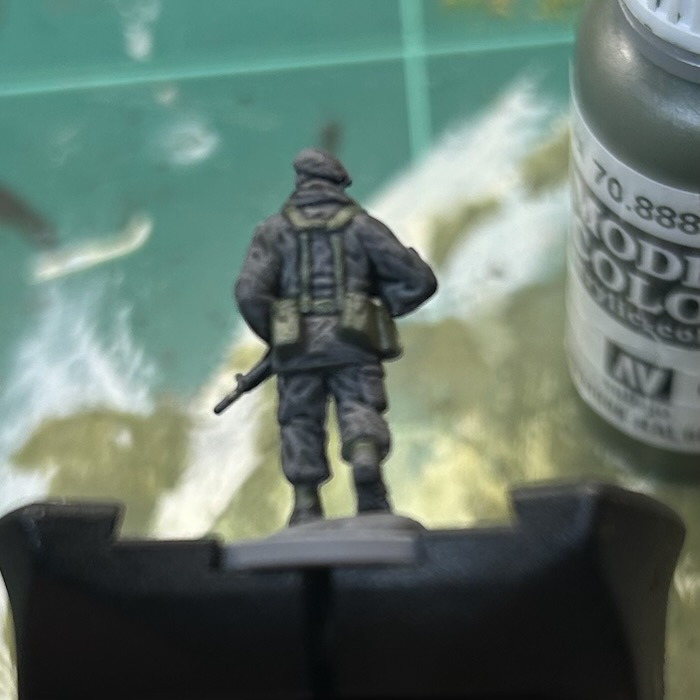
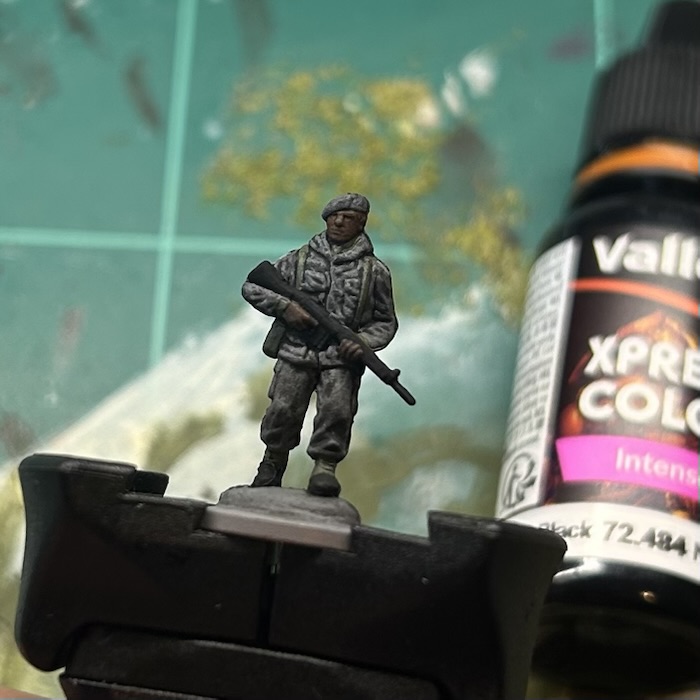


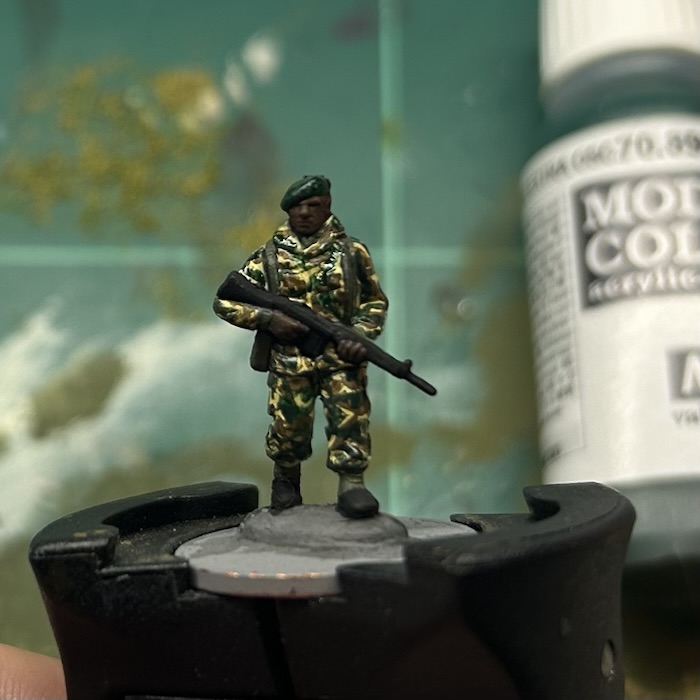


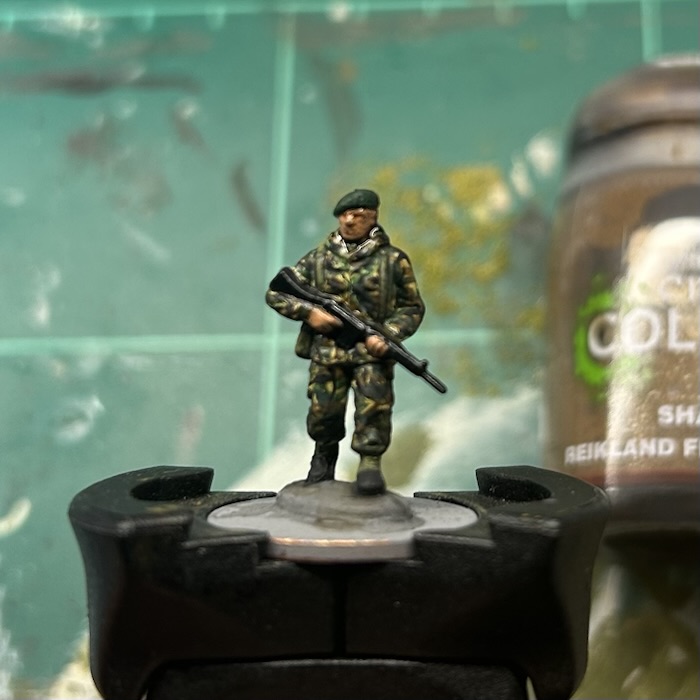
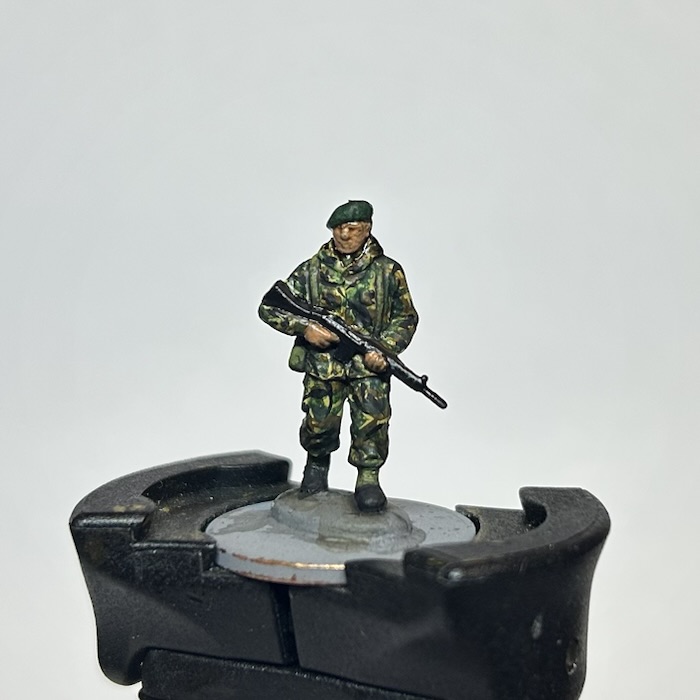
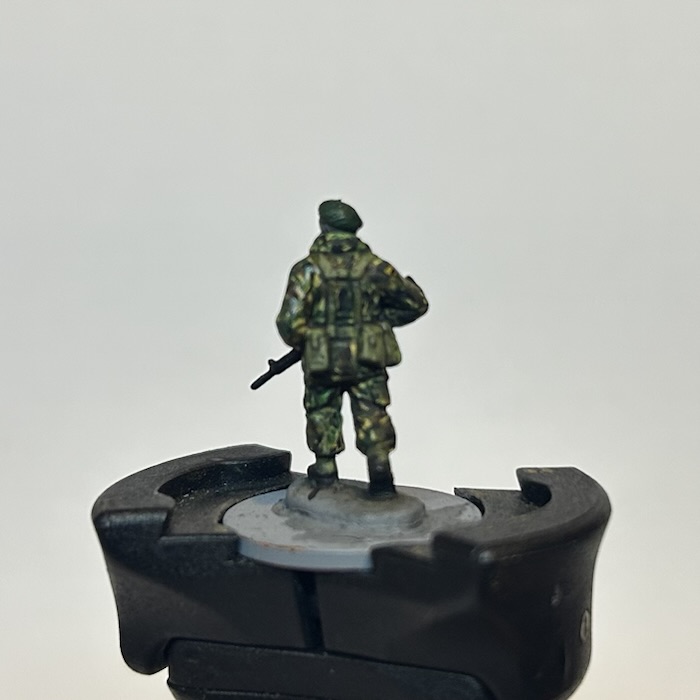
I’m pretty happy with my first proper attempt at painting a camouflage pattern on a 20mm figure!
A few learns with this one. I’ll do the wash earlier so it doesn’t darken the end result, and I might make the pattern a little larger – it fades into an indiscernible green camo at tabletop distance..!
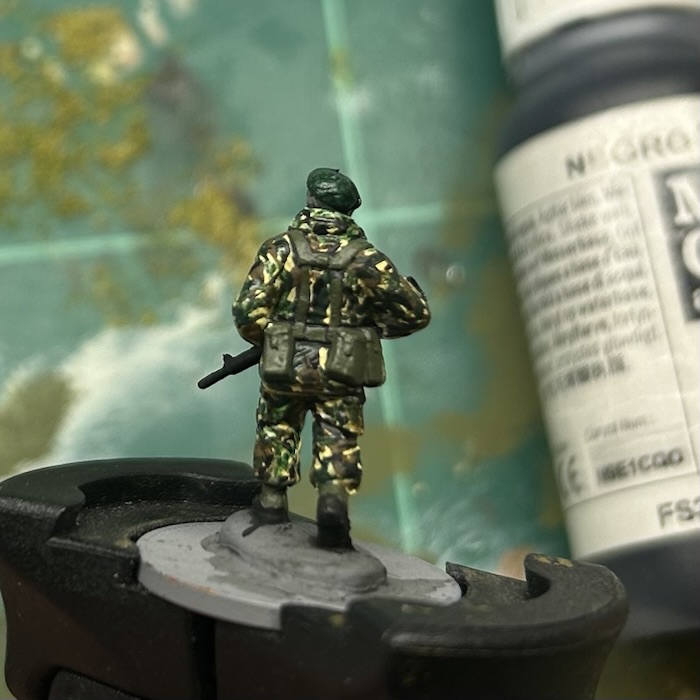
Apart from that I’m ready to make a start on 45 Commando, those figures will get their berets, webbing, kit, and rifles highlighted. They’ll also get a proper base and a Matt varnish.
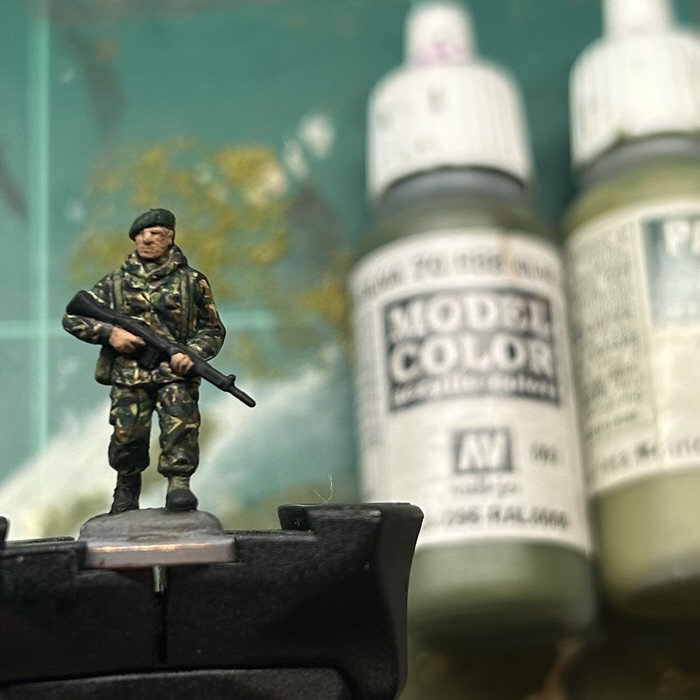
I hope you like the result and if you’ve been tempted to try – give it a go! I’m tempted to try out Denison smocks and Panzergrenadier patterns now too. What have I started?
Until next time, keep on wargaming!

Looks really good, Dave! 🙂 I can remember two things about DPM in the early ’80s from my experience in the TA: 1) I remember the green in my DPM being quite bright, somewhat akin to Humbrol Grass Green, and 2) there was a lot of variation in colour depending on age of the uniforms and how they’d been washed (they were meant to be dry cleaned).
Your SLR looks good – I seem to remember some having dark wood stocks and fore grips whilst others were black!
But, a good start to this project!
LikeLiked by 2 people
Dry cleaning John? What on earth did the mod think? I have visions of dry cleaning units with special vehicles near the front 😁
LikeLiked by 2 people
I think maybe in the early ’80s nobody probably expected a war to last long enough to require any uniforms to be dry cleaned! 😉
LikeLiked by 2 people
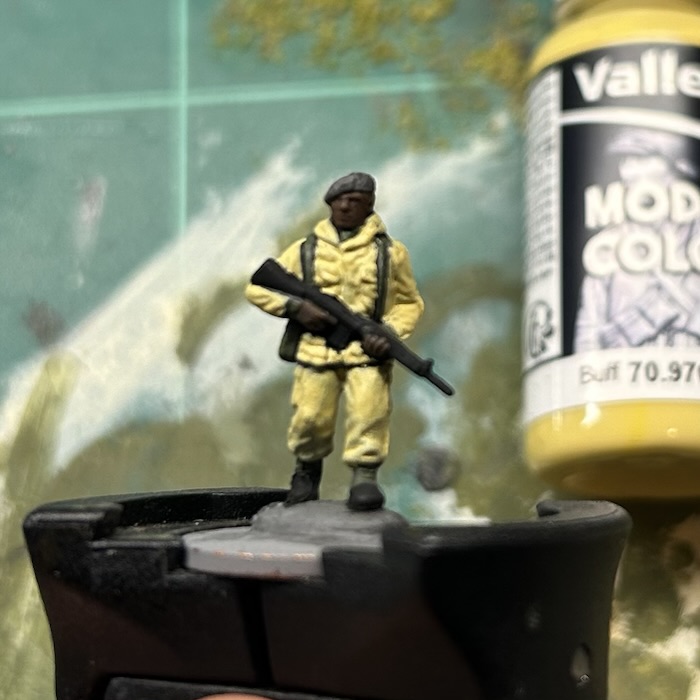
Thanks John really useful insight as always! I’ve done some more digging on DPM, and am now painting up some SAS troops with a much lighter green. The SLRs on the rest of the figures will be getting a highlight too.
LikeLike
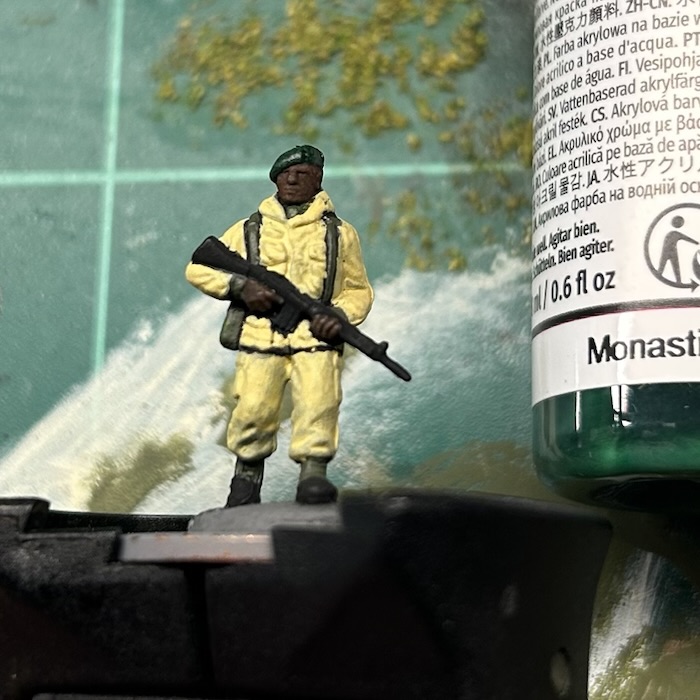
I wasn’t convinced as you went through the different steps. Then when the final flesh colour went on, it really came together.
Nice job, it looks very effective.
Cheers, Frank
LikeLiked by 2 people
Thanks Frank – to be honest I wasn’t convinced until then either. Perhaps I’ll go back to painting flesh first, which is how I used to do it. 👍
LikeLike
That’s a great post of “how to….” And for a more obscure period as well. Just one question-do you varnish and if so when? And what with? Oh that’s kinda three questions!
LikeLiked by 2 people
Thanks much appreciated! Yes I varnish right at the end with matte varnish, at least 24 hours after I’ve finished painting. I use the AK super matte varnish and getting good flat results.
LikeLike