For this game we turned to one of the best-known actions of the Normandy campaign: the clash between 7th Armoured Division and Panzer Lehr/101st SS Heavy Tank Battalion at Villers-Bocage on 13th June 1944.
The game was based on the Villers-Bocage scenario from the Rapid Fire Normandy Battlegames book, although we used the revised ORBATs from Rapid Fire Normandy Battlegroups and played using Rapid Fire Reloaded, at Entoyment in Poole.
OPPOSING FORCES
British: 7th Armoured Division — 200-point Battlegroup, with the scenario amendments plus the additional CLY Squadron, Anti-Tank Battery and Sexton Battery options.
German: Panzer Lehr Division — 200-point Battlegroup, with additional Panzer IVs, Panzer Grenadiers and artillery, together with Tigers of 101st SS Heavy Tank Battalion.
SETTING THE SCENE
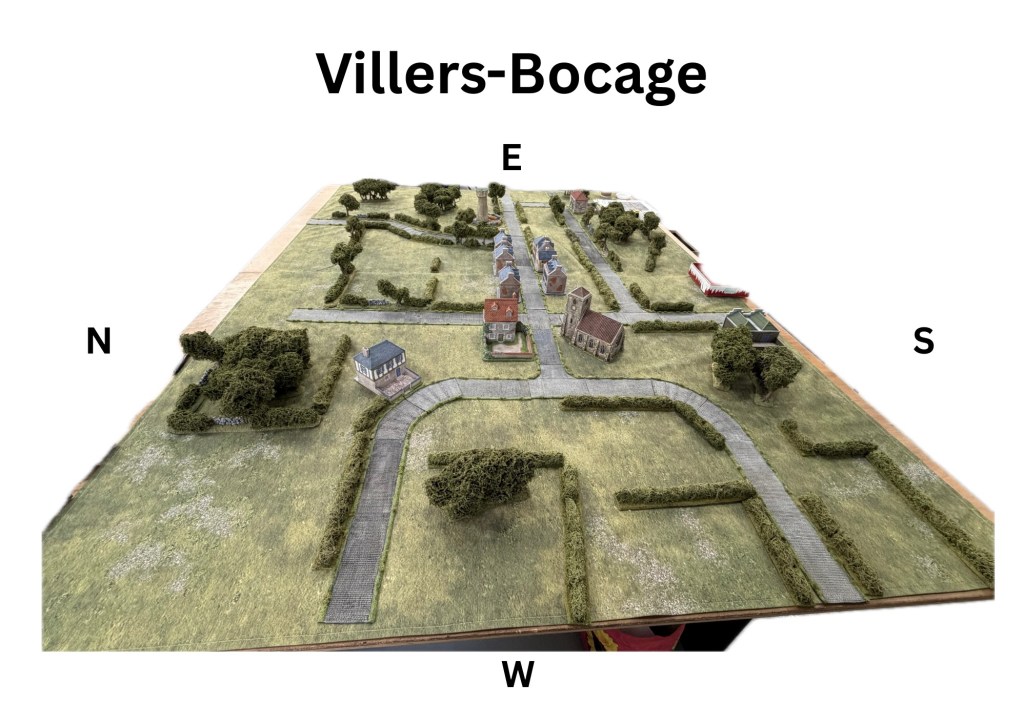
The British had the task of entering from the western table edge and advancing through Villers-Bocage towards Point 213 at the Eastern edge of the table. Until fired upon, the column had to stick to the predetermined route marked in the scenario. There was no conveniently spreading out into tactical formation because I knew what was coming, and somewhere ahead Ian had Tigers waiting!
How far would I get before he opened up with one?
Both armies would arrive piecemeal. My British Battlegroup in three elements through to Turn 6, while the Germans would begin with only a relatively small force on the table. Their reinforcements would also arrive in three elements, at predetermined entry points, with everything on by the end of Turn 7.
The victory conditions were straightforward. To win, the British needed to hold six buildings in Villers-Bocage by the end of Turn 15. The Germans needed four. Anything in between would be a draw.
DEPLOYMENT & OPENING MOVES (Turns 1–4)
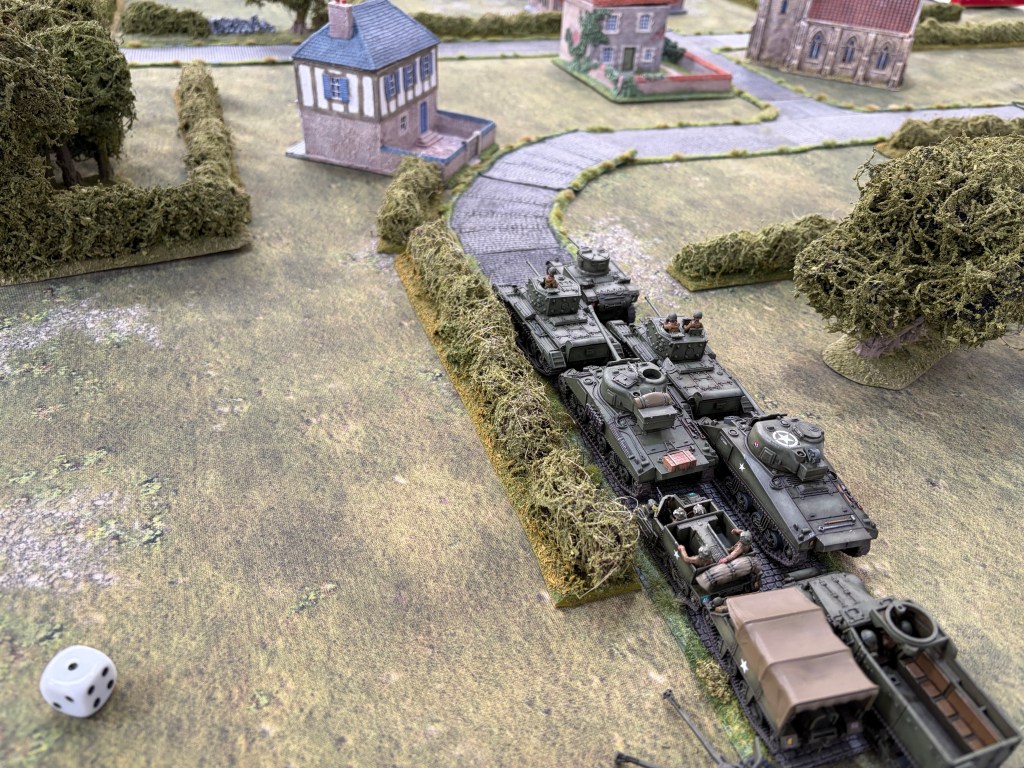
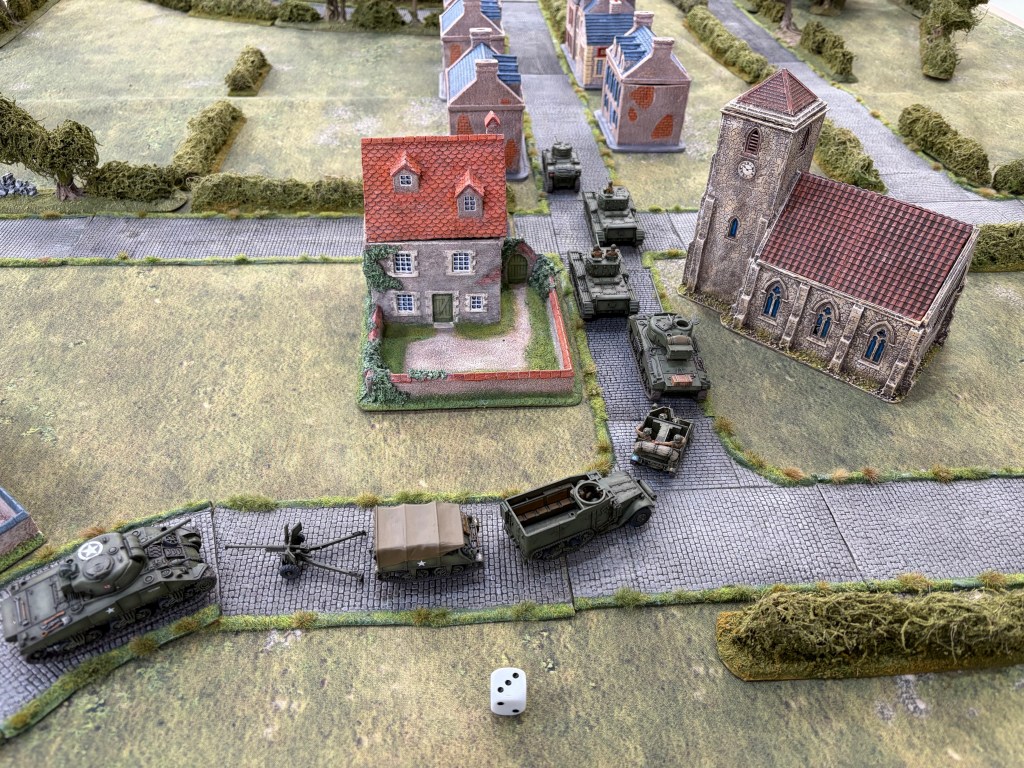
Turn 1 saw the first elements of the British column arrive from the western edge: A Squadron, 4th County of London Yeomanry, a company of Rifle Brigade infantry in halftracks, the 4th CLY Recce Troop and the Sherman OP tank for my Sexton battery.
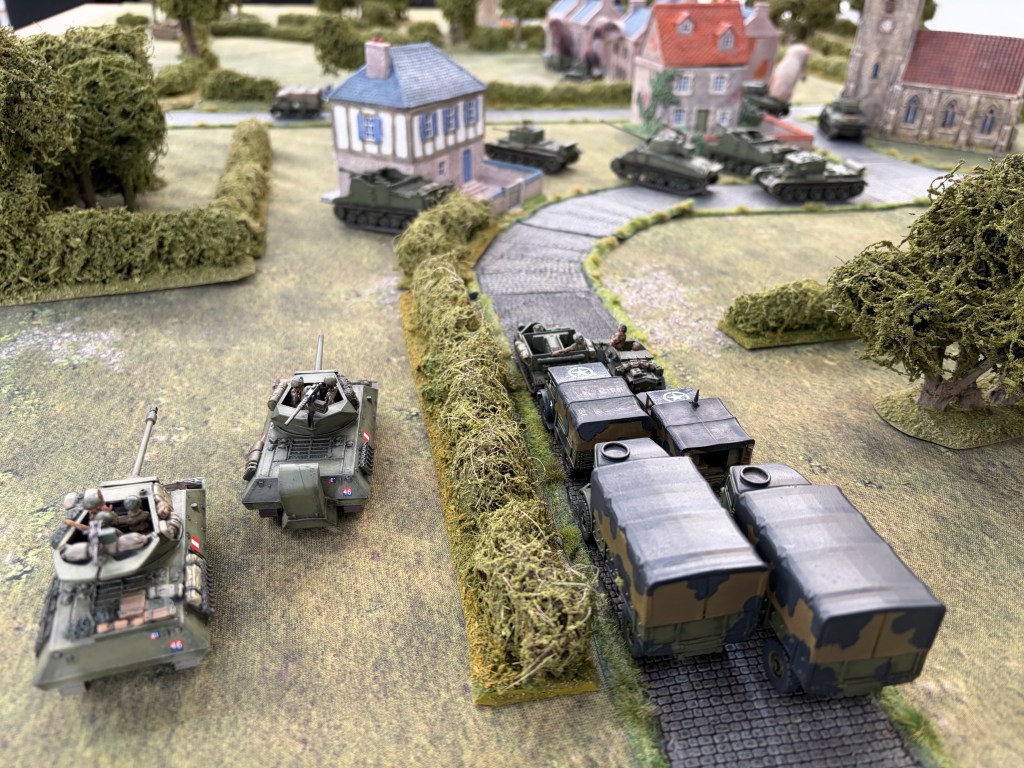
With vehicles limited to 12” of movement on the turn they entered, things became congested for me very quickly. Tanks, halftracks and supporting vehicles were soon nose-to-tail along the road.
Somewhere to the south of the village was Wittmann’s Tiger. Exactly where, of course, I didn’t know.
Turn 2 was quiet. The leading elements managed to spread out a little and continued along the prescribed route. Next turn, the head of the column passed through the western edge of Villers-Bocage and beyond the crossroads.
No Germans had been spotted and nobody had fired at me yet.
Contact!
Turn 4 brought the second part of the British column onto the table, including B Squadron, 4th CLY, another company of Rifle Brigade riding on the tanks and my Sexton battery.
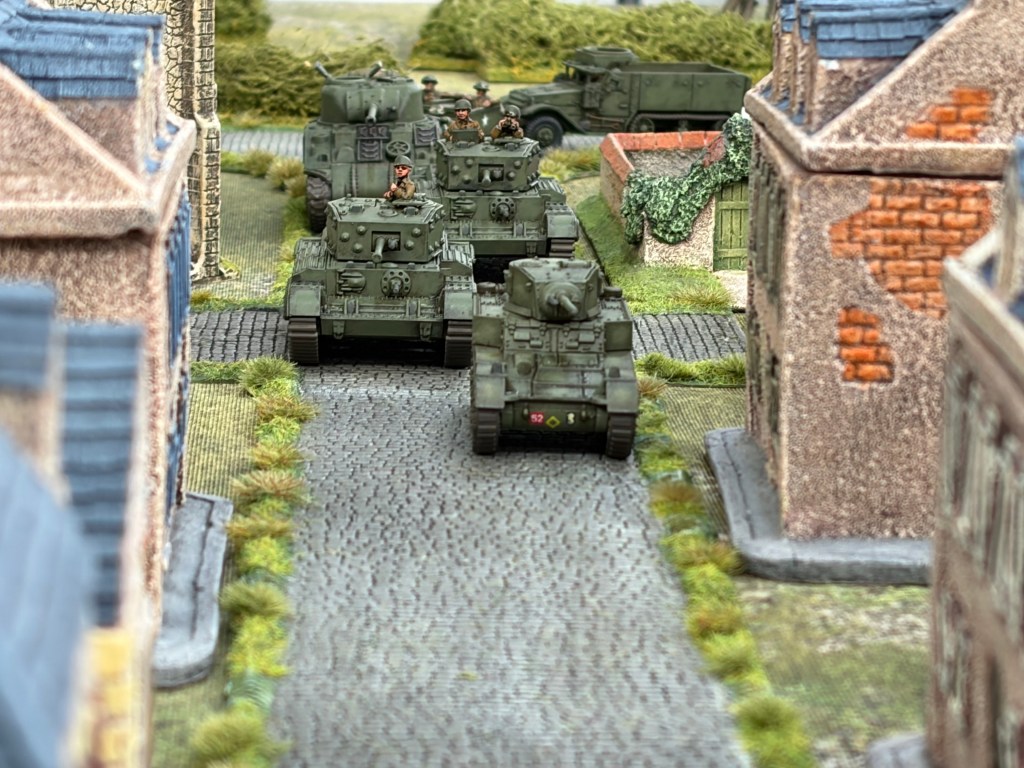
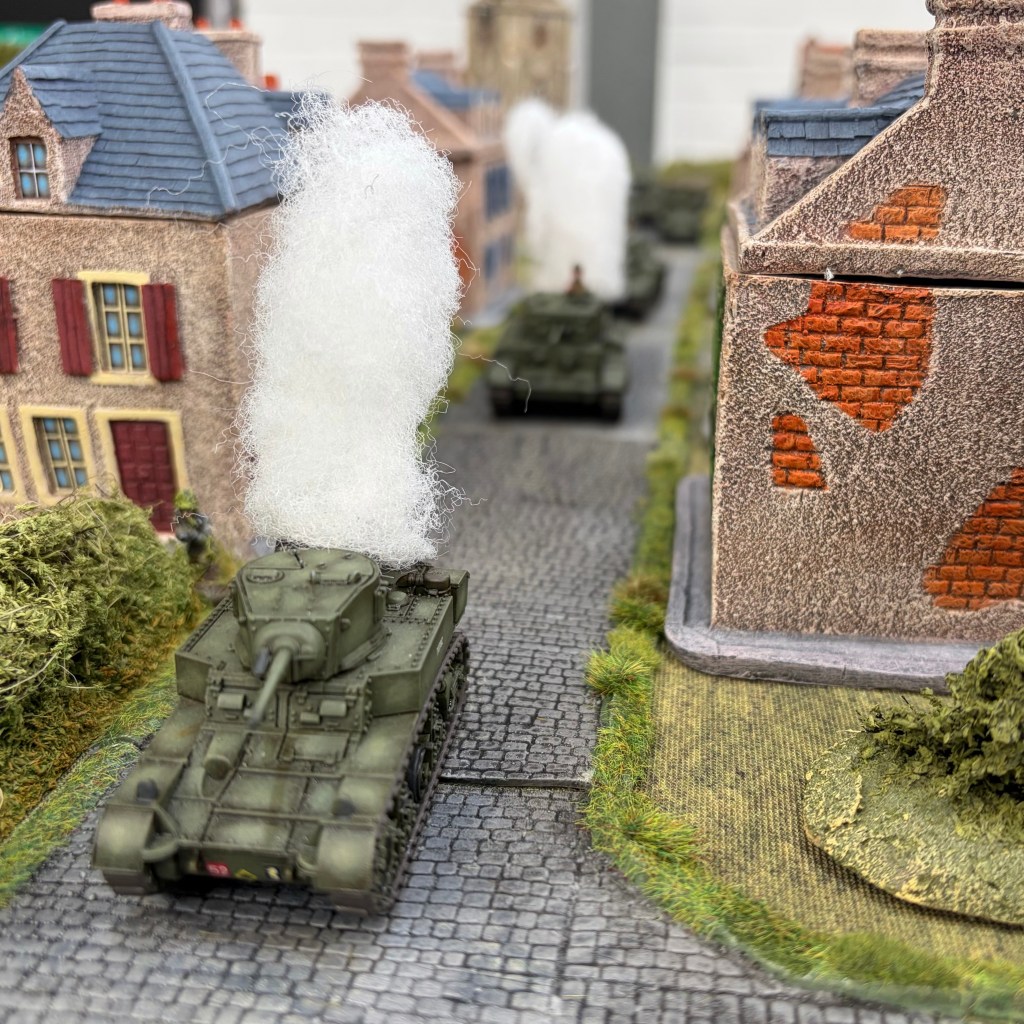
At the opposite end of the column, the Recce Troop Stuart and a Cromwell had now reached the eastern edge of Villers-Bocage.
Then, boom!
German Panzerfausts opened fire from the village. Both the Stuart and Cromwell were damaged.
THE TURNING POINT (Turns 5–9)
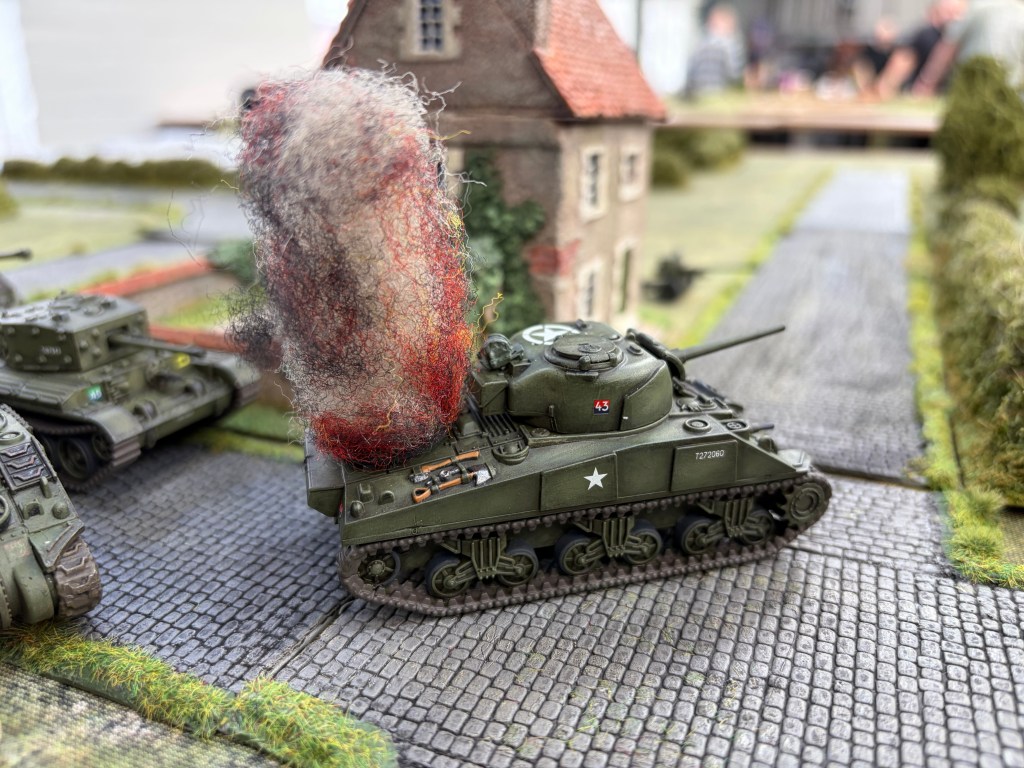
Wittmann’s Tiger opened fire and destroyed a Sherman. Unfortunately, it wasn’t just any Sherman. It was my OP Sherman.
Ian hadn’t realised that when he fired at it, but its loss was a serious problem for me. My Sextons would be on the table, but without the OP I couldn’t make proper use of them until Battlegroup HQ arrived. In theory, I could move the Sextons up and engage targets with direct-fire HE, but I didn’t want to risk them. They’d be needed when I surely had to start shelling buildings.
Things then started to get interesting elsewhere.
Panzer IVs appeared on the northern side of Villers-Bocage and engaged the British column, destroying a Cromwell and a Rifle Brigade halftrack.
Then a second Tiger appeared near Point 213. It quickly finished off the Recce Stuart, while further German fire destroyed the already damaged Cromwell, effectively closing off the far end of the village.
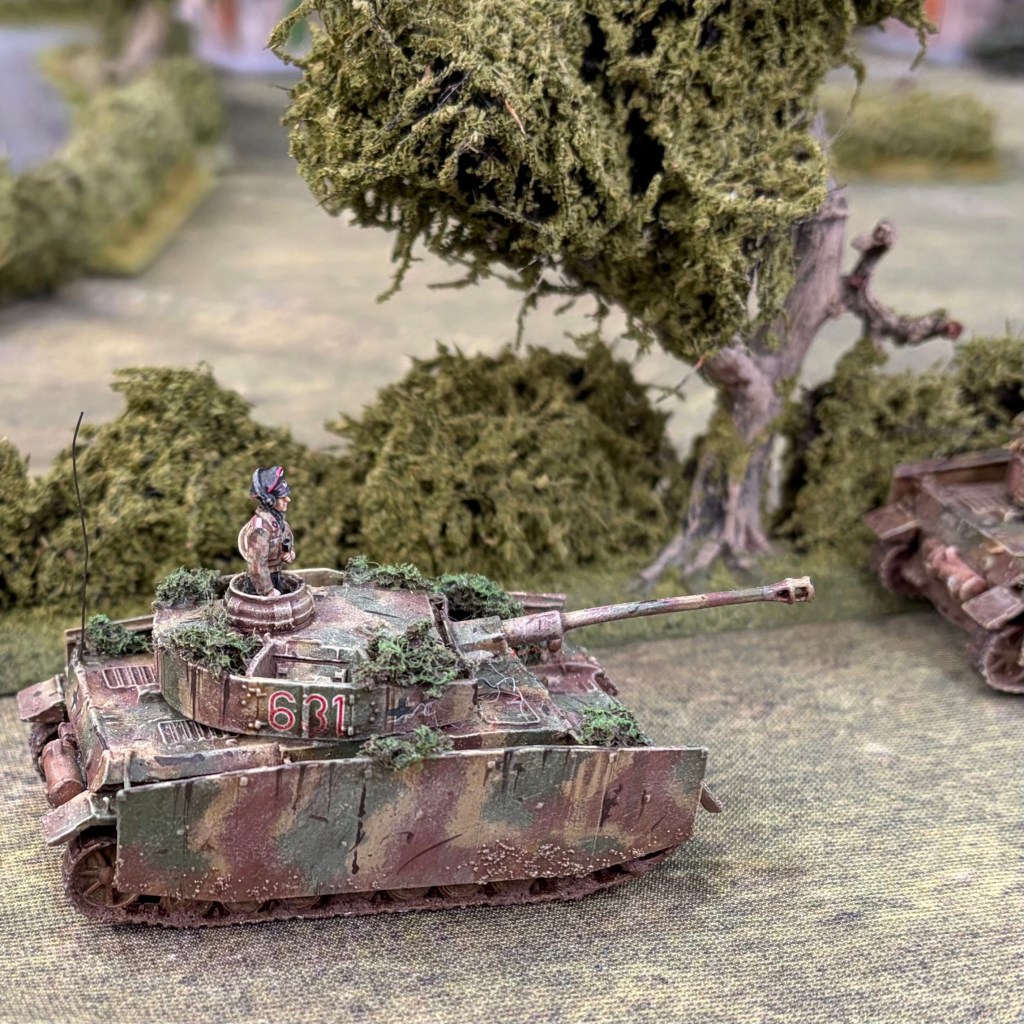
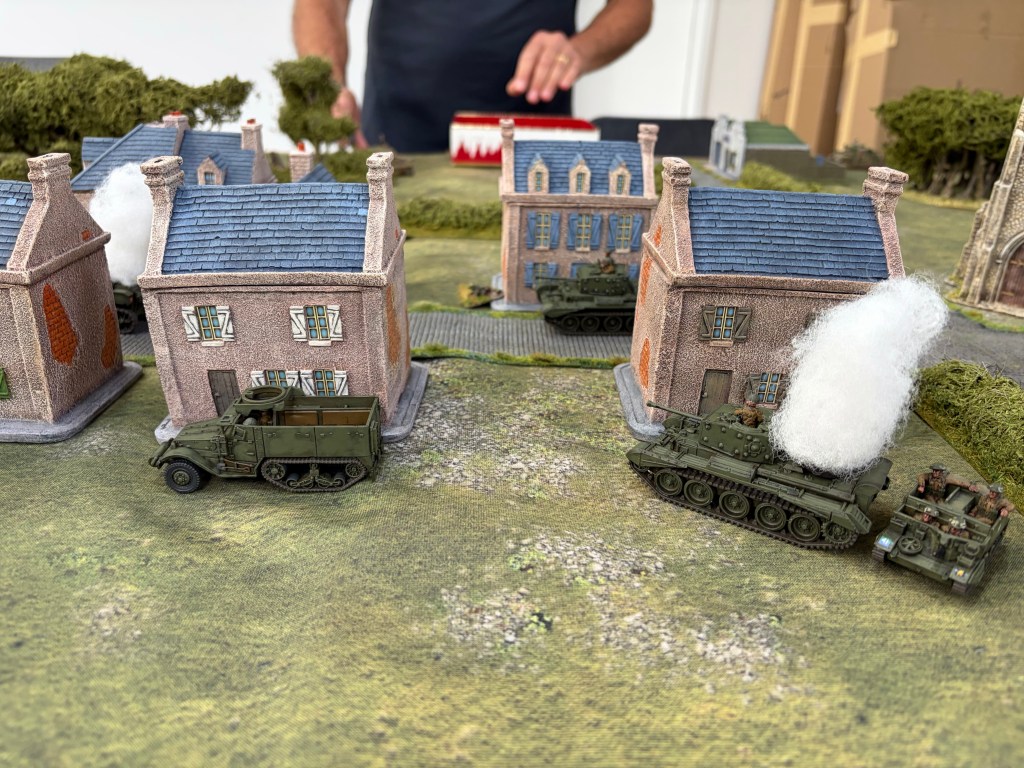
That Tiger would remain near Point 213 until Turn 13 and completely dominated the main road. Sending more British armour straight towards it wasn’t an especially attractive proposition and, with a trio of Panzer IVs and several supporting halftracks entering to the north, I decided to pivot my attack.
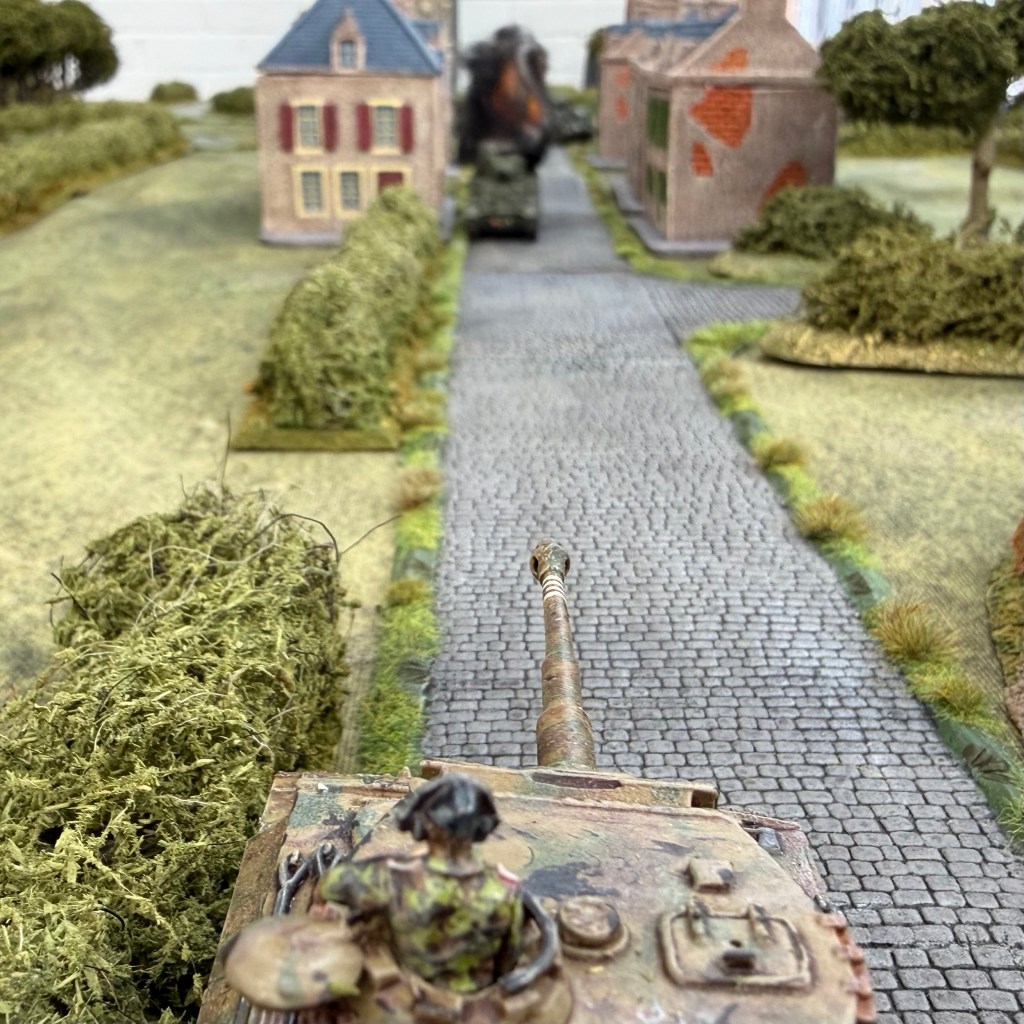
Rather than continuing straight through Villers-Bocage, I would push armour around to my left, deal with the Panzer IVs and then try to turn back into the village.
Establishing a Foothold
Turn 6 brought the remainder of my Battlegroup onto the western table edge.
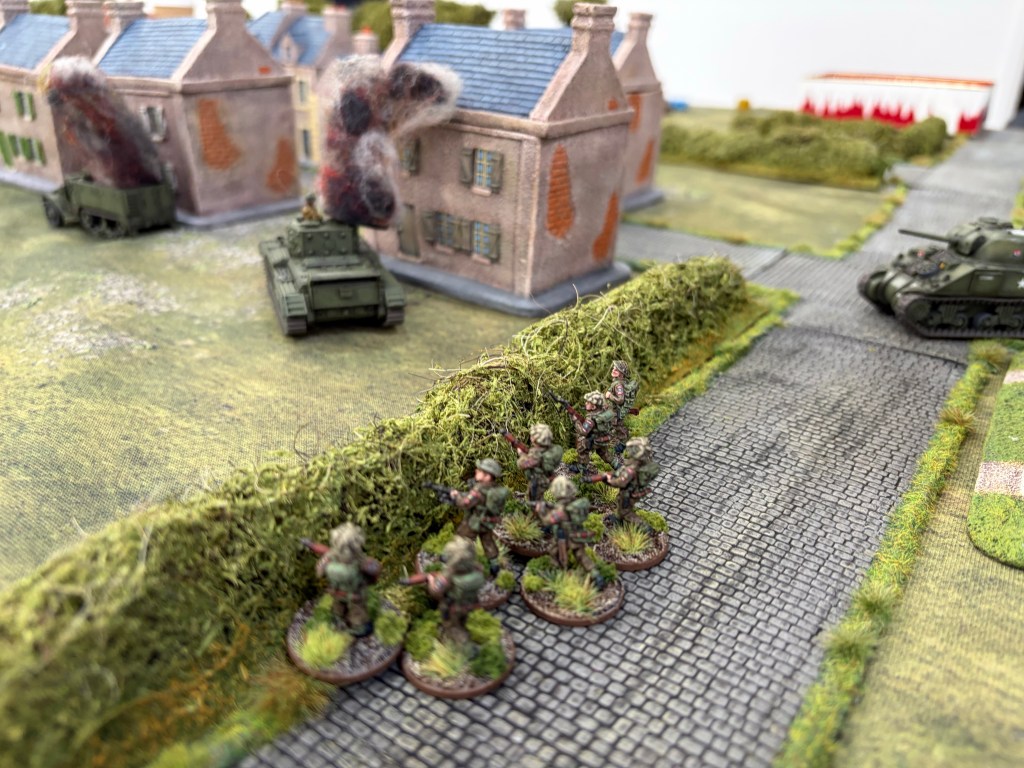
B Company, Rifle Brigade occupied the first two buildings at the western end of Villers-Bocage — a large house and the church — while a Carrier PIAT team moved into an ambush position northwest of the village, covering the road.
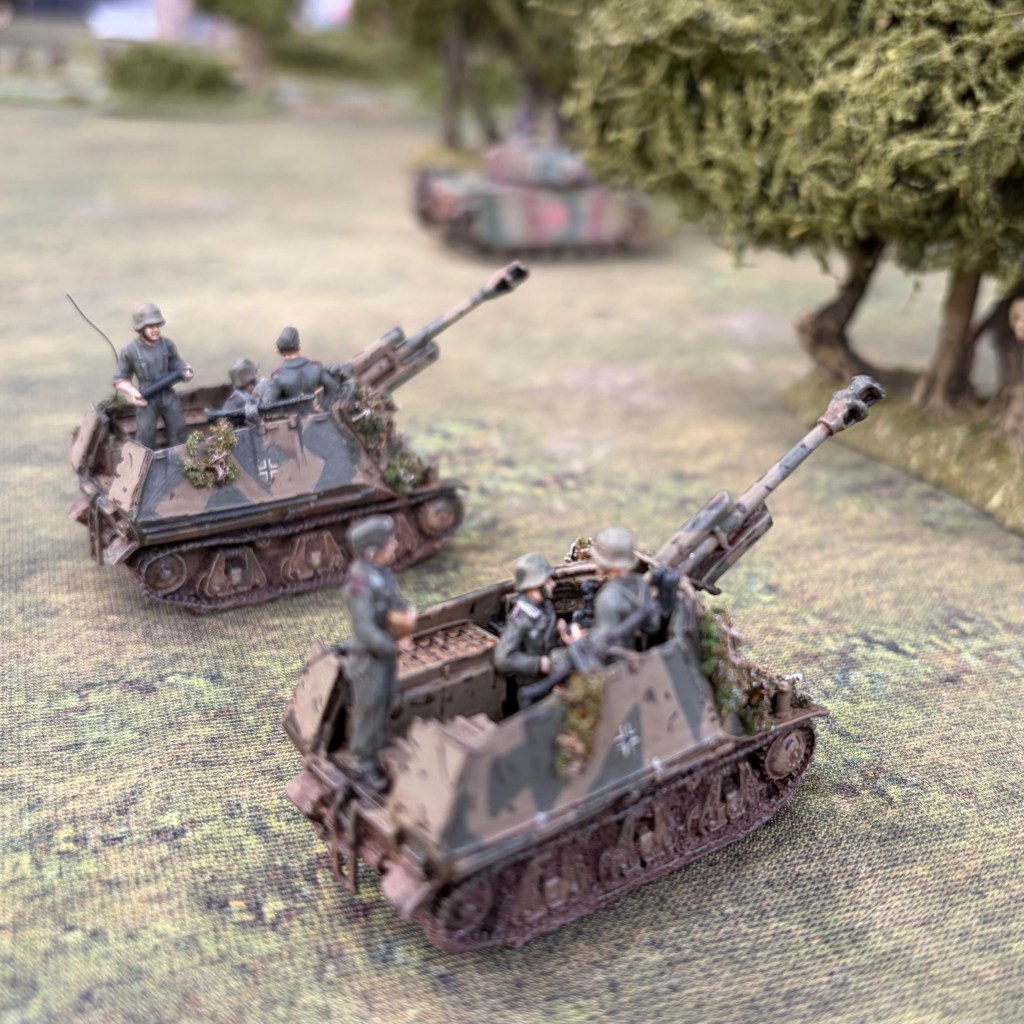
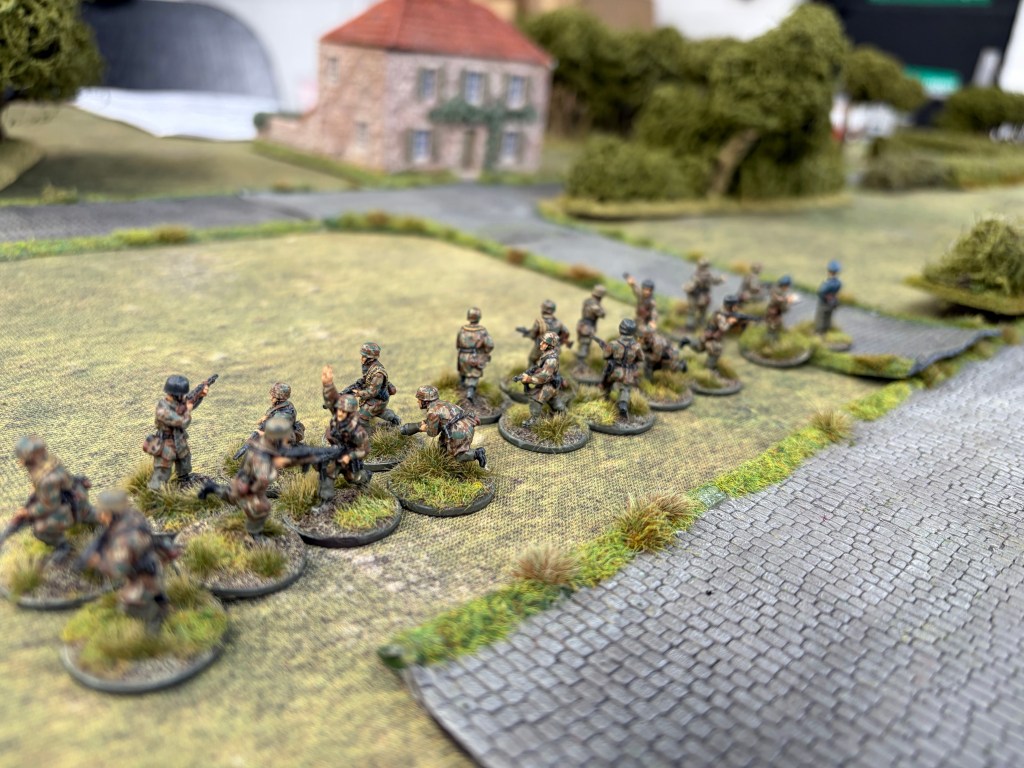
The Germans were also building up rapidly. A battery of Wespes arrived along with a battalion of Panzer Grenadiers.
Wittmann fired again in Turn 7, this time at a halftrack carrying C Company, Rifle Brigade. The shot was right at the limit of normal anti-tank range. He hit. Ian rolled again for effect and rolled a six — halftrack destroyed! I then rolled for the passengers and took another four casualties. Ouch.
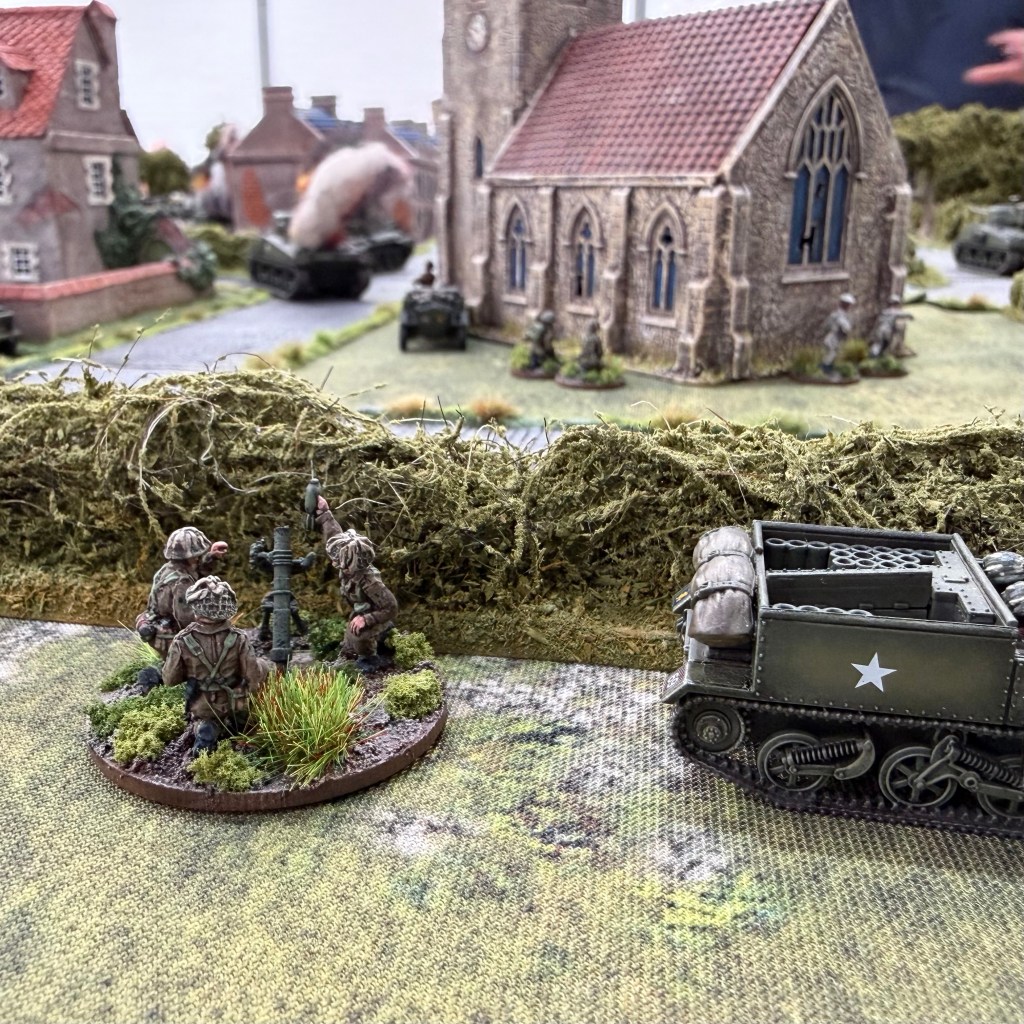
At least I was beginning to get my support companies organised. The British 3” mortars had moved forward over the previous turns and now began digging in at the western edge of Villers-Bocage. It would take two turns before they could fire, but once ready they would provide useful support for the infantry moving through the village.
More importantly, I began to take the fight back to Jerry.
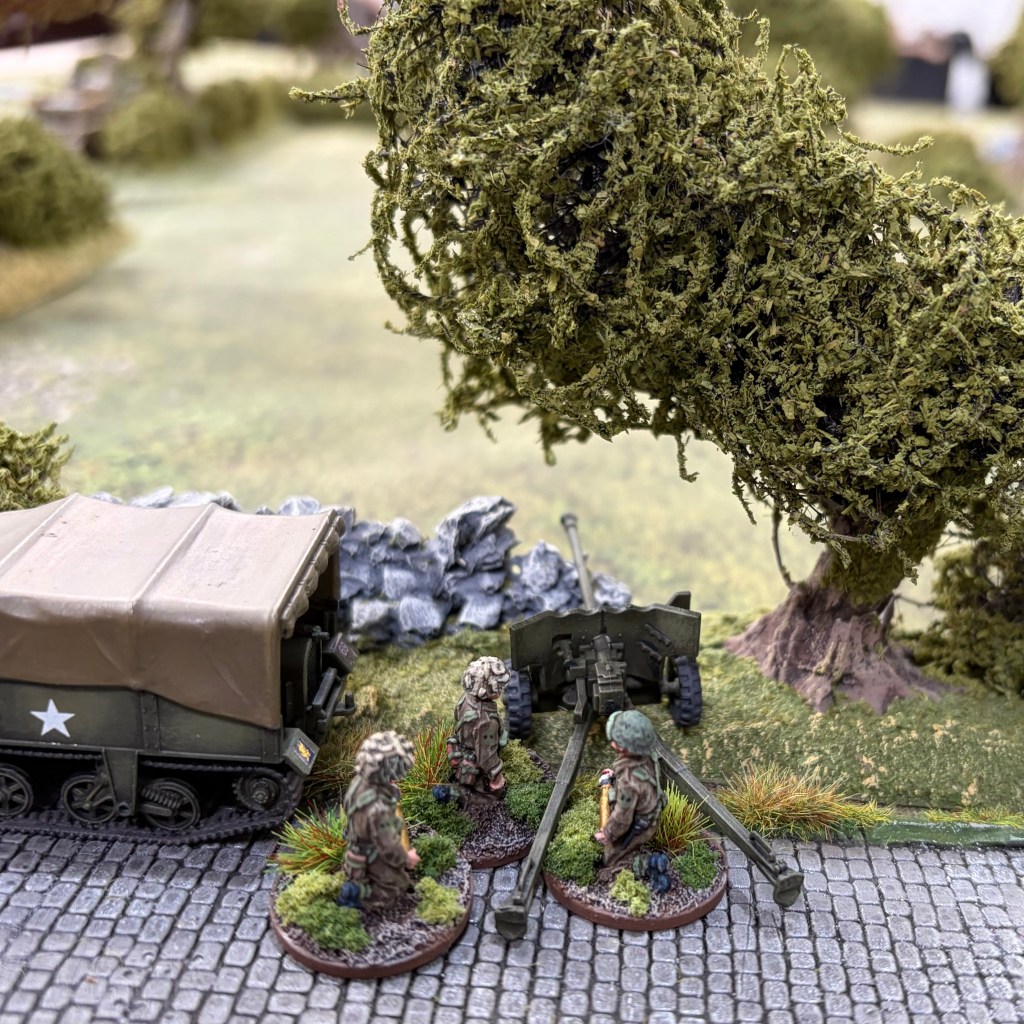
A British 6-pounder had deployed into ambush along a hedgerow northwest of Villers-Bocage. When the three Panzer IVs began advancing along the northern edge of the battlefield, the gun opened fire and destroyed the leading tank.
Battlegroup HQ set up an observation post in the church tower. At last, from the next turn, I could finally call in the Sextons.
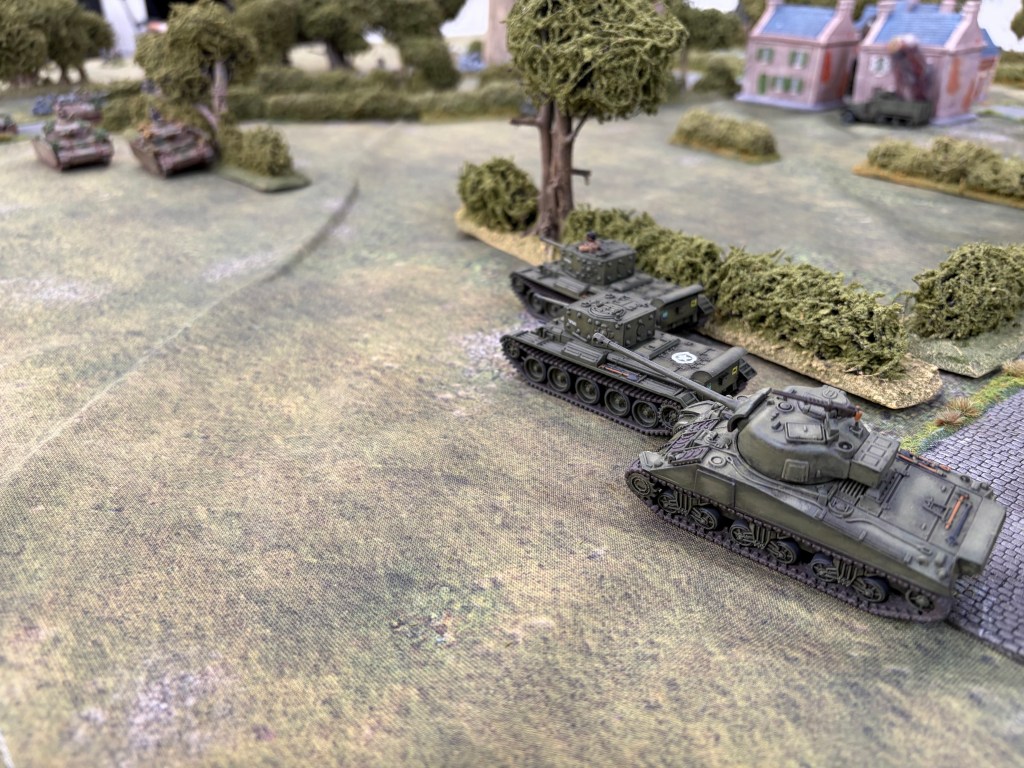
Meanwhile, a CLY squadron supported by the Anti-Tank Battery — an Achilles and an M10 — began moving up the northern flank against the remaining Panzer IVs.
Two companies of Motor Battalion infantry and their Support Company followed them. My intention was to secure the northern flank, support the armoured counterattack and then swing the infantry right into Villers-Bocage.
By now the final German forces had also arrived, including a second Panzer Grenadier battalion. It looked like a lot of infantry heading west!
Wittmann Meets the Sextons
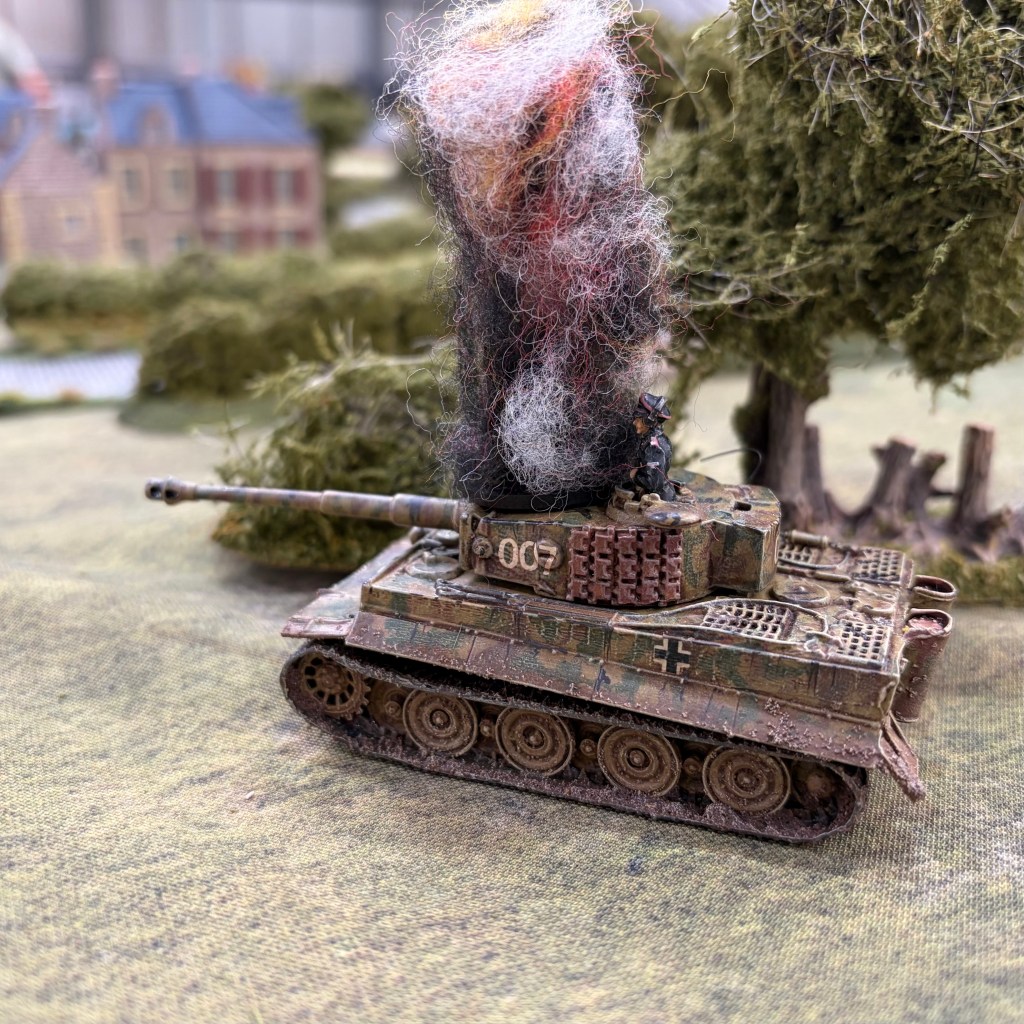
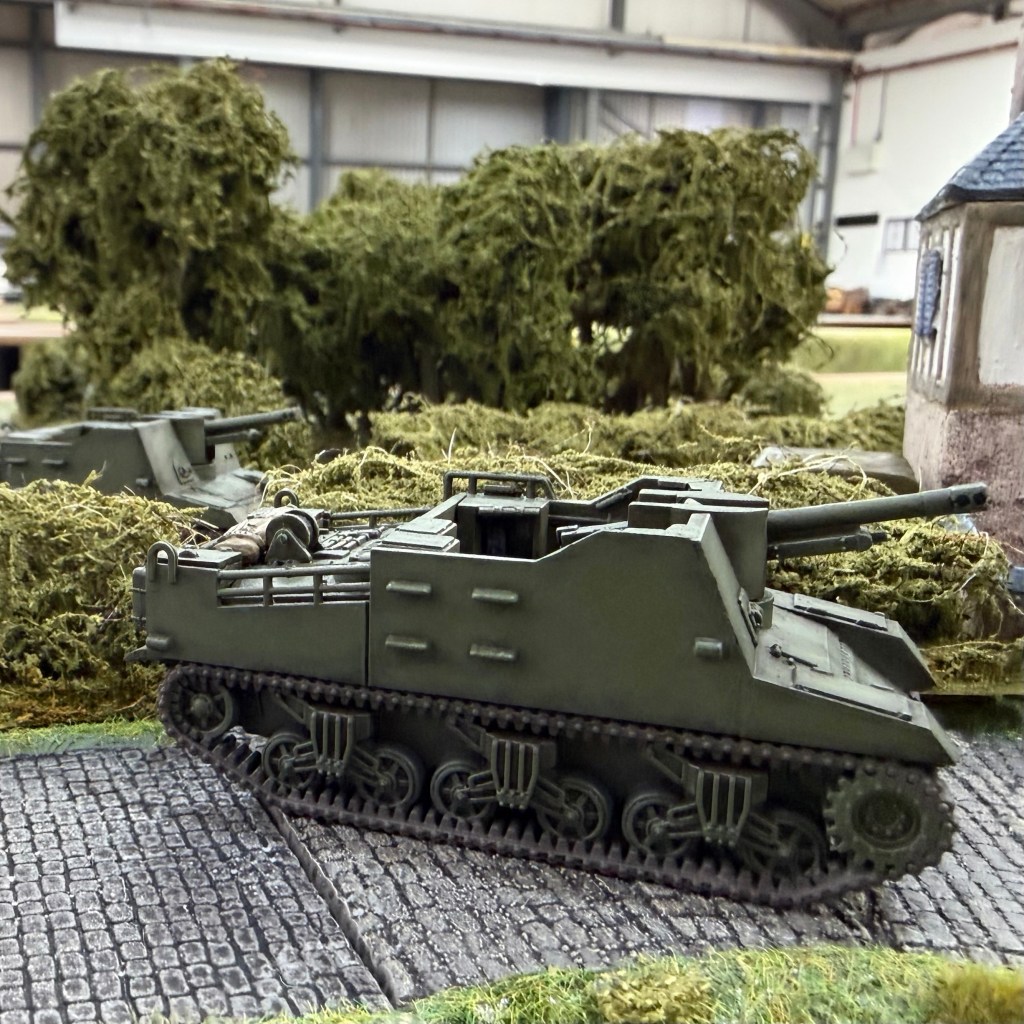
Turn 8 provided probably my favourite moment of the game, with Battlegroup HQ in the church tower calling down the Sexton battery onto Wittmann’s Tiger.
The call got through. First round, miss. Second round, hit. Then came the damage roll. Only a six! Wittmann’s Tiger was destroyed. After spending several turns watching it dismantle my column, there was a bit of satisfaction in that one!
More importantly, it potentially opened up the southern side of Villers-Bocage. I still didn’t know what infantry or other forces Ian had lurking there, but at least there was no longer a Tiger covering it.
And my luck continued.
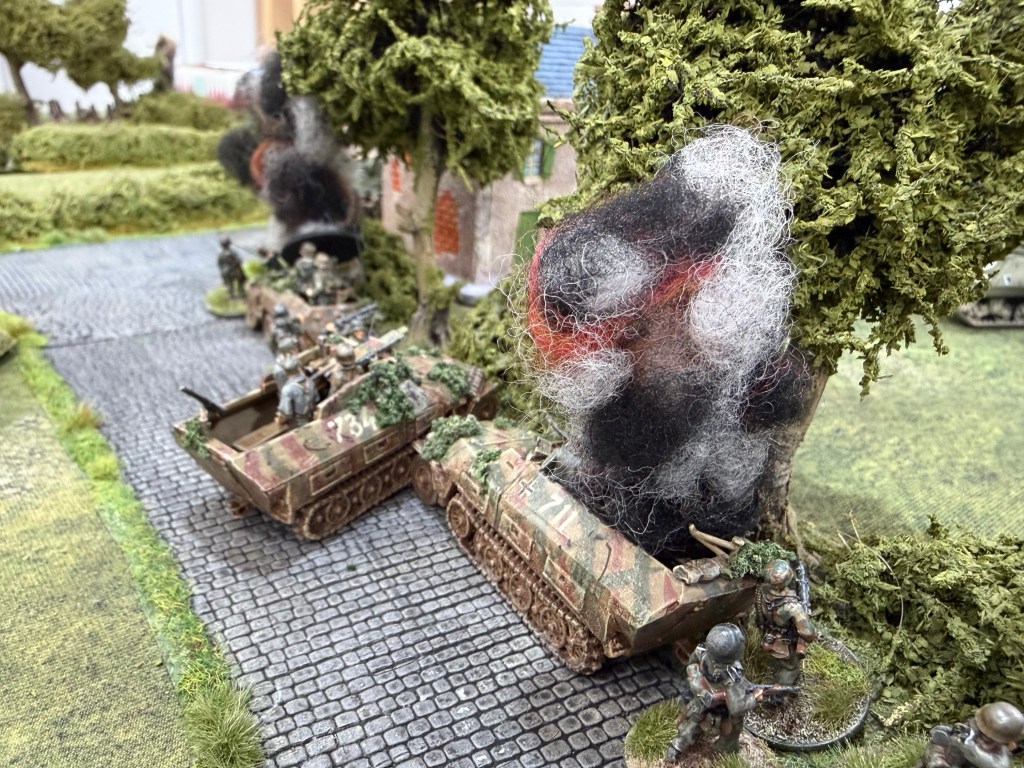
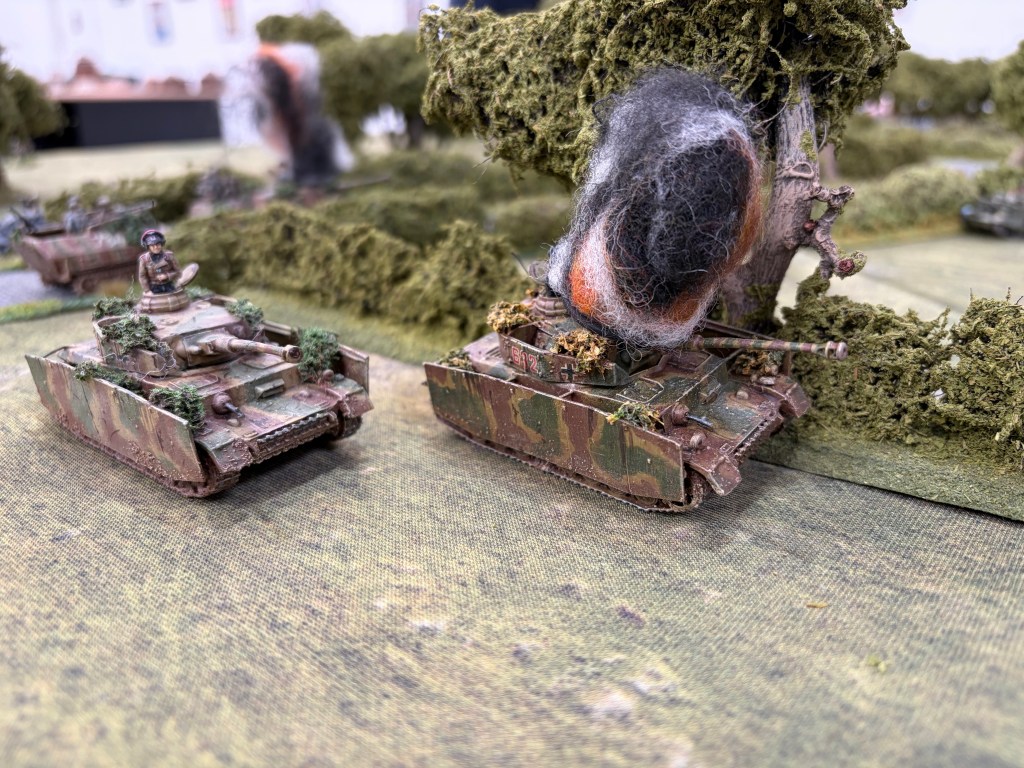
A CLY Cromwell destroyed another Panzer IV on the northern flank, leaving just one. Then the PIAT team I’d positioned earlier got its chance. A halftrack belonging to 1st Battalion, 901st Panzer Grenadier Regiment drove into the ambush and the PIAT fired at close range. Destroyed and three Panzer Grenadiers went with it.
For the first time since the ambush began, things were starting to swing back towards the British.
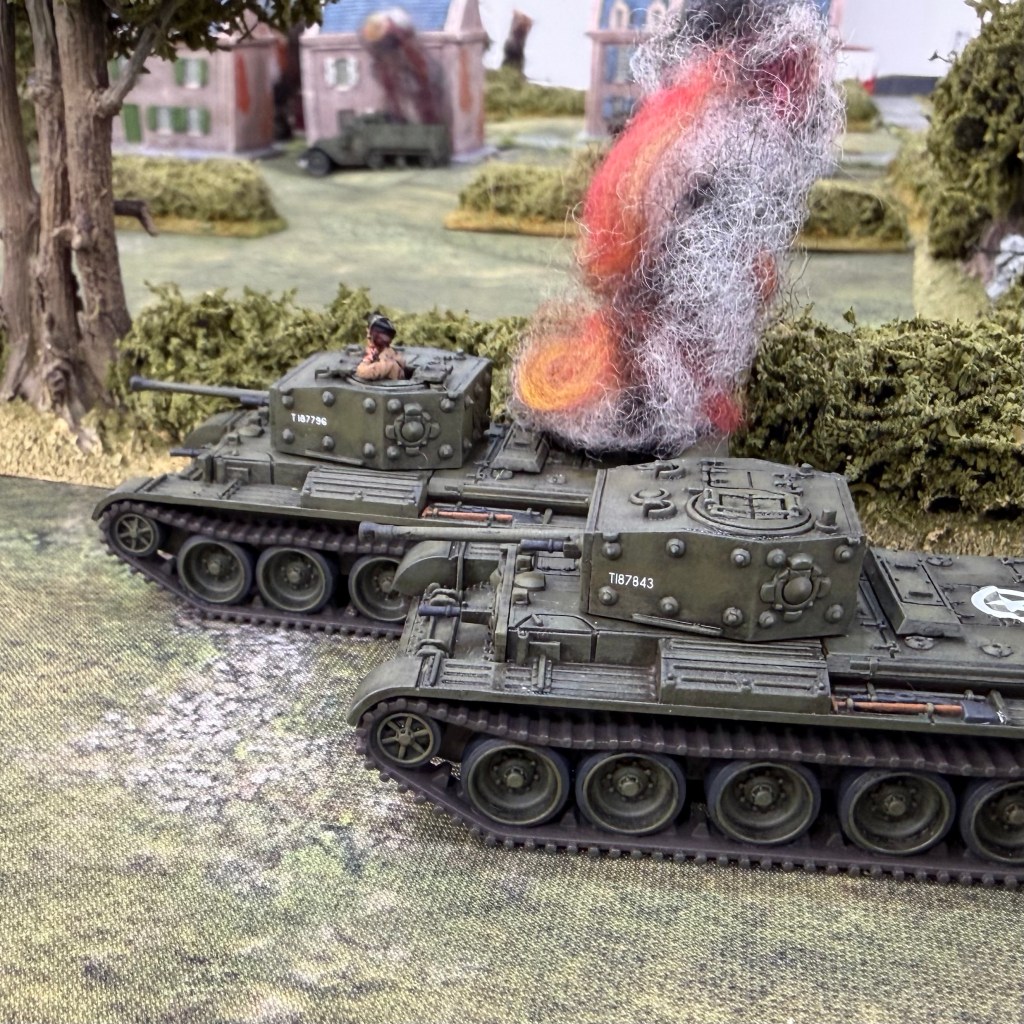
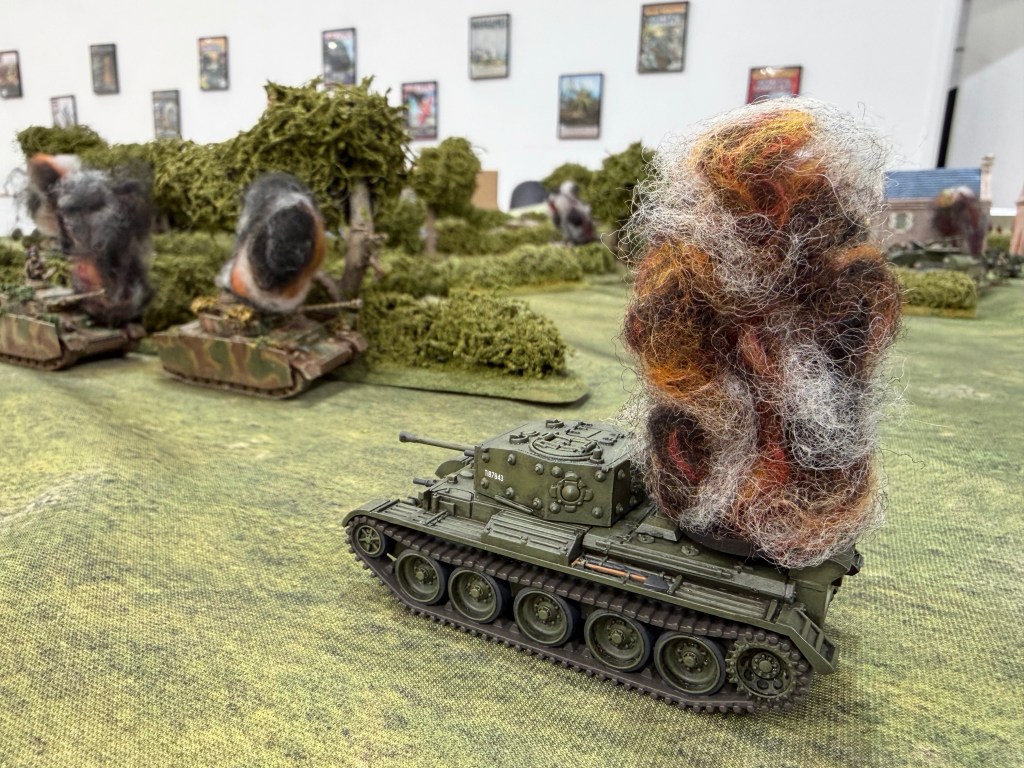
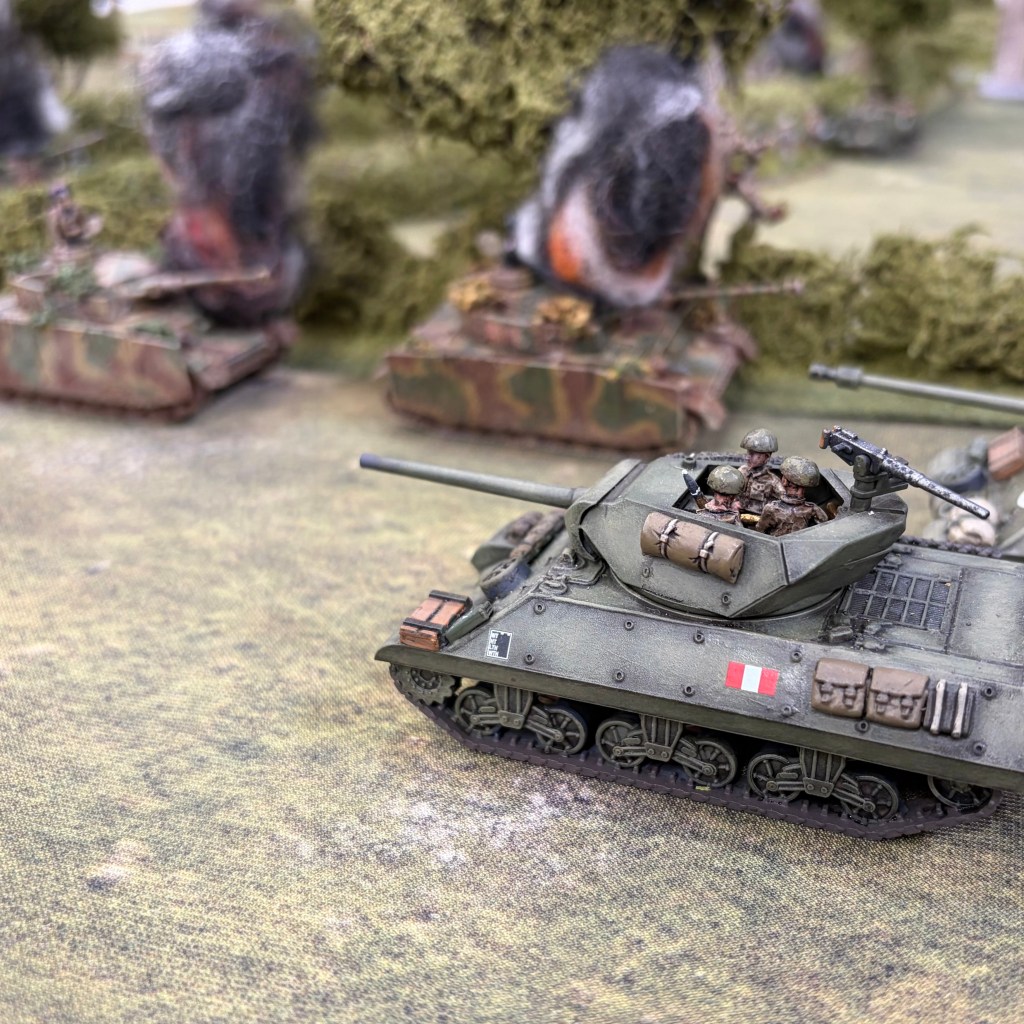
Turn 9 saw another useful bit of fortune. My 3” mortars were finally dug in and ready to fire, although frustratingly the OPs couldn’t see anything worth engaging.
On the northern flank, the British Anti-Tank Battery spotted a German tank on the road. Initially, I assumed it was another Panzer IV. But as we started working through the firing modifiers, I realised it was actually a Panzer III.
Even better, it was the German OP tank for the Wespe battery. The Achilles missed, but my M10 didn’t: target destroyed. Having lost my own artillery OP earlier in the game, there was something satisfying about returning the favour!
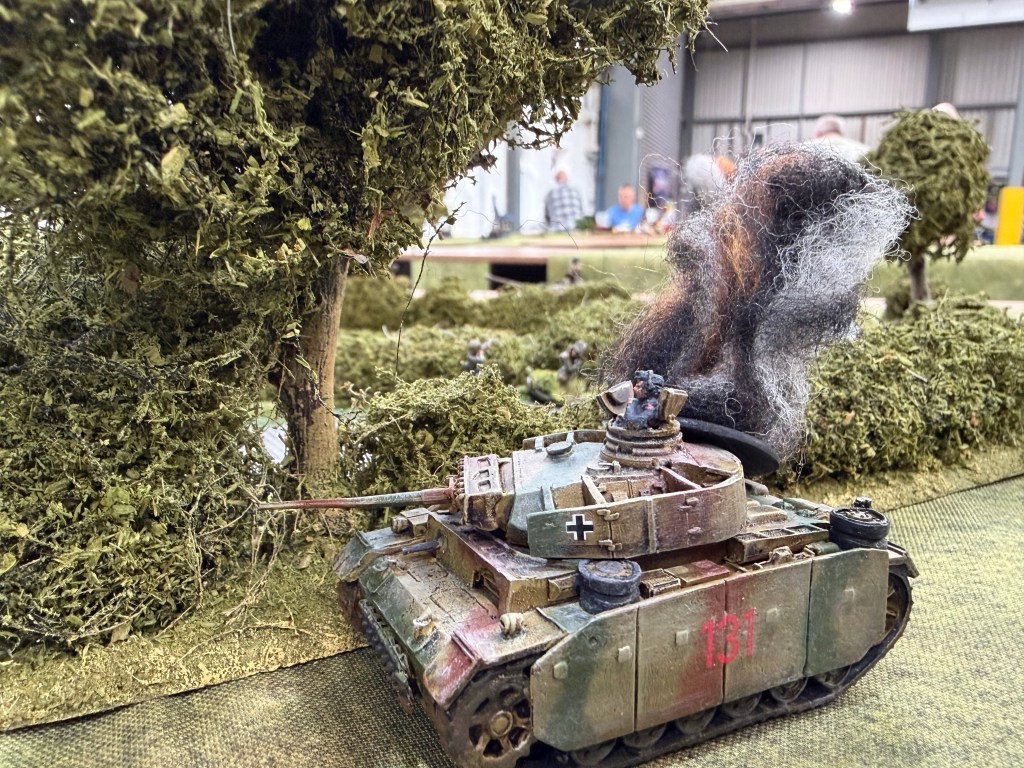
THE CLIMAX (Turns 10–15)
In Turn 10, the Achilles and M10 finished off the remaining Panzer IV on the northern flank, removing the immediate armoured threat there.
The real battle was now for Villers-Bocage itself. The British held four buildings. The Germans also now held four, having claimed another two that turn.
For several turns the infantry on both sides had been playing a slightly nervous game of cat and mouse with enemy observation posts and artillery. Nobody particularly wanted to be the unit spotted moving in the open.
A company of Panzer Grenadiers moving between buildings wasn’t quite careful enough and was spotted from the British OP in the church tower.
The next turn I called in everything I had. With some good dice rolls, the British mortars and artillery destroyed the building and hammered the company over the next couple of turns.
The Germans answered with their own indirect fire. Heavy mortar fire landed accurately on my 6-pounder position and knocked the gun out.
Into the Village
Turn 12 saw the surviving Tiger remind me that it was still very much in the game. A Cromwell was hit and destroyed.
However, the British infantry were making some progress. A close assault went in against one of the buildings towards the eastern edge of the village, which was successfully taken. That gave me five buildings. One more needed for the win.
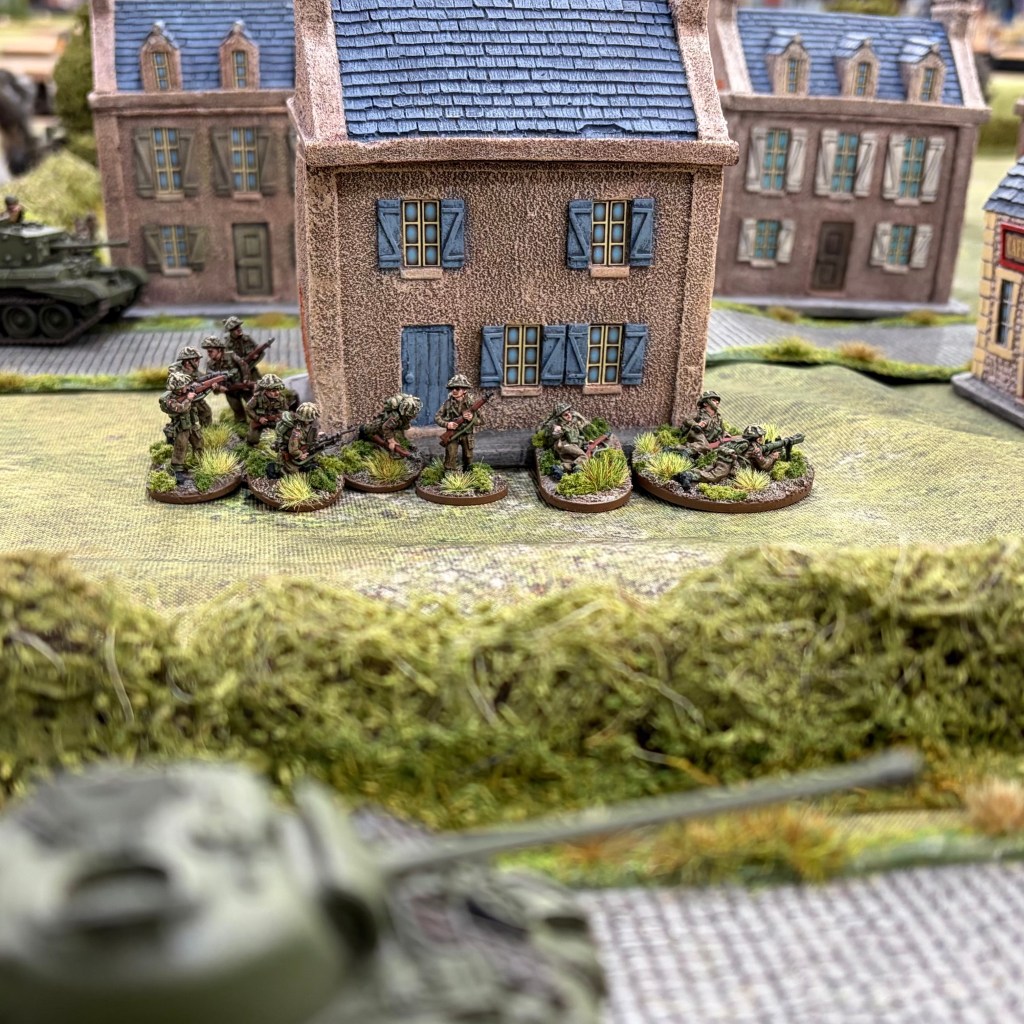
Turn 13 saw mortar fire exchanged across the village, with the British mortars inflicting casualties, along with plenty of movement on both sides. Ian moved more Germans up while I continued to leapfrog part-companies from the buildings I already held, positioning them to assault those I didn’t.
Then came Turn 14, and the game was reaching its climax.
I moved a Carrier Platoon and A Company, Rifle Brigade into position to close assault the house at the extreme north west of the village. More British mortar fire landed amongst the Germans and caused further casualties.
This was it. Take the house and I would have my sixth objective. Ian had other plans. He opened up with ambush fire from a hedgerow to the east. A Company was caught badly in the open while moving into position and lost half its strength.
And then I made the sort of mistake you only realise about three seconds after you’ve done it!
They were supposed to be assaulting the building. Instead, distracted by the Germans who had just shot them up from the hedgerow, I fired back at them. I’d completely forgotten about the close assault.
With the game almost over, I’d thrown away my chance of winning it. No further infantry were close enough to any of the buildings Ian held to close assault them in the final turn.
One Last Push
Turn 15.
There was time for one final attempt to take the last objective, but Ian checked his troops and realised he was in much the same position — he didn’t have enough troops close enough either.
So we agreed on a draw. Final positions: British 5 buildings, Germans 3.
AFTERMATH & LESSONS LEARNED
Looking back, a draw felt about right. It was another close, fun game that could have gone either way in the last couple of turns.
The opening few turns belonged very firmly to Ian. Once the German ambush was triggered, my column took a hammering. Losing the OP Sherman was a pain because it delayed the Sextons at exactly the point I needed them most.
The Tiger sitting near Point 213 was arguably even more influential than Wittmann. It didn’t need to destroy a load of tanks. Simply by sitting there until Turn 13, it effectively closed the main road to British armour and forced me to rethink the attack.
That pushed the battle onto the northern flank, where things went considerably better for me.
The 6-pounder knocking out the first Panzer IV was important, but the combination of Cromwells, Achilles and M10 eventually cleared the German armour from that side completely. Ultimately, the two infantry companies supporting my counterattack swung back into the village and helped me secure the fifth building.
And then, of course, there was Wittmann.
After losing my OP Sherman to his Tiger earlier in the game, getting Battlegroup HQ into the church tower and finally bringing down the Sextons felt like a small victory in itself.
Despite recovering from the initial ambush, though, I couldn’t quite turn it into a win.
The British infantry had worked their way steadily into Villers-Bocage and by Turn 12 I was sitting on five buildings. In hindsight, the real missed opportunity came on Turn 14.
A Company had taken a battering from the German ambush, but I’d positioned them specifically to assault the sixth buildingInstead, I allowed myself to get distracted and fired at the Germans in the hedgerow. By the time I realised what I’d done, the opportunity had gone.
This was one of those games where the result came down to a handful of decisions rather than one moment.
Ian’s Germans did exactly what they needed to do early on: disrupt my British column, destroy key vehicles and use the Tigers to dominate the obvious routes through the battlefield.
For the British, my decision to switch the main armoured effort onto the northern flank worked. Once the Panzer IVs were dealt with, I had the space to start putting real pressure on Villers-Bocage.
But, as always with games where the number of turns is limited, tempo mattered.
Losing the artillery OP slowed me down, the Tiger at Point 213 slowed me down, and my own mistake on Turn 14 probably cost me the final building I needed.
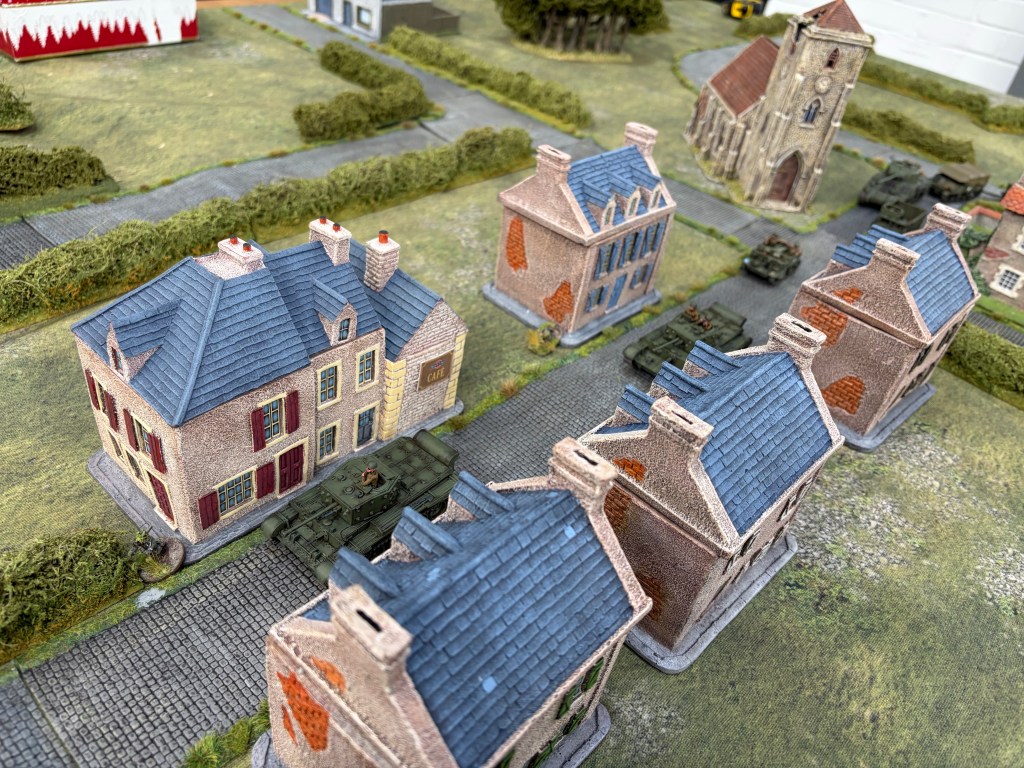
A thoroughly enjoyable game, and exactly the sort of battle where you’re still thinking afterwards about what you should have done differently — and about the luck of the dice!
Until next time, keep on wargaming!

